Dial 0/Timeout Action (Automated Attendant)
Each Automated Attendant has a Day and a Night Dial 0/Timeout Action. The default
for the Day Dial 0/Timeout Action is Transfer to Call Answer Service Operator. The
default for the Night Dial 0/Timeout Action is Record a Message in the General
Mailbox.
Related Mail System Features
Changes to the Dial 0/Timeout Action may require adjustments to Announcements
(Automated Attendant), Call Answer Service Operator, General Mailbox, Main
Menus (Automated Attendant), and Submenus (Automated Attendant).
Programming
Changing a Dial 0/Timeout Action
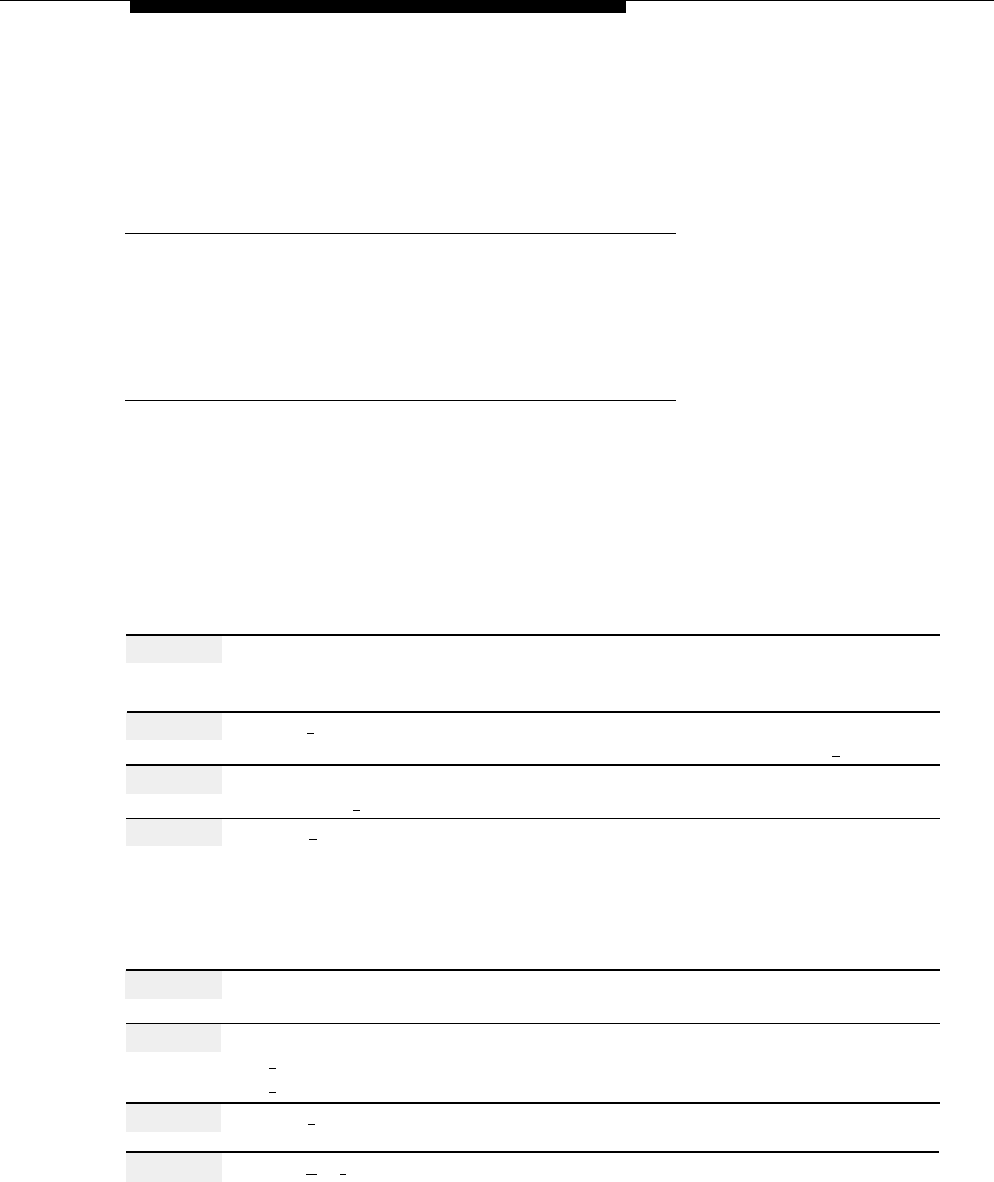
Before changing the Dial 0/Timeout Action, update mail system Planning Form H.
This procedure must be followed to the end for the change to be made. If you do not
hear the “Menu saved” prompt at the end of the procedure, the change will not be
made.
Action
You Hear...
Step 1
Log in to the mail system as the System
Name, number of new messages and
Administrator.
old messages, Voice Mail Activity
Menu.
Step 2
Press [
9
] for System Administration.
Prompt to enter the System
Administration password + [
# ].
Step 3
Enter System Administration
Security message, then System
Password + [
#
].
Administration Menu.
Step 4
Press [
3 ] for Automated Attendant.
(Multiple Automated Attendant)
Prompt to enter the Automated
Attendant Number.
(Single Automated Attendant)
Automated Attendant Administration
Menu. Go to Step 6.
Step 5
(Multiple Automated Attendant Only)
Automated Attendant Administration
Enter Automated Attendant Number.
Menu.
Step 6
Choose an option:
Menu Administration Menu.
[
1
] for Day Menu.
[
2
] for Night Menu.
Step 7
Press [
6
] to modify the Main Menu.
Prompt to enter a Selector Code.
Step 8
Press [
★
] [
#
] to indicate no changes to
The current Dial 0/Timeout Action, then
this menu’s Selector Codes.
the Timeout Action Menu.
Dial 0/Timeout Action (Automated Attendant)
5-33
