


16-16
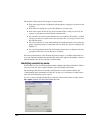
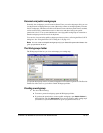
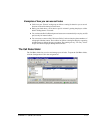
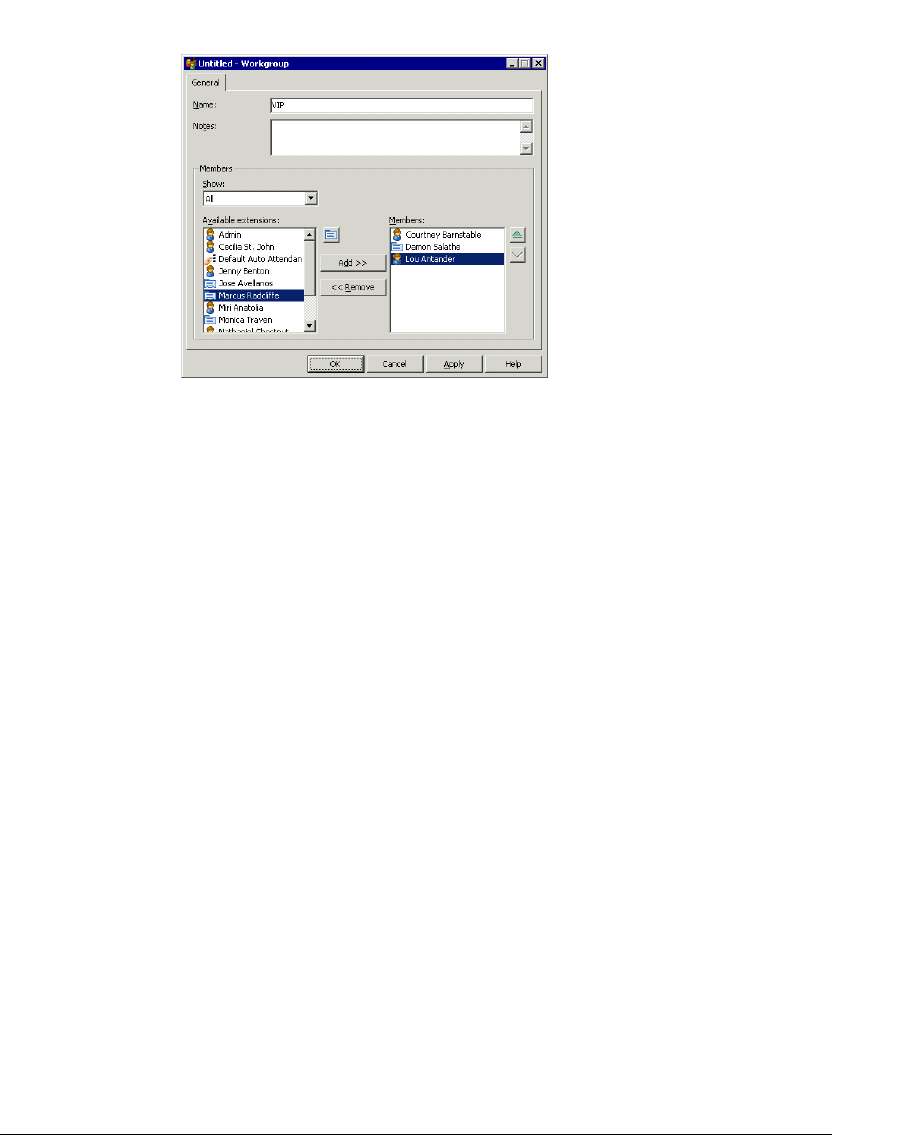
2. Choose File > New > Workgroup. The Workgroup dialog box opens.
3. Enter a Name for the workgroup and any Notes to describe the workgroup.
4. Add one or more members to the workgroup by selecting names on the list of
Available Extensions and then clicking Add. Press CTRL to select multiple names on
the list. The members you selected appear in the
Members list. Use the arrows next to
the list to arrange the order of the members. Click
Remove to delete members from
the list.
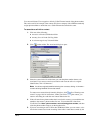
Note: The order of the workgroup is important only if you have set up a routing list to
route calls to it according to the Top Down or Round Robin algorithms. See
“Routing
calls to workgroups” on page 15-14.
5. Click OK.
Personal workgroups appear as a tab in your Extensions list only, not the Extensions lists of
other users. See the next section.
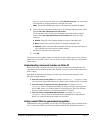
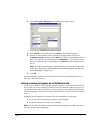
Having a workgroup appear as an Extensions tab
You can specify whether or not a particular workgroup appears as a tab in your Extensions list.
If you create a tab for the workgroup, it lists all extensions within the workgroup, and you can
see the current status of those extensions at a glance (contacts in the workgroup do not appear).
The tab also appears in the Extensions section of the Place Call To and Transfer Call To dialog
boxes.
By default, Strata CS displays an Extensions list tab for the following workgroups:
Q Any of your personal workgroups of which you are a member
Q Any public workgroup of which you are a member
Note: You do not see an Extensions list tab for the personal workgroups of other users, even if
you are a member of such workgroups.