Operational Features
41-001343-02 REV04 – 05.2014 5-247
Using the XML Customized Service
After you create, save, and configure the IP phone with an XML application, the customized service is ready for you to use.
Reference
For more information about customizing the phones using XML objects, contact Aastra Customer Support regarding the
“Aastra XML Development Guide.”
Use the following procedure to use the XML feature on the IP phone.
4. In the "Value" field, enter the IP address or qualified domain name of the XML application.
5. In the "XML Application URI" field, enter the HTTP server path or qualified domain name of the XML application you want to load to the IP
phone. For example, you could enter an XML application called "http://172.16.96.63/aastra/internet.php" in the applicable field.
6. In the "XML Application Title" field, enter the name of the XML application that you want to display on the IP phone Services Menu. In the
illustration above, the XML Application Title is "Aastra Telecom".
7. Click Save Settings to save your changes.
The XML application is applied to the IP phone immediately.
When the XML application is pushed to the phone via an HTTP POST, a host IP address or DNS server is required.
8. Click on Advanced Settings->Configuration Server.
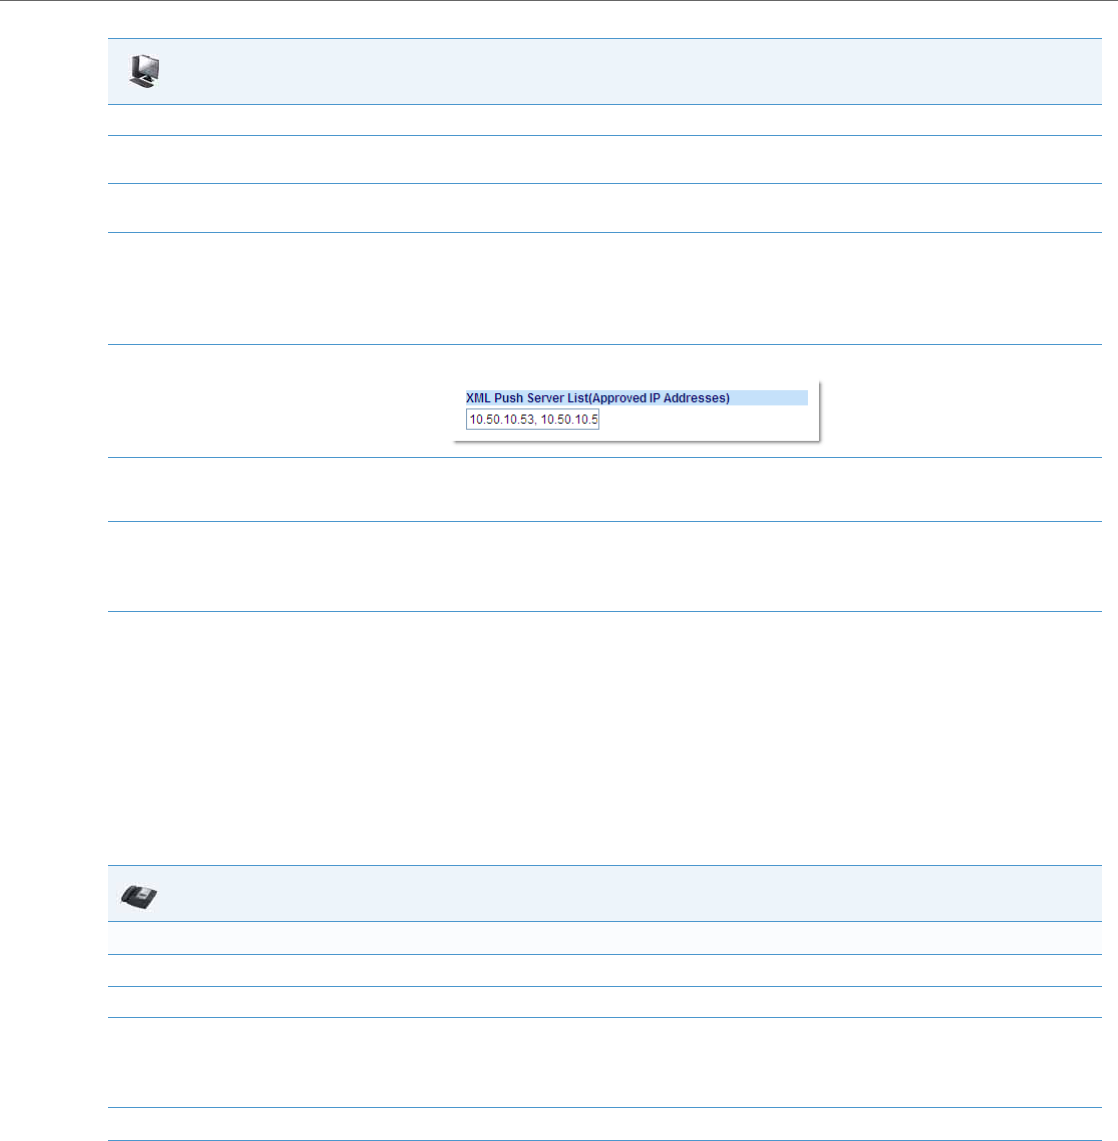
9. In the "XML Push Server List (Approved IP Addresses)" field, enter the host IP address and/or DNS server. You can enter multiple IP address
and/or DNS servers (separated by commas). In the example in Step 6, the illustration shows a host IP address of "10.50.10.53, 10.50.10.54" in
the applicable field.
10. Click Save Settings to save your changes.
Note:
No posting is performed if a session times out.
IP Phone UI
For 8 and 11-Line LCD phones:
1. Press the Services key on the phone to display the Services menu.
2. Select "Custom Features".
3.
Use the
5 and 2 to scroll through the line items in a menu-driven and directory "Custom Features" screen.
Message services display to the screen after selecting the "Custom Features" option.
For user input services, follow the prompts as appropriate.
4. To exit from the "Custom Features" screen, press Exit.
Aastra Web UI


