IP Telephony and QSIG Over IP
Installing and Operating the SoftIPT
Strata CTX I&M 06/04 9-21
IP Telephony and QSIG
Over IP
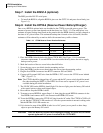
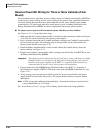
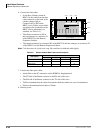
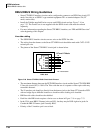
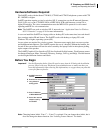
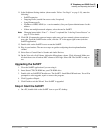
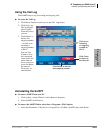
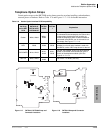
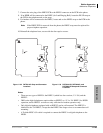
11. In the Softphone Setting window (shown under “Before You Begin” on page 9-19), enter the
following:
• SoftIPT extension
• Outgoing Prefix (outside line access code, if required)
• Long Distance prefix
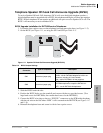
• IP address of BIPU-MXX (xx = version number). See your System Administrator for this
address
• If there are multiple network adapters, select the one for SoftIPT.
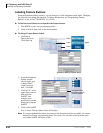
Note Changing button labels “Line 1” ~ “Line 6” is optional See “Labeling Feature Buttons” on
page 9-24 for details.
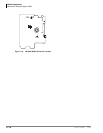
12. Click OK. If requested to enter an integer, make sure you have entered a phone extension or
area code. From the SoftIPT main screen, click the “X” in the upper right corner (exits the
SoftIPT application).
13. Double click on the SoftIPT icon to restart the SoftIPT.
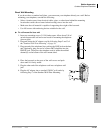
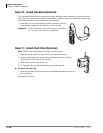
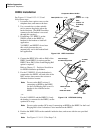
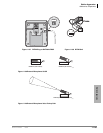
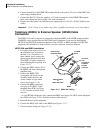
14. Plug in your headset. The next two steps are guides to adjusting the microphone/headset
volume.
15. Select Start > Control Panel > Sounds and Audio Devices.
16. On the Voice tab, click Volume. Adjust the Microphone volume. Click Advanced. Make sure
all check boxes are off and set MIC volume to 90% high. Select OK. The SoftIPT is ready to
use.
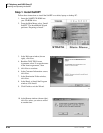
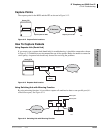
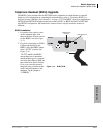
Upgrading the SoftIPT
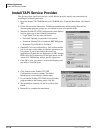
1. Close the SoftIPT application if you are using it.
2. Insert Strata CTX CD-ROM into your CD-ROM drive.
3. Double click on SoftIPT-PCInstaller.exe. The SoftIPT - InstallShield Wizard runs. You will be
prompted to select upgrade, repair or remove the program.
4. Click Upgrade or Repair.
5. Click Finish to exit the Wizard. Your SoftIPT is upgraded.
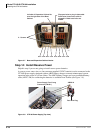
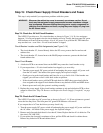
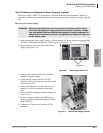
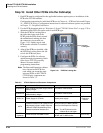
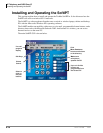
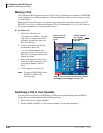
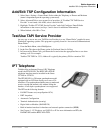
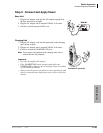
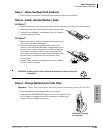
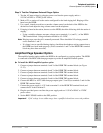
Step 2: Start the SoftIPT
³ On a PC, double click on the SoftIPT icon on your PC desktop.