


Strata CTX100-S/CTX100 Installation
Installing the CTX100 Cabinet
Strata CTX I&M 06/04 3-17
Strata CTX100-S/
CTX100 Installation
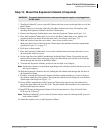
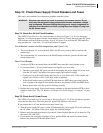
Step 7D: Remove and Replace the Power Supply (if required)
The power supply (APSU112) comes factory-installed in the Base and Expansion Cabinets; if
necessary, it can be removed and replaced. If you do not need to replace the power supply, skip this
step.
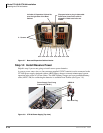
Removing the Power Supply
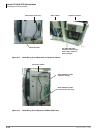
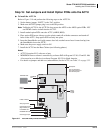
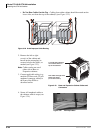
1. Make sure that the power supply switch is Off and that the AC power cable is not plugged into
an outlet. Confirm that the green AC LED is not lit (see Figure 3-15).
2. Remove the two screws in front of the Power
Supply (see Figure 3-15).
3. Unplug reserve battery cable from CN-BAT
connector of power supply.
4. Unplug the DC cable from the “CN OUT”
connector (P16) and cut the tie-wrap. Be careful
not to cut any wires.
5. Remove the FG screw from left side of power
supply to free FG wire/terminal and ground
wire.
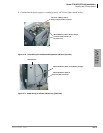
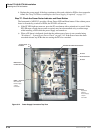
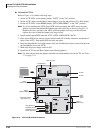
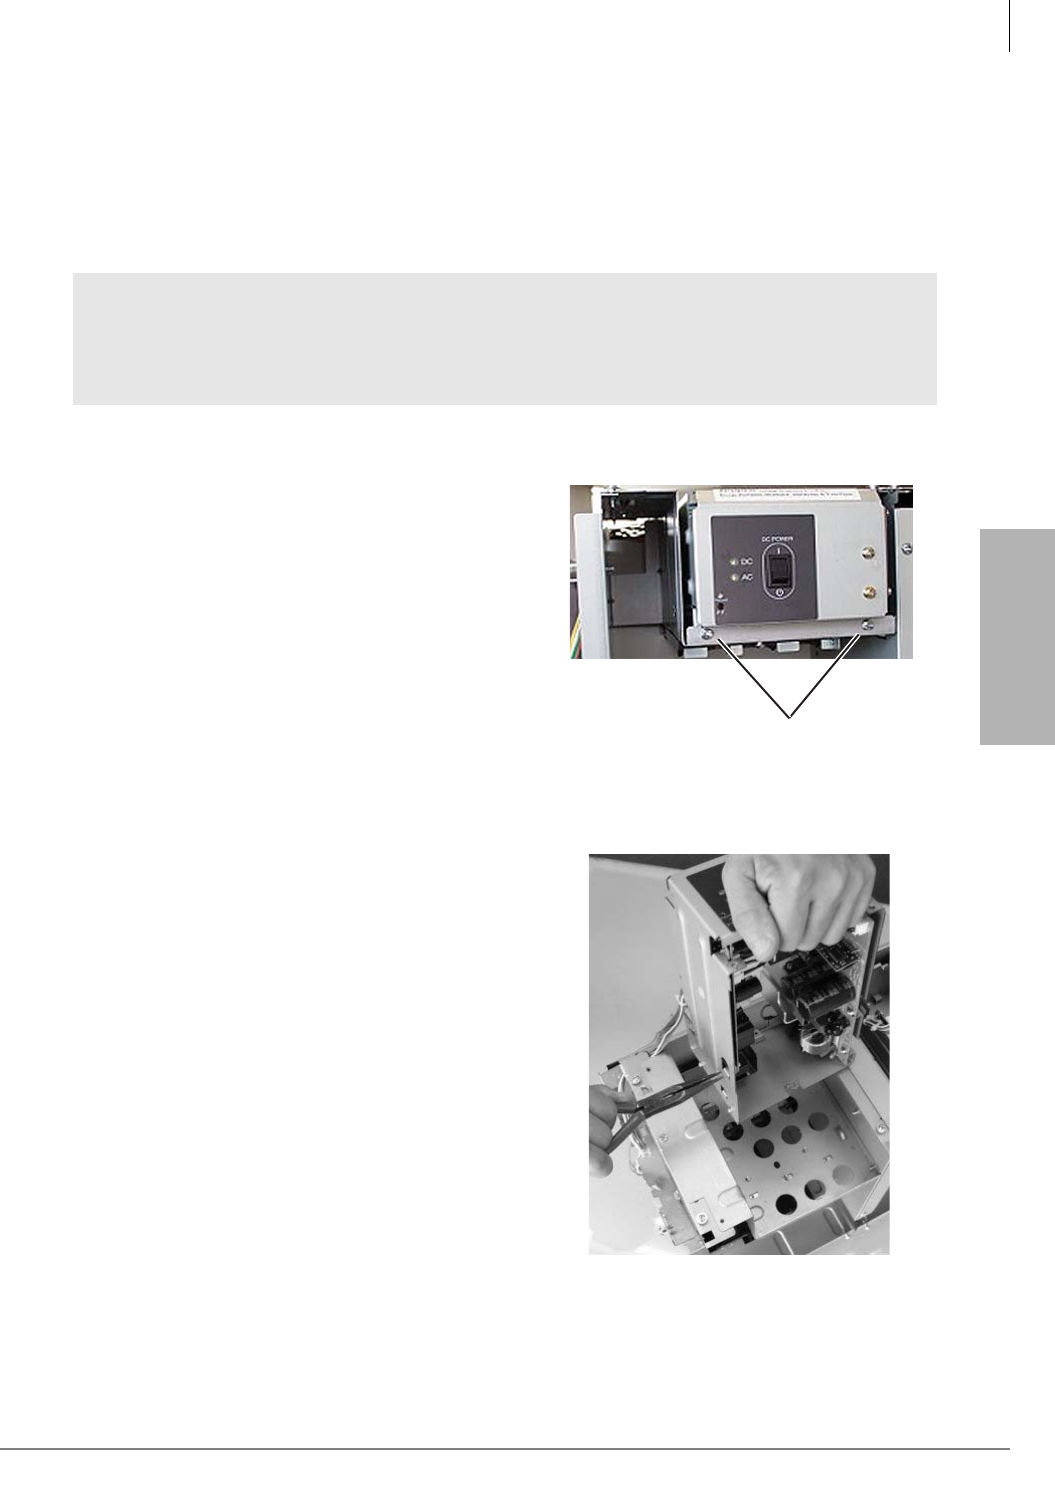
6. Remove the Power Supply from the Cabinet (see
Figure 3-16).
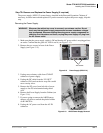
7. If you are going to remove the ABCS battery
charger, use pliers to unlock the plastic holders
of the ABCS1A.
8. Unplug the AC power cord from the AC-IN
connector.
WARNING! Whenever the cabinet top cover is removed, use extreme caution. Do not
touch any internal power supply components because hazardous voltages
may be exposed. Whenever adding/removing power supply components or
checking circuit breakers and fuses, unplug the power supply AC plug from
the AC source outlet.
Two screws
5998
Figure 3-15 Power Supply (APSU112)
Figure 3-16 ABCS Power Supply Removal