


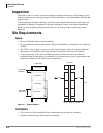
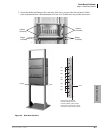
Rack Mount Cabinets
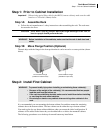
Step 2: Install First Cabinet
5-6 Strata CTX I&M 06/04
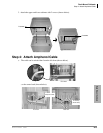
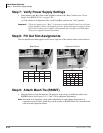
Step 2A: Take Off Front and Back Covers
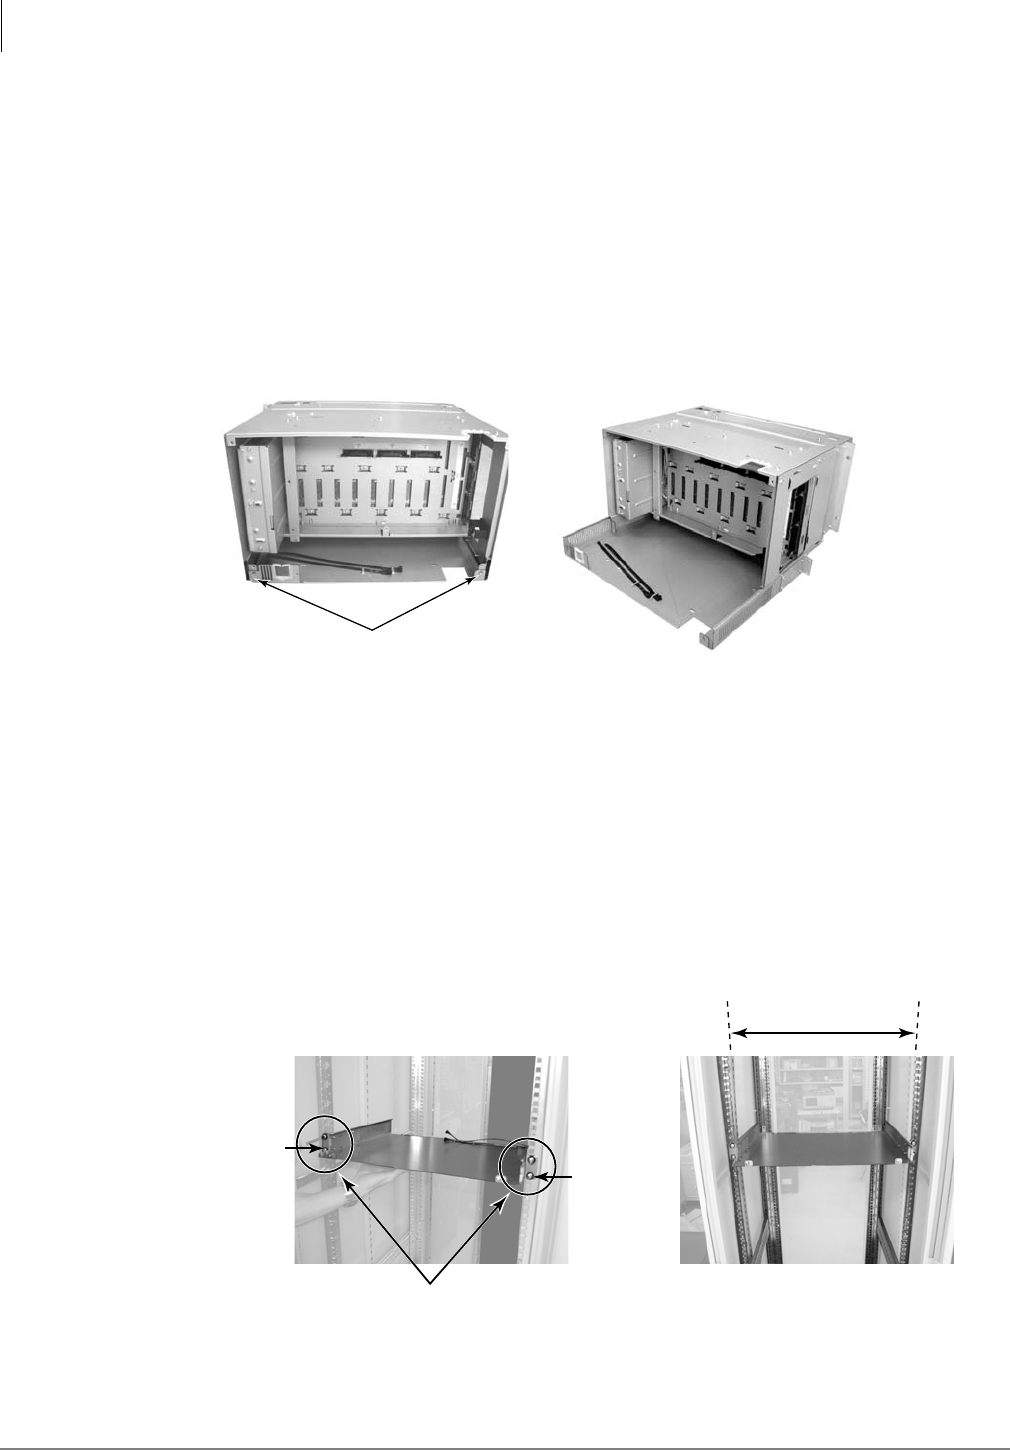
1. Unscrew the two screws holding the front cover to the unit and slide the cover off.
2. Unscrew the four screws holding the back cover to the unit and take the cover off.
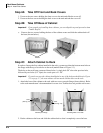
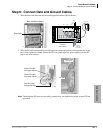
Step 2B: Take Off Base of Cabinet
Important! If two people are installing these cabinets, you can skip this step and proceed to item
3 under Step 2C.
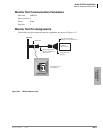
³ Unscrew the two screws holding the base of the cabinet secure and slide the cabinet back off
the base (shown below).
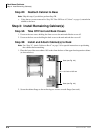
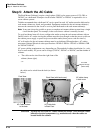
Step 2C: Attach Cabinet to Rack
In order to line up the first cabinet installed in the rack, you must position the bottom-most hole on
the flange with the top of two holes on the rack (marked Start on Figure 5-3).
The holes on the rack form a pattern of three-holes. A single hole 5/8” above the previous hole,
followed by two holes (1/2” apart) for a total space of 1-1/8”.
Important! If you do not start the cabinet installation in one of the holes marked Start in Figure
5-3 on page 5-7, the next cabinet will not match with the holes on the rack.
1. Attach the base of the cabinet to the rack with two screws on each flange (shown below). Refer
to the rack manufacturer’s documentation for screw size. Toshiba does not provide rack screws.
2. Put the cabinet on the base and slide the cabinet back so that it completely covers the base.
Screws
6971
19"
2 Screws per Flange
6973
Mounting Pillar of 19" Rack
Start
(see Fig. 4-3)
Start
(see Fig. 4-3)