


MERLIN LEGEND Communications System Release 6.0
System Programming
555-660-111
Issue 1
February 1998
Programming with SPM
Page 2-22Using SPM
2
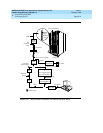
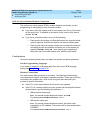
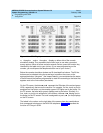
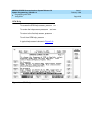
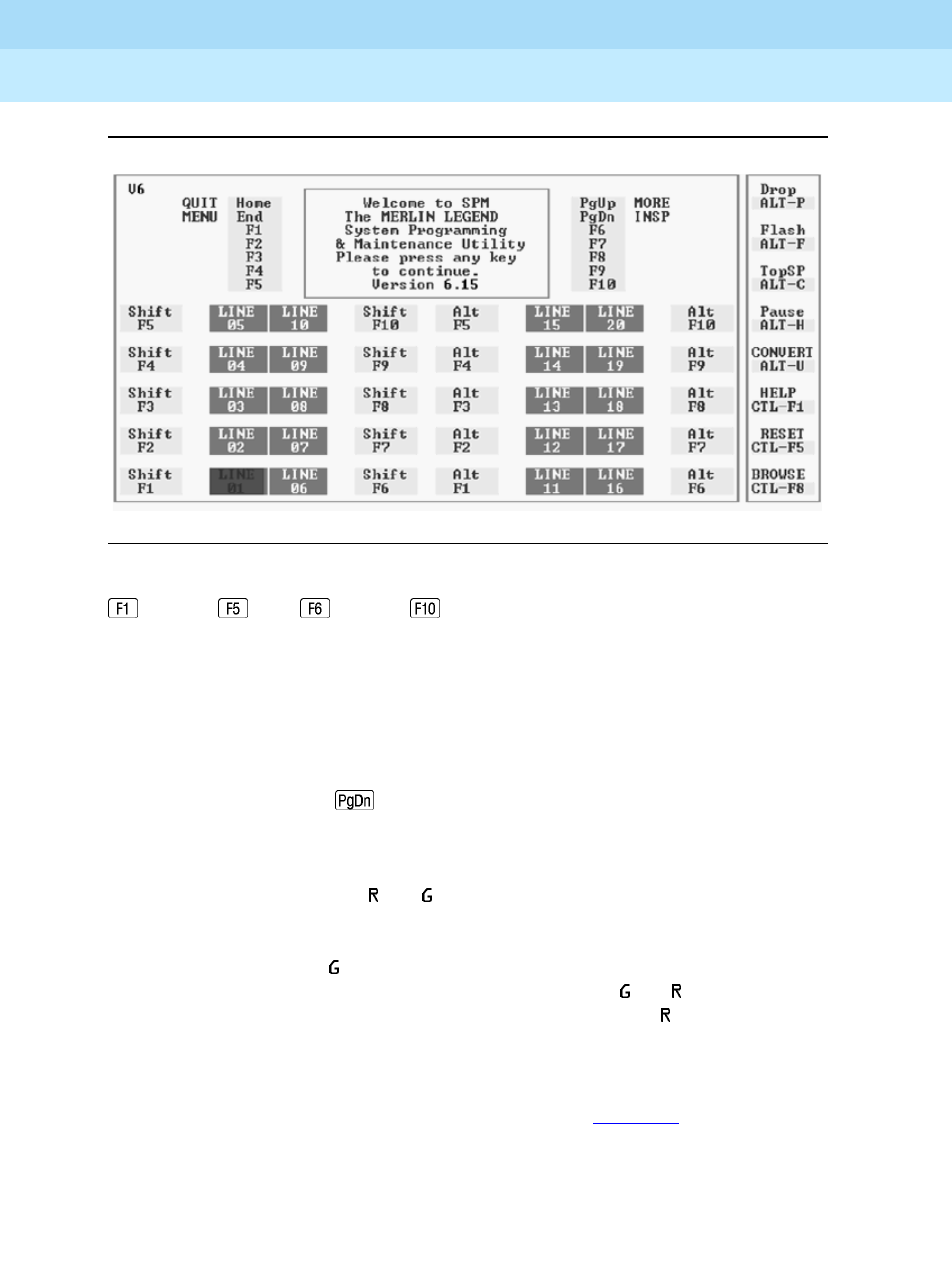
Figure 2–5. SPM Display
through , and through display on either side of the console
simulation window. They represent the function keys to use when you select
screen options. When a screen contains several choices, press the function key
identified by the label next to your choice. (If you were programming on the
console, you would press the telephone button next to your choice.)
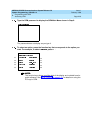
Below the console simulation window are 20 simulated line buttons. The 20 line
buttons can be selected using the arrow keys to position the cursor on the
appropriate button. Using (the Inspect feature), you can determine the status
of each line and the features programmed on each line according to the letter that
appears next to the line number (see below).
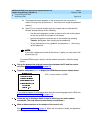
On the PC screen, the letters
and represent the ON state of the red and green
LEDs, respectively, that are on the console. For example, if a line, trunk, or pool is
assigned to a line button, on the console a green LED lights next to the button. On
the PC screen, the letter
(for green) displays next to the button. Similarly, if a
line, trunk, or pool is not assigned to a line button, neither
nor display next to
the button on the PC screen. If a trunk is assigned to a pool, an
(for red) displays
on the PC screen.
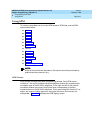
The labels in the column on the right side of the screen show key combinations
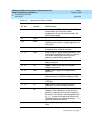
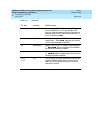
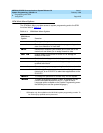
that correspond to buttons on the MLX-20L telephone. Table 2–2
describes the
function of PC keys in SPM.