


Garmin G1000 Pilot’s Guide for Cessna Nav III
190-00498-07 Rev. A
SYSTEM
OVERVIEW
FLIGHT
INSTRUMENTS
EIS
AUDIO PANEL
& CNS
FLIGHT
MANAGEMENT
HAZARD
AVOIDANCE
AFCS
ADDITIONAL
FEATURES
APPENDICESINDEX
396
HAZARD AVOIDANCE
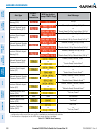
TheNavigationMapPageSetupMenuprovidesameansinadditiontothesoftkeyforenabling/disabling
display oftrafc. The setupmenualso controls themaprange settings abovewhichtrafc data (symbols
andlabels)aredeclutteredfromthedisplay.Ifamaprangelargerthanthemaprangesettingisselected,the
dataisremovedfromthemap.MapsbesidestheTrafcMapPageusesettingsbasedonthoseselectedforthe
NavigationMapPage.
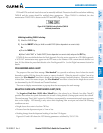
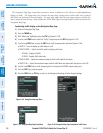
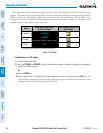
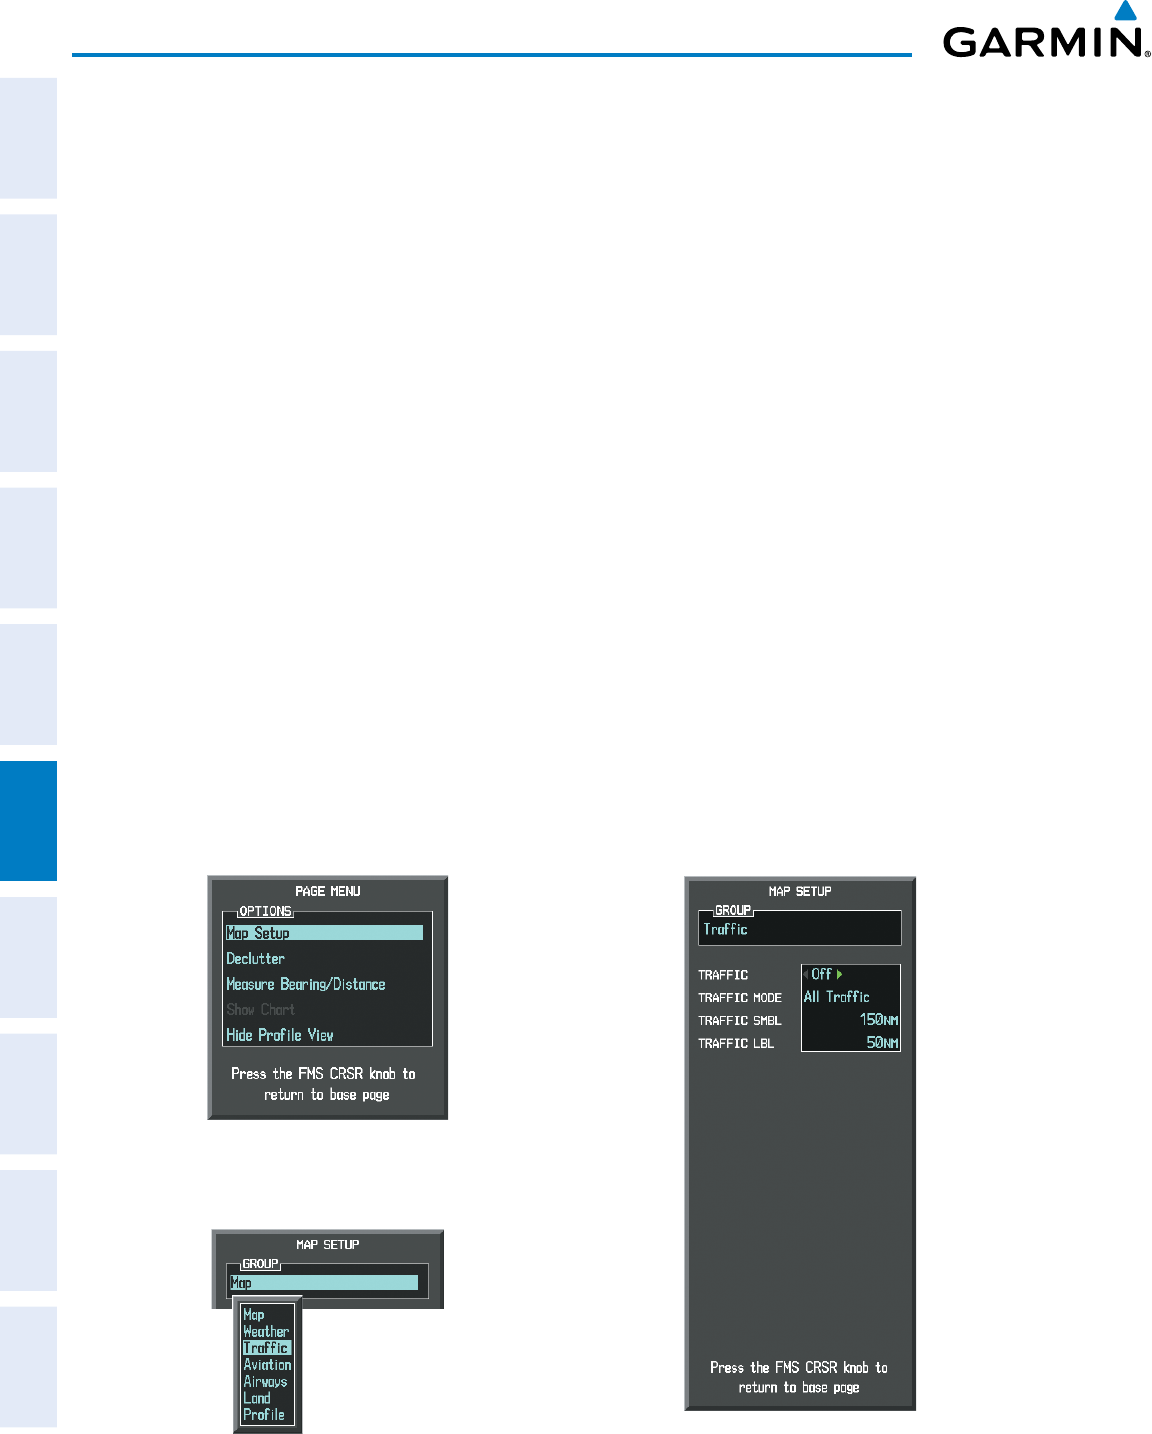
Customizing traffic display on the Navigation Map Page:
1) Select the Navigation Map Page.
2) Press the MENU Key.
3) With ‘Map Setup’ highlighted, press the
ENT
Key (Figure 6-154).
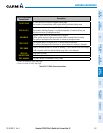
4) Turn the small FMS Knob to select the ‘Traffic’ Group and press the ENT Key (Figure 6-155).
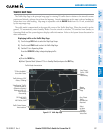
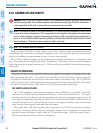
5) Turn the large
FMS
Knob or press the
ENT
Key to scroll through product selections (Figure 6-156).
•TRAFFIC – Turns the display of traffic data on or off
•TRAFFIC MODE – Selects the traffic mode for display; select from:
- All Traffic - Displays all traffic
- TA ONLY - Displays Traffic Alerts only
•TRAFFIC SMBL – Selects the maximum range at which traffic symbols are shown
•TRAFFIC LBL – Selects the maximum range at which traffic labels are shown (with the option to turn off)
6) Turn the small
FMS
Knob to scroll through options for each product (ON/OFF, range settings, etc.).
7) Press the
ENT
Key to select an option.
8) Press the FMS Knob or CLR Key to return to the Navigation Map Page with the changed settings.
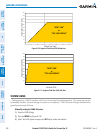
Figure 6-155 Navigation Map Page Setup Menu
Figure 6-154 Navigation Map Page Menu
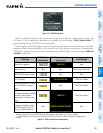
Figure 6-156 Navigation Map Page Setup Menu, Traffic Group