


190-00498-07 Rev. A
Garmin G1000 Pilot’s Guide for Cessna Nav III
SYSTEM
OVERVIEW
FLIGHT
INSTRUMENTS
EIS
AUDIO PANEL
& CNS
FLIGHT
MANAGEMENT
HAZARD
AVOIDANCE
AFCS
ADDITIONAL
FEATURES
APPENDICES INDEX
359
HAZARD AVOIDANCE
6.4 WX-500 STORMSCOPE
NOTE: The L-3 WX-500 Stormscope
®
system is not intended for hazardous thunderstorm penetration.
Weather information on the G1000 MFD is approved for weather avoidance only. Refer to the WX-500
Pilot’s Guide for a detailed description of Stormscope operation.
NOTE: Stormscope lightning data cannot be displayed at the same time as lightning data from XM WX or
GFDS datalink weather sources.
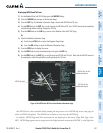
ThefollowingpagescandisplayStormscopedata:
•StormscopePage •AUX-TripPlanningPage
•NavigationMap •NearestPages
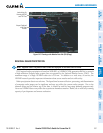
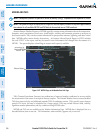
TodisplayStormscopedataontheNavigationMap,AUX-TripPlanningPage,oranyoftheNearestPages,
press the
MAP
Softkey,thenpressthe
STRMSCP
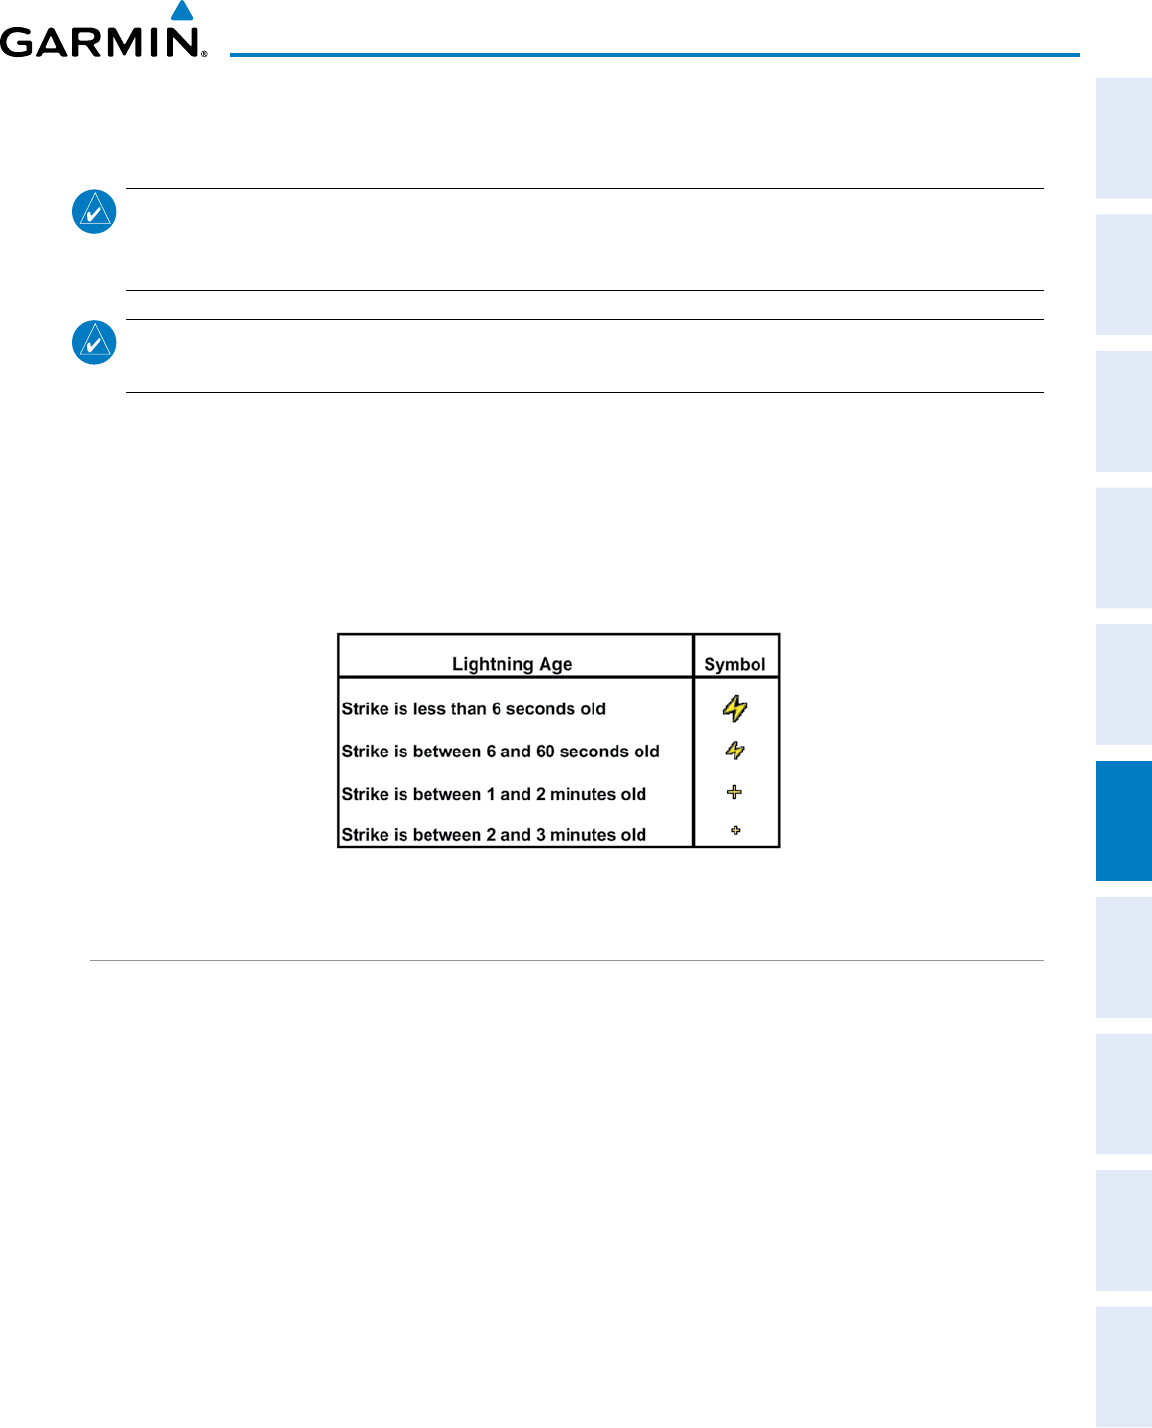
Softkey.Thesepagescanalsodisplaycellorstrikedatausingthe
yellowlightningstrikesymbologyshowninTable6-12.
Table 6-12 Lightning Age and Symbols
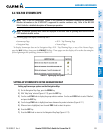
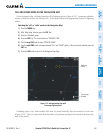
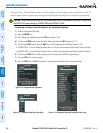
SETTING UP STORMSCOPE ON THE NAVIGATION MAP
Setting up Stormscope options on the Navigation Map:
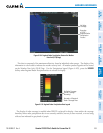
1) On the Navigation Map Page, press the MENU Key.
2) With ‘Map Setup’ selected (Figure 6-110), press the ENT Key.
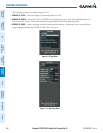
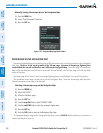
3) Turn the small FMS Knob to display the group selection window. Turn the small FMS Knob to select ‘Weather’,
and press the ENT Key.
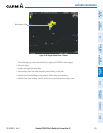
4) Turn the large FMS Knob to highlight and move between the product selections (Figure 6-111).
5) When an item is highlighted, turn the small FMS Knob to select the option.
6) Press the ENT Key.
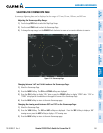
7) Press the
FMS
Knob to return to the Navigation Map Page (Figure 6-112).