Chapter 18 Outbound Line Group
X6004 User’s Guide
166
Each field is described in the following table.
18.3.3 Auto-Attendant for Incoming Calls
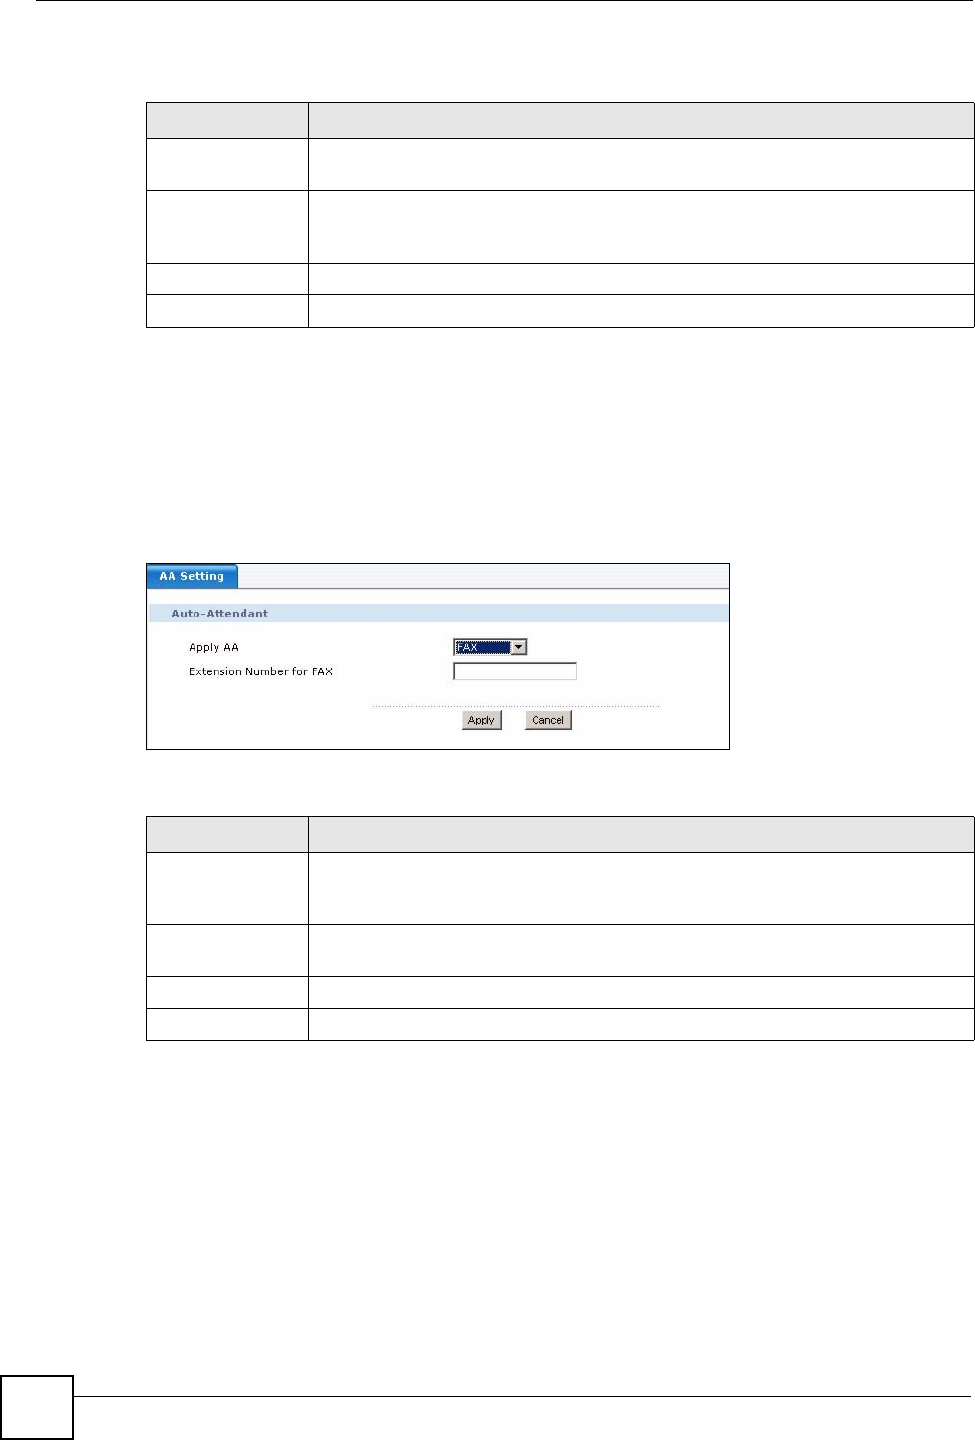
Use this screen to select which auto-attendant should be used with this outbound line group.
See Chapter 19 on page 175 for information on configuring auto-attendant. Click the Auto-
Attendant icon in the in the FXO Trunk section of the Outbound Group configuration
screen to view the screen as shown.
Figure 145 AA for FXO Trunks
Each field is described in the following table.
18.4 SIP Trunk Configuration
SIP trunks allow you to connect to VoIP service provider. In order to create a SIP trunk you
must already have a SIP account and a network connection to your VoIP service provider.
Table 64 Configure an FXO Interface
LABEL DESCRIPTION
Available
Interface
This column displays the FXO ports available on the X6004. Highlight one of the
FXO ports and click the Right icon if you want to add it to this outbound line group.
Used Interface
This column displays the FXO ports currently configured for this outbound line
group. Highlight one of the FXO ports and click the Left icon if you want to remove
it from the outbound line group.
Apply
Click this to save your changes.
Cancel Click this to go to the Outbound Line Group screen without saving your changes.
Table 65 AA for Incoming Calls
LABEL DESCRIPTION
Apply AA
Select the Auto-Attendant you want to use when calls come in on this outbound
line group. If you want to forward all incoming calls on this FXO trunk to be
forwarded to a fax machine located at a specific extension, then select FAX.
Extension
Number for Fax
This field is only available if you select FAX in the Apply AA field. Type the
extension of the Fax machine you want to forward calls to.
Apply
Click this to save your changes and to apply them to the X6004.
Cancel
Click this to go to the Outbound Group screen without saving your changes.
