


Installing the Control Unit
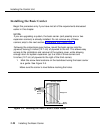
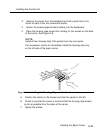
2. Remove the carrier from the backboard and drill a pilot hole in the
center of each of the four screw-hole marks.
3. Anchor the screws approximately halfway into the backboard.
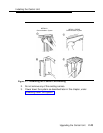
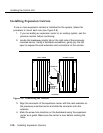
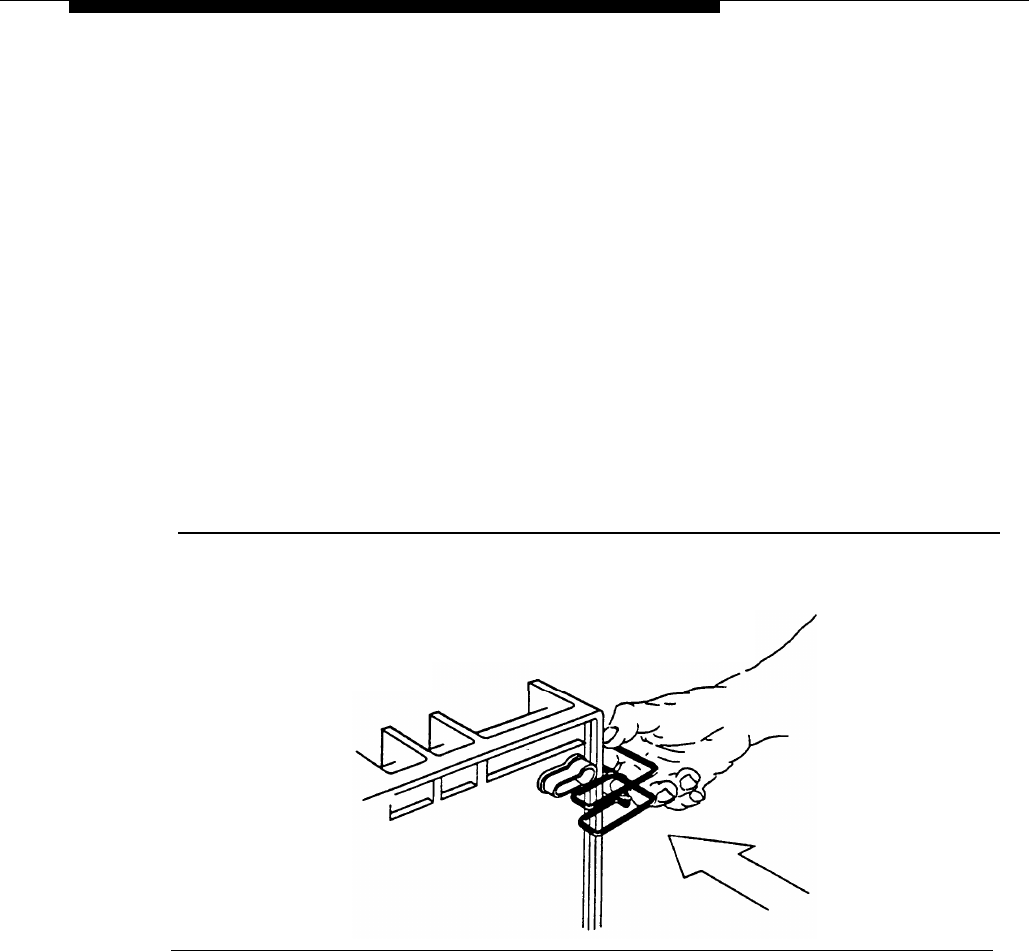
4. Place the housing clips around the molding for the screws on the back
of the carrier. See Figure 2-6.
NOTE:
Install all four housing clips if the system has only one carrier.
If an expansion carrier is to be added, install the housing clips only
on the left side of the basic carrier.
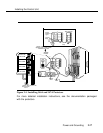
Figure 2-6. Installing the Housing Clips on the Carrier
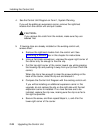
5. Position the carrier on the screws and slide the carrier to the left.
6. Check to see that the carrier is level and that the housing clips extend
as far as possible from the sides of the carrier.
7. Tighten the screws.
Installing the Basic Carrier
2-21