


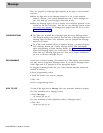

2 Enter administration mode by sliding the T/P switch to P and touching
Conference twice.
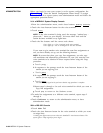
The administration menu appears on the display:
Administration: Please make a selection
System FlexNum Lines Stations More
3 Touch the key for one of the administration options shown on the screen
or touch
[More] to see the rest of the options available.
4 Follow the screen prompts and the labels under the keys to change basic
system settings or administer options, as explained below. To return to
the administration menu at any time, touch Conference once.
There are two basic types of screens, menu selection and data entry screens.
The other screens give you information, such as “System is Re-starting . . .”
General instructions for using the two basic types of screens follow.
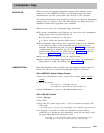
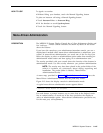
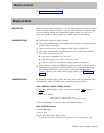
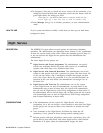
Menu Selection Screens
On menu screens like the second Stations screen, below, you touch keys to
select a particular option.
Stations: Please make a selection
I
Account BIS/HAFl Pagezn GrpCall More
The screen prompts you to make a selection by touching the appropriate key.
In some cases, this brings up a new screen. In others, like the screen shown
above, a light goes on next to the key you touched. The lights next to Auto
Intercom buttons and line buttons show the status of the feature that the key
represents.
You can perform the following procedures on this screen:
Designate stations for Forced Account Code Entry
Identify voice terminals as BIS/HFAI or membrane button models
Establish or update Group Page groups
Establish or update Call Distribution groups
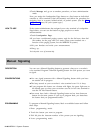
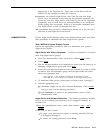
Data Entry Screens
On data entry screens like the Flexible Numbering screen, below, you use the
dialpad to record data such as the new station number.
Line 801
Enter new line number
I
38
2-110 MERLIN II System Features