390 APPENDIX C: REPLACING A FAILED DISK ON A VCX SERVER
Replacing a Disk
(Regional Office)
Use the procedures in this section to replace a disk on one of the servers
at a regional office.
■ Replacing an IP Telephony and Messaging Disk
■ Replacing a Call Processing Server Disk
■ Replacing an IP Messaging Disk
■ Replacing an Authentication and Directory Server Disk
■ Replacing a Call Records Server Disk
■ Replacing a Disk (Branch Office)
■ Replacing a Disk on an IP Telephony and Messaging Server
■ Replacing a Disk on an IP Telephony Server
Replacing an
IP
Telephony and
Messaging Disk
In each regional office that has no associated branch offices there are two
IP Telephony and Messaging Servers. To replace a failed disk on one of the
servers, see
“Replacing a Disk (Single Site)” earlier in this chapter.
Replacing a Call
Processing Server
Disk
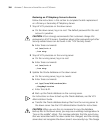
In each regional office, there are two Call Processing Servers. To replace
the disk in either the Primary Call Processing Server or the Secondary Call
Processing Server, follow the instructions in this section.
If this server is configured for RAID operation, see “RAID Disk Failure”,
earlier in this appendix.
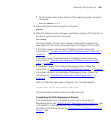
1 Replace the failed disk.
a Remove power from the down server.
b Remove the failed disk.
c Install the replacement disk.
d Apply power to the server.
e Press the start button on the front panel.
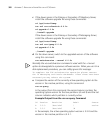
2 Log in as root and configure the networking parameters on the down
server using this command:
vcx-config-network --wizard
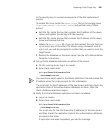
If the down server is the Primary IP Telephony Server, follow the
instructions in
“Configuring a Primary Call Processing Server” in
Chapter 5.


