


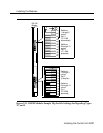
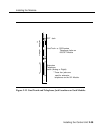

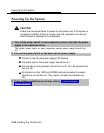
Connecting the Control Unit to an AC Outlet
Connecting the Control Unit to
an AC Outlet
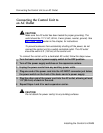
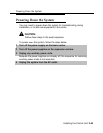
1
2
3
4
5
6
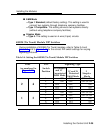
CAUTION:
Make sure the AC outlet has been tested for proper grounding. The
outlet should be 117-V AC, 60-Hz, 3-wire (phase, neutral, ground). See
“AC Outlet Tests,” earlier in this chapter, for instructions.
To prevent someone from accidentally shutting off the power, do not
connect the control unit to a switch-controlled outlet. The AC outlet
should be within 5 ft. (152 cm) of the control unit.
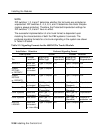
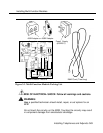
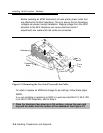
To connect the control unit to a dedicated AC outlet, follow the steps
below.
Turn the basic carrier’s power supply switch to the OFF position.
Turn off the power supply switches on the expansion carriers.
Unplug the power cords from any auxiliary power units.
Plug one end of the power cord into the AC INPUT connector just below
the power switch on the front of the basic carrier’s power supply.
Plug the other end of the power cord into the AC outlet, allowing at least
1 ft. (30.4 cm) of slack in the cord.
Repeat Steps 4 and 5 for each expansion carrier.
CAUTION:
Do not attach the power cord(s) to any building surfaces.
Installing the Control Unit 2-43