


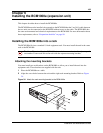

Chapter 6 Installing the BCM1000e (expansion unit) 111
Installation and Maintenance Guide
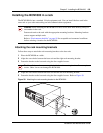
Installing the BCM1000e on the wall
The BCM1000e must be installed close enough to the BCM1000 that the 5 m (16 ft) cable between
the unit and the BCM1000 can be connected without stress on the cable.
Required equipment:
• a wall mounting bracket (supplied with the unit)
• two #10 x 2.5 cm (#10 x 1 in.) round head wood screws
• a plywood backboard 2 cm (3/4 in.) thick
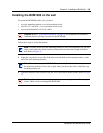
Follow these steps to mount the BCM1000e on wall:
1 Install the 2 cm (3/4 in.) plywood backboard on the wall.
2 Choose a location on the backboard that is level and leaves enough space on the sides
(23 cm or 9 in.) to insert and remove the media bay modules.
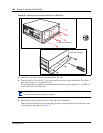
3 Use the slotted holes on the wall mounting bracket to mark the location for the two mounting
screws.
4 Screw two #10 x 2.5 cm (#10 x 1 in.) screws into the backboard, leaving 6 mm (1/4 in.) of the
two screws showing.
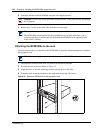
5 Align the screw holes between the unit and the wall mounting bracket.
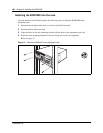
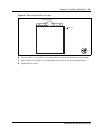
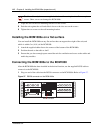
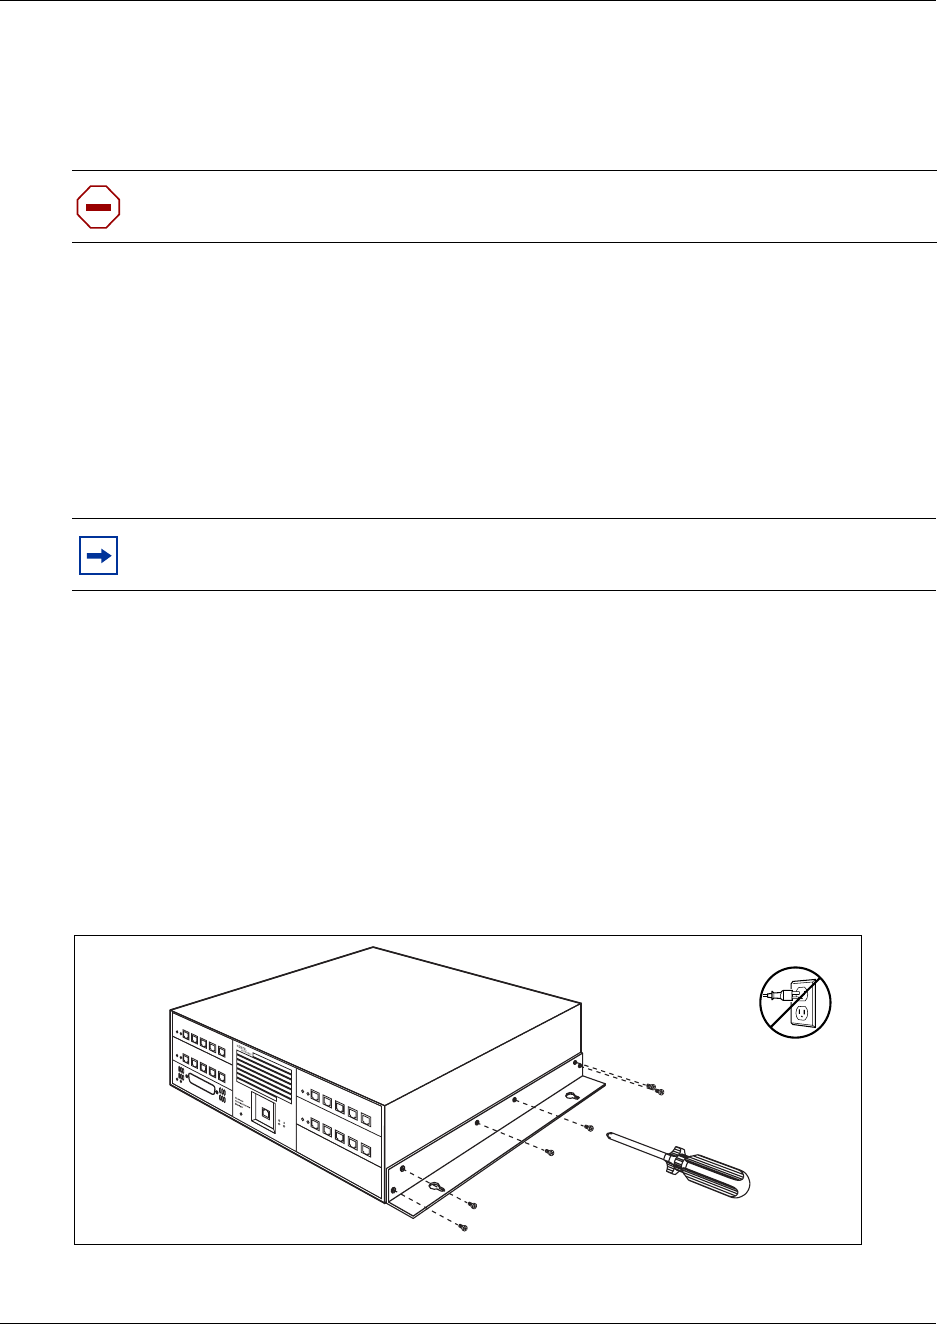
6 Fasten the wall mounting bracket using four screws. Refer to Figure 36.
Figure 36 Attaching the wall mounting bracket to the BCM1000e
Caution: Refer to “Environment checklist” on page 99 for acceptable environmental
conditions before selecting a location for the BCM1000e.
Note: If the backboard for the BCM1000 has enough room for the BCM1000e, you do
not require a second backboard.