


Chapter 5 Installing the BCM1000 103
Installation and Maintenance Guide
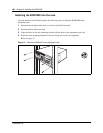
Installing the BCM1000 in a rack
The BCM1000 fits into a standard 19-inch equipment rack. You can install the base unit in the
same rack as your other networking and telecommunications equipment.
Attaching the rack mounting brackets
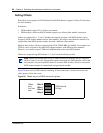
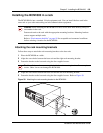
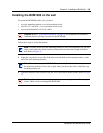
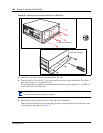
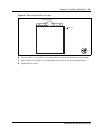
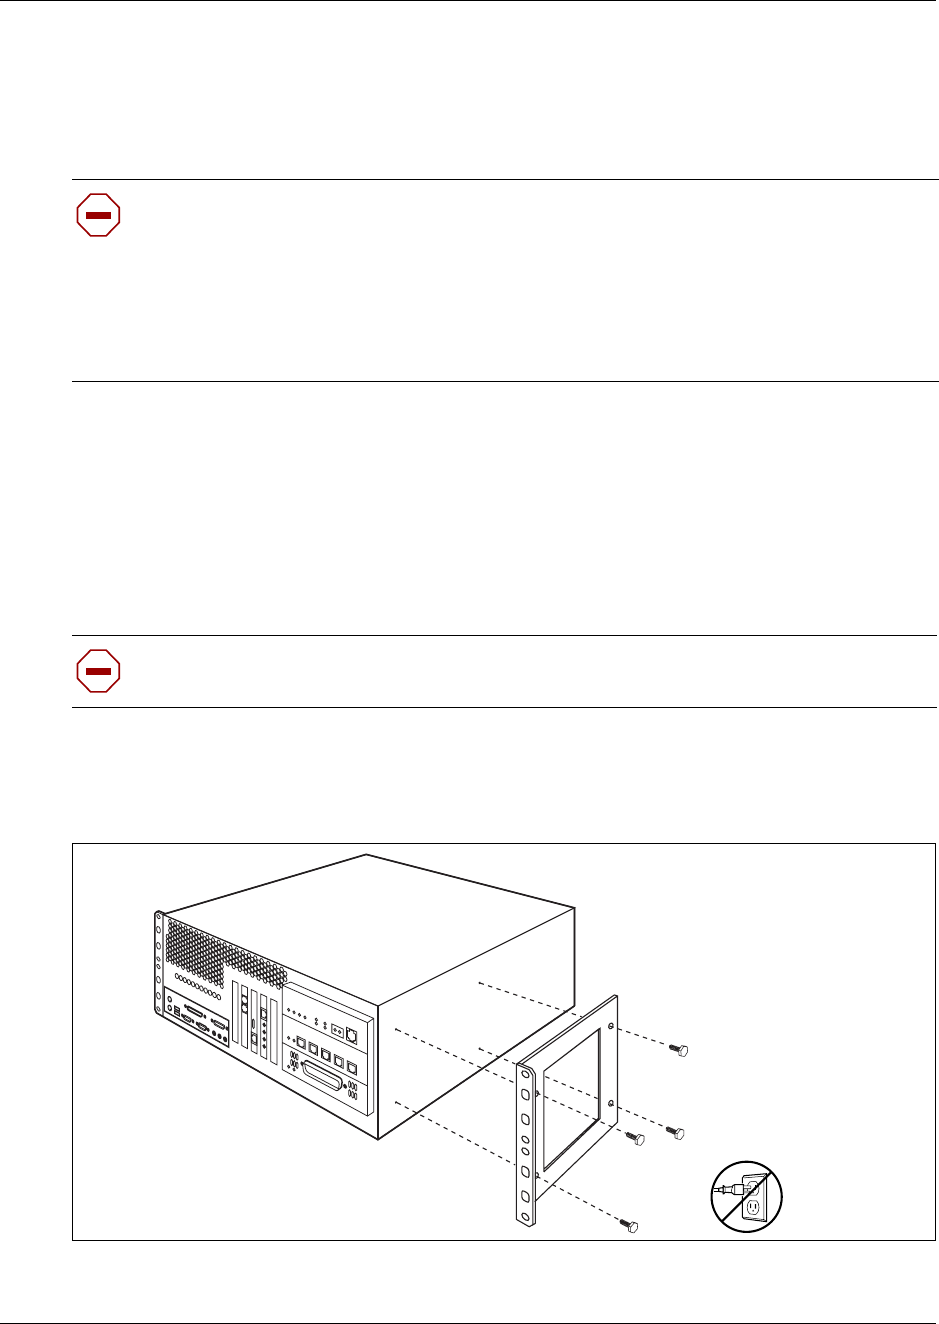
Follow these steps to attach the rack mounting brackets to the base unit:
1 Place the BCM1000 on a table.
2 Align the screw holes between the base unit and the right rack mounting bracket.
3 Fasten the bracket to the base unit using the four supplied screws.
4 Align the screw holes between the base unit and the left rack mounting bracket.
5 Fasten the bracket to the base unit using the four supplied screws. Refer to Figure 30.
Figure 30 Attaching the rack mounting bracket to the BCM1000
Caution: When installing the BCM1000 in a rack, do not stack units directly on top of
one another in the rack.
Fasten each unit to the rack with the appropriate mounting brackets. Mounting brackets
cannot support multiple units.
Refer to “Environment checklist” on page 99 for acceptable environmental conditions
before selecting a location for the BCM1000.
Caution: Only use the screws supplied with the rack mounting bracket. Do not replace
screws. Other screws can damage the BCM1000.