


77
3
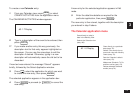
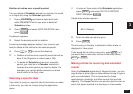
1.
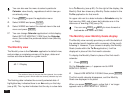
In Index or View mode of the Schedule application,
press
MENU
, and select GO TO A SPECIFIC
DATE, then press
ENTER
.
A date entry window appears.
#3-2-4 Display
2.
Enter the date you want to go to.
3.
Press
ENTER
.
The first entry on that day is selected in Index mode, or
displayed in View mode.
If you would like to make a new entry, press
NEW
, or if
you would like to view other entries on that date, press
NEXT
or
PREV
.
Making entries for recurring and extended
events
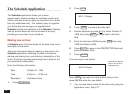
Using the Schedule application’s Repeat function, you can
copy entries to other days or dates without having to type in
each one individually. This is convenient for those
appointments, meetings, and other events that are held
regularly. The Repeat function can also be used to enter an
event that spans a period of a few days or a few weeks,
Deletion of entries over a specific period
You can delete all Schedule entries for a period of a month
or a single day using the Calendar application.
1.
Press
CALENDAR
and select a date which falls
within the period in which you want to delete all
Schedule entries.
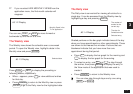
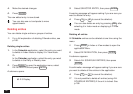
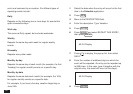
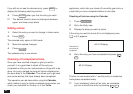
2.
Press
MENU
and select DATA DELETION, then
press
ENTER
.
A submenu appears.
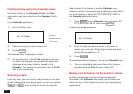
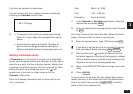
3.
Select the desired period for deletion.
A warning message appears asking if you are sure you
want to delete all the entries for the selected period.
4.
Press
Y
(or
N
to cancel the deletion).
☞ • Deletion of entries over a specific period cannot be
done if the Organizer is locked (see p.186).
• To delete all Schedule entries over a specific
period, you must be in a Calendar view which
includes the entire period you want to delete. For
example, you cannot delete entries for an entire
month while in the Daily view.
Selecting a specific date
If you want to jump to a specific date to find entries or make
a new entry, you can do it easily using the application
menu.