


138
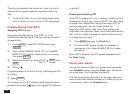
The ACCOUNT LIST is displayed.
2.
Select the desired account from the list, then press
ENTER
.
☞ You may also select the desired account by skipping
steps 1 & 2 and instead pressing
MONEY TRACKING
(or
2nd
MONEY TRACKING
) until the account is
displayed.
The Index view for the selected account appears.
3.
Press
NEW
to enter a new transaction for this
account.
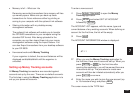
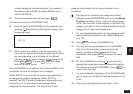
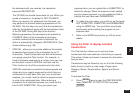
The blank MONEY TRACKING display appears in Edit
mode.
#7-1-5
The name of the selected account appears in the
ACCOUNT NAME field.
If you change your mind and wish to enter this
transaction for a different account instead, simply
move to the ACCOUNT field, press
˜
, then select
the desired account from the list and press
ENTER
.
☞ If you press
NEW
to create a new transaction while
displaying ALL transactions (ie. no account is
currently selected), the name of the account for which
the most recently created transaction was assigned is
appears in the ACCOUNT NAME field as the default.
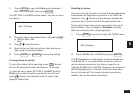
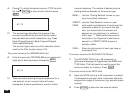
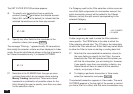
The cursor appears in the DATE field, which already
contains today’s date as the default.
4.
Enter the date of the transaction (if you do not wish
you use today’s date). You can enter a date either via
the keyboard or by pressing
˜
and selecting the
date from the pop-up calendar.
5.
Press
NEXT
to move to the REF./NUMBER field.
Enter an optional reference number for the
transaction, then press
NEXT
.
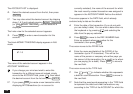
The cursor moves to the PAYEE field.
6.
Enter the name and details of the PAYEE of the
transaction (up to 27 characters). This will be the
name of the person or company who either pays you
the amount of the transaction (for a credit) or to whom
you are paying (for a debit). Press
NEXT
to move to
the next field.
The cursor moves to the TYPE field.
7.
Use
§
and
'
to indicate whether this represents
a debit or credit transaction. Press
NEXT
to move to
the next field.
☞ Note that the exact words appearing in the TYPE field
to represent the debit and credit transactions vary
according to the TYPE of the ACCOUNT for which the