


176
4.
Select GET DATA (APPEND), and press
ENTER
.
5.
On the sending Organizer, press
MENU
four times
to open the PERIPHERALS menu. Select UNIT TO
UNIT TRANSFER, and press
ENTER
.
A submenu opens.
6.
Select SEND ALL IN THIS MODE, or SEND ALL IN
THIS FILE in the Tel and User File applications.
All entries in the application or in the selected file are
transferred.
☞ If the Filter function is turned on while using Tel or
User File, select SEND ALL IN THIS MODE if you
want only the filtered entries to be transferred.
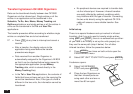
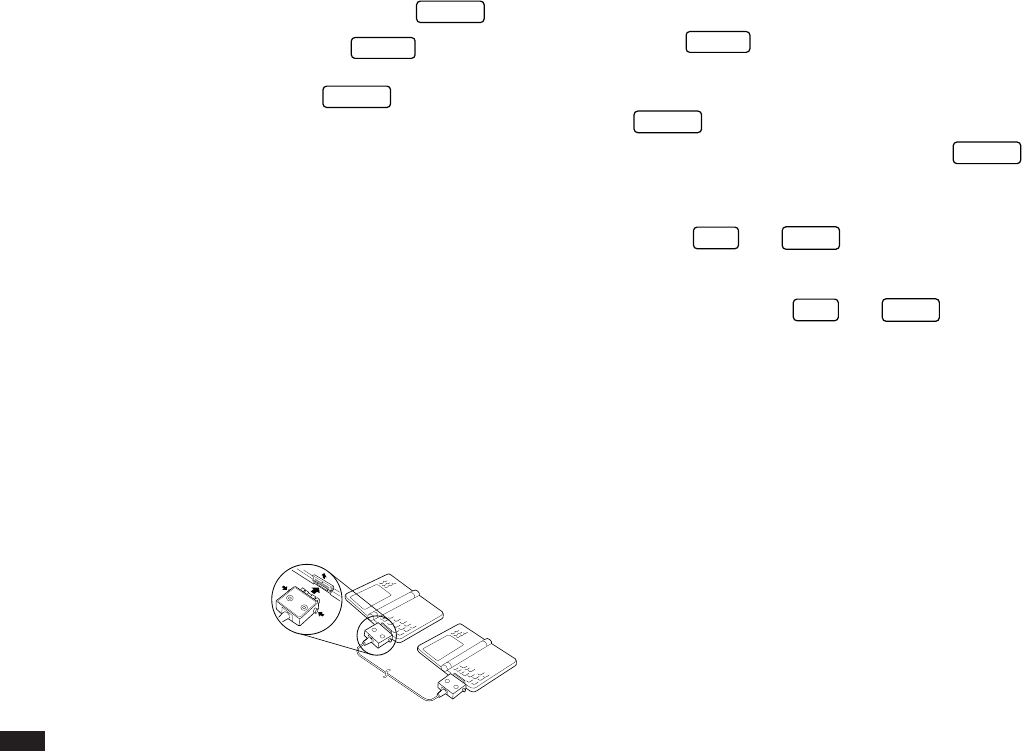
For more reliable data transfer, you can connect two OZ-
5500 Organizers using the optional CE-315L cable.
To set up the Organizers for data transfer via direct cable:
1.
Turn off both Organizers.
2.
Open the cover of the 15-pin cable jack on each
Organizer.
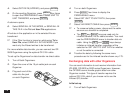
3.
Plug each end of the
cable into the jack
on each Organizer.
4.
Turn on both Organizers.
5.
Press
MENU
four times to display the
PERIPHERALS menu.
6.
Select SET UNIT TO UNIT PATH, then press
ENTER
.
7.
Select VIA DIRECT CABLE then press
ENTER
.
☞ • To conserve battery power, disconnect the cable
as soon as a transfer is completed.
• The
GET
and
SEND
keys are used only for
infrared transfers, not for cable transfers. You must
use the PERIPHERALS menu to transfer data via
cable. Using the
GET
and
SEND
keys always
initiates an infrared transfer, regardless of the
selection for SET UNIT TO UNIT PATH or whether
or not the cable is connected.
8.
Transfer the data by following the same menu
procedure as for the infrared transfer shown on p.175.
Exchanging data with other Organizers
You can send information to and receive information from
ZR-5000, OZ-6500 or 9000 series Organizers. However,
the OZ-5500 cannot handle graphic data from other
Organizer models. This type of transfer requires the
optional CE-315L cable if you choose not to use the
Infrared (IR) transfer.
Initial set-up
1.
Turn off both Organizers.