


142
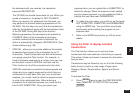
☞ When editing text fields or the amount, you can use
NEW
to clear the field before typing in new text.
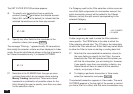
3.
Press
ENTER
to store the edited transaction entry,
or
CANCEL
to discard the changes.
When
ENTER
is pressed, a message indicating the entry
has been successfully stored briefly appears. The
transaction is then displayed in View mode.
Listing all transactions
Although every transaction must be assigned to a specific
account, the Money Tracking application allows you to
view summaries of all transactions in date order, regardless
of the account to which they belong.
1.
Press
MONEY TRACKING
repeatedly until “ALL”
appears in place of an account name.
☞ If you pass the ALL display by mistake, press
2nd
MONEY TRACKING
to move through the accounts in
the reverse order.
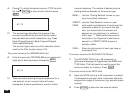
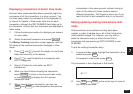
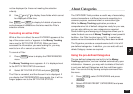
#7-1-8
A summary of all transactions appears in Index mode, with
one line per transaction.
If you are currently in transaction View mode, you can
jump directly to the ALL account transaction view by
pressing
CANCEL
.
2.
Press
'
to view those transaction details that
cannot fit on the display. Press
§
to redisplay the
original group of transaction details.
3.
If necessary, use
¶
and
˜
to scroll the display
up and down to display any additional transactions
that may not fit onto the display.
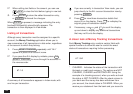
A closer look at Money Tracking transactions
Each Money Tracking entry contains certain fields with
special functions to allow the user to control the exact
status of transactions requiring further processing.
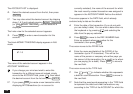
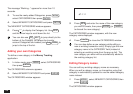
#7-1-8A
* CLEARED - Indicates the status of the transaction with
the bank or credit card company. The options are NOT
CLEARED, CLEARED and RECONCILED. Using the
example of a checking account, when you write a check
the status is NOT CLEARED. After the check returns to
your bank and the money has been withdrawn from
your account, the check status is CLEARED. When you
receive your statement from the bank and you reconcile