


110
To return to the one-line view, repeat the above procedure.
The ✓ disappears from the menu.
To see contents that are off the display, use the cursor
keys. You can also press
or
˜
to move to
the first or last topic.
☞ Changing the view mode in an outline does not affect
the view mode setting of other outlines you have
already created. However, a new entry will use the
same view mode as the outline that was previously
displayed.
Revising outlines
Once an outline has been created, it is easy to revise either
the text in the outline or the outline structure itself. This is
why making outlines can be so useful. The text of topics
and subtopics can be revised one at a time in Edit mode.
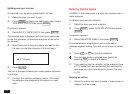
Selecting topics
The flashing diamond indicates the currently selected topic.
You can also move between topics one by one, using the
cursor keys.
Press
˜
to move directly to the last topic and
to move directly to the first topic, ie. the title.
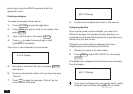
Editing text
Only one topic can be edited at a time.
1.
Display the outline you want to revise.
If the entry is in the one-line view mode, select full view
mode (see p.109) to display all the hidden text of the
outline.
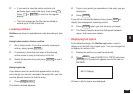
2.
Select the topic you want to edit and press
EDIT
.
The block cursor appears at the start of the text.
3.
Make any necessary changes.
4.
Press
ENTER
(or
CANCEL
to discard the changes).
The new, edited topic is now stored.
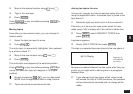
Adding new topics
As your plans and ideas develop, you may wish to add
topics to an existing outline. To add a topic at the end of an
outline, display the outline in View mode, and then press
˜
until you pass the last topic. Begin typing when the
new diamond appears.
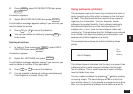
To insert a new topic anywhere else in the outline, use the
following procedure. Note that only one new topic can be
inserted at a time.
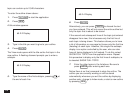
1.
Display the outline in which you want to add a topic.
2.
Press
INS
.
A white-on-black “I” is displayed to indicate the insertion
position.