


76
4.
Make the desired changes.
5.
Press
ENTER
.
The new edited entry is now stored.
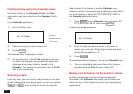
You can also use cut and paste to move
appointments.
Deleting entries
You can delete single entries or groups of entries.
➛ For a full explanation of deleting Filtered entries, see
p.166.
Deleting single entries
1.
In the Schedule application, select the entry you want
to delete in Index mode or display it in View mode.
Or
In the Calendar application, select the entry you want
to delete in the Daily or Weekly view.
2.
Press
MENU
to open the application menu, select
DATA DELETION and press
ENTER
.
A submenu opens.
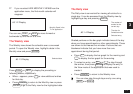
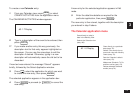
#3-2-3 Display
3.
Select SELECTED ENTRY, then press
ENTER
.
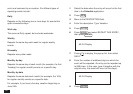
A warning message will appear asking if you are sure you
want to delete the entry.
4.
Press
Y
(or
N
to cancel the deletion).
You can also delete an entry by pressing
DEL
after
selecting it in Index mode or displaying it in View
mode.
Deleting all entries
All Schedule entries can be deleted at one time using the
menu.
1.
Press
MENU
in Index or View modes to open the
application menu.
2.
Select DATA DELETION, then press
ENTER
.
A submenu appears.
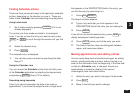
3.
Select ALL SCHEDULE ENTRIES, then press
ENTER
.
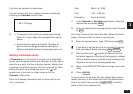
A confirmation message will appear asking if you are sure
you want to delete all the entries in the application.
4.
Press
Y
(or
N
to cancel the deletion).
☞ It is not possible to delete all entries (using ALL
SCHEDULE ENTRIES) if the unit is locked. See
p.186.