Setting up and managing e-mail accounts
181
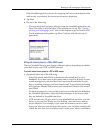
If the VersaMail application knows the outgoing mail server name based on the
mail service you selected, the correct server name is displayed.
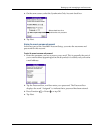
4. Tap Next.
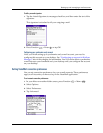
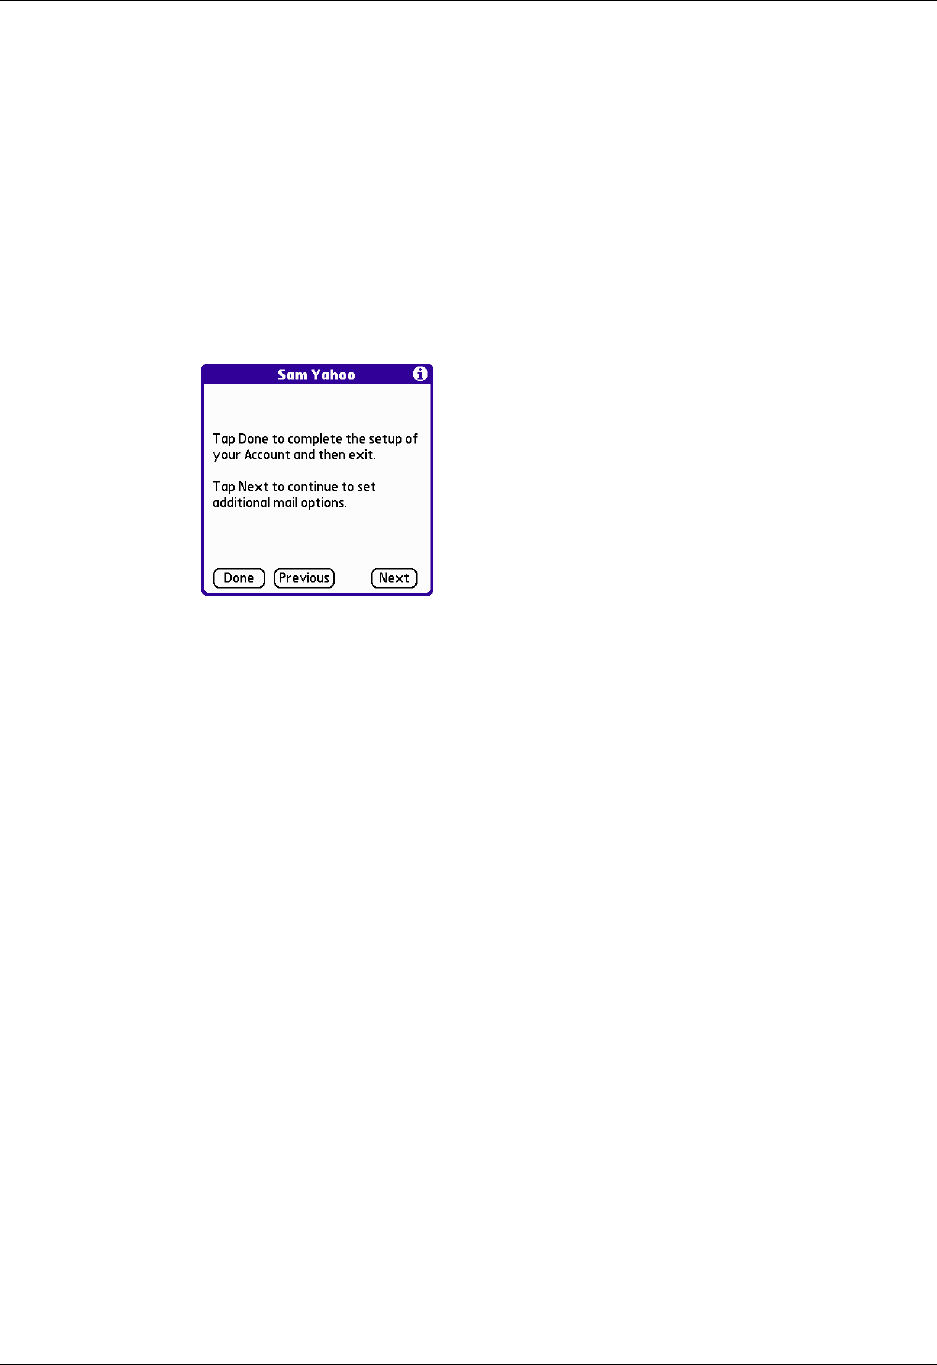
5. Do one of the following:
– To accept these mail options and begin using the VersaMail application, tap
Done. This takes you to the Inbox of the account you set up. See “Getting,
sending, and managing e-mail” later in this chapter to get and send e-mail.
– To edit additional mail options, tap Next. Continue with the next set of
procedures.
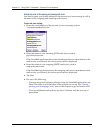
Editing mail retrieval options for a POP or IMAP account
The next VersaMail Setup screen displays different options depending on whether
your mail service uses a POP or IMAP protocol.
To set mail retrieval server options for a POP or IMAP account:
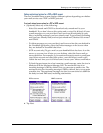
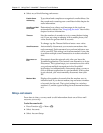
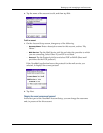
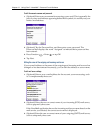
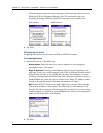
1. (Optional) Select any of the following:
– Select Get unread mail ONLY to download only unread mail to your
handheld. If you don’t choose this option and you tap Get & Send, all your
e-mail messages on your provider’s mail server are downloaded to your
Inbox, including messages you have already read. To get all mail (including
mail you have already read) and not just unread mail, deselect Get unread
mail ONLY.
– To delete messages on your provider’s mail server when they are deleted in
the VersaMail application, select the Delete messages on the server when
they are deleted in VersaMail check box.
– (POP account only) To get e-mail on your handheld but also leave it on the
server so you can view it later on your desktop, select the Leave mail on
server check box. For example, if you create an account to receive e-mail
from your Yahoo account and select this option, your old Yahoo e-mail is still
visible the next time you visit Yahoo.com to access your Yahoo e-mail Inbox.


