Voicemail Pro Page 29
15-601063 Issue 20l (03 March 2009)IP Office
Installing Voicemail Pro: Basic Voicemail Installation
To install compact Voicemail Pro Server and Client:
1. Insert the IP Office Voicemail Pro CD. The installation should auto-start. If it does not auto-start, click Browse to
locate Setup.exe on the CD and then run it. The Choose Setup Language window opens.
2. Select the installation language. This language is used for the installation and for the default language prompts.
3. Click OK. Installation preparation begins.
4. Voicemail Pro 4.2+ requires Microsoft .NET 2.0 Framework. If this version is not detected, you are prompted to
install it. Click Yes to install Microsoft .NET 2.0 Framework.
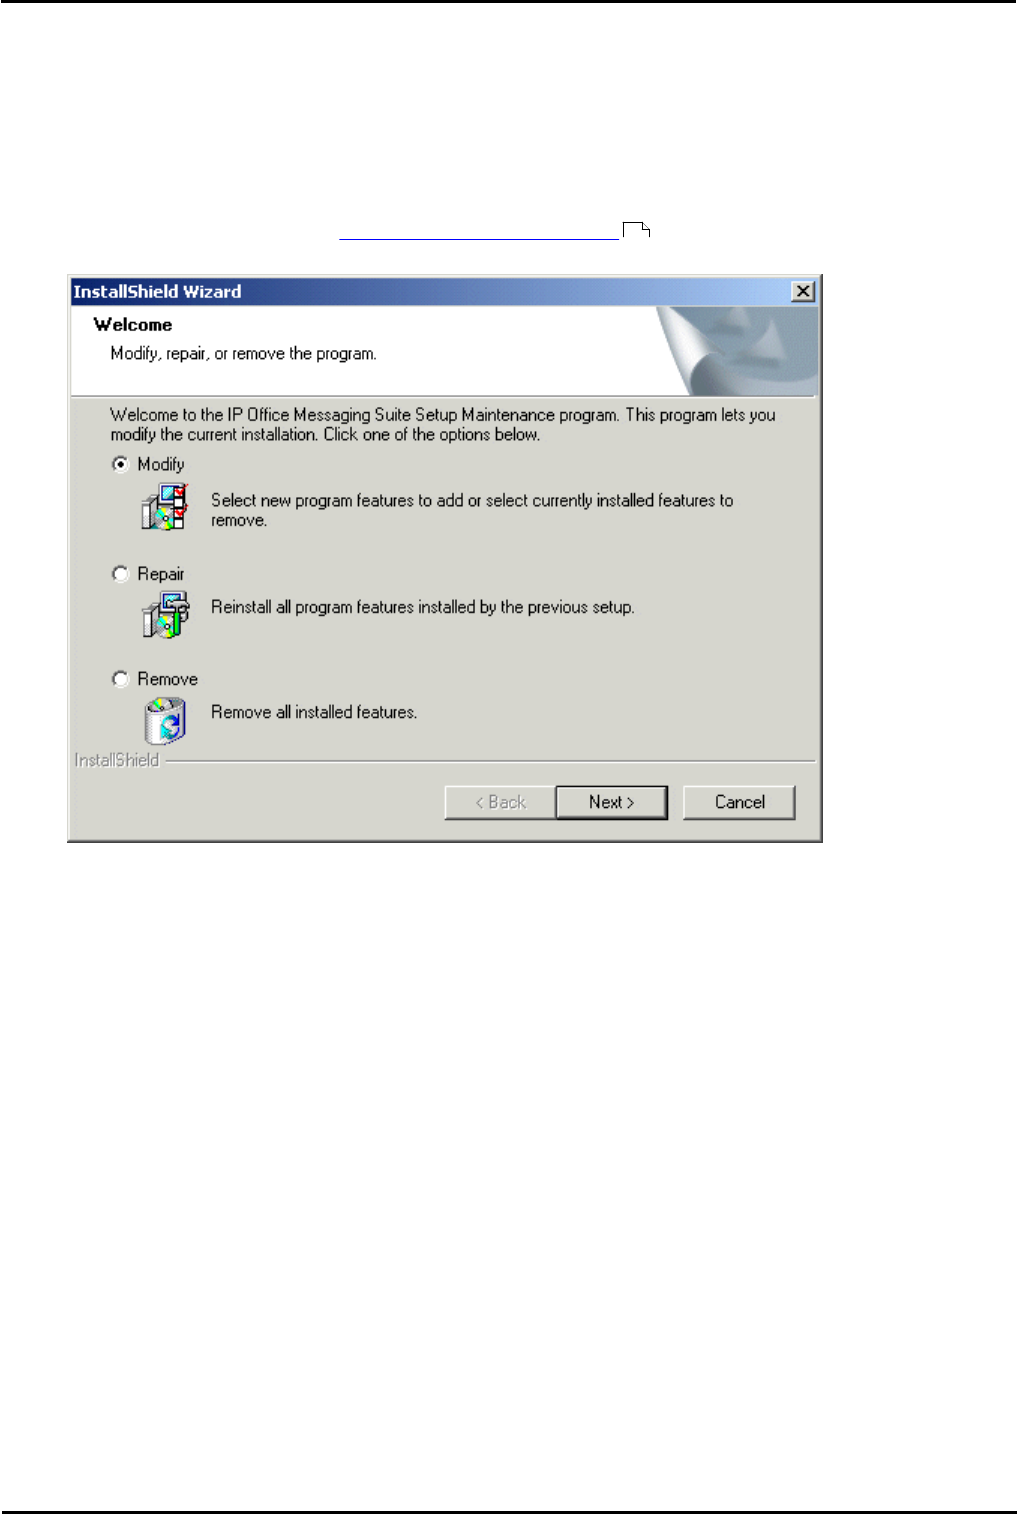
If the following window opens, Voicemail Pro is already installed. You need to upgrade rather than install a new
version. For more information, see Upgrading a Voicemail Pro System . Otherwise the IP Office Voicemail Pro
installation starts and the Welcome window opens.
5. In the Welcome window, click Next. The Customer Information window opens.
6. In the Customer Information window, type a user name and the company name or use the default names that are
proposed. These settings do not affect Voicemail Pro when it is installed.
7. In the same window, choose the option that determines who should be able to use Voicemail Pro when it has been
installed. The recommended option is Anyone who uses this computer (all users).
8. In the Customer Information window, click Next. The Choose Destination Location window opens.
9. In the Choose Destination Location window, click Browse and locate the folder where the Voicemail Pro files are to
be installed. Otherwise, click Next to use the proposed folder. The Messaging Components window opens.
10. In the Messaging Components window, highlight Voicemail Pro (Full).
11. Click Next. The Setup Type window opens.
12. In the Setup Type window, select Compact.
13. Click Next. The Service Account Name window opens. Details of the default administrator account are already
filled in.
14. In the Service Account Name window, type the User Name and Password for the user account under which the
Voicemail Pro service should log on and run. This should be the Voicemail account created previously on the
domain and Exchange server. Alternatively, click Browse and select from the list of available PC or network
accounts.
15. Click Next. The Select Program Folder window opens. By default, the program folders are created in a folder called
IP Office. You can specify a different folder or select one from the list of existing folders. To specify a different
folder, type the folder name in the Program Folders box. Alternatively, to use an existing folder, highlight a name
in the list of existing folders.
16. Click Next. The account details that you have entered are verified.
17. If you entered a new user name, a message is displayed to ask if you want to create a new PC user account with
the specified name and password. Click Yes.
18. Click Next. A summary of the components that are about to be installed is shown. Check that this list is as
expected. If for any reason the details are not what you expect, click Back and make the necessary changes.
41