Using Secure Virtual Assist | 101
Step 4 Enter a Password and click Login. The Waiting window displays and shows the length of time
you have been in the queue.
Step 5 You need to provide the Technician with the password you just defined. An easy way to do this
is to click Add Information and give the Technician your password.
Enabling a System for Secure Virtual Access
Note Secure Virtual Access is supported only on Windows clients. Secure Virtual Access is
installed automatically when Secure Virtual Assist is installed and can be accessed from the
Programs list under the Window’s start button.
Secure Virtual Access is similar to Secure Virtual Assist Unattended Mode in that Administrator
privileges are required to install these client features, and a Technician is prompted to provide
the password established during set-up to gain access to the system.
If Secure Virtual Access has been enabled on the Virtual Assist tab on the Portals > Portals
page of the management interface, users should see a link on the Virtual Office portal to set up
a system for Secure Virtual Access. The following process allows Secure Virtual Access to be
set up on a system.
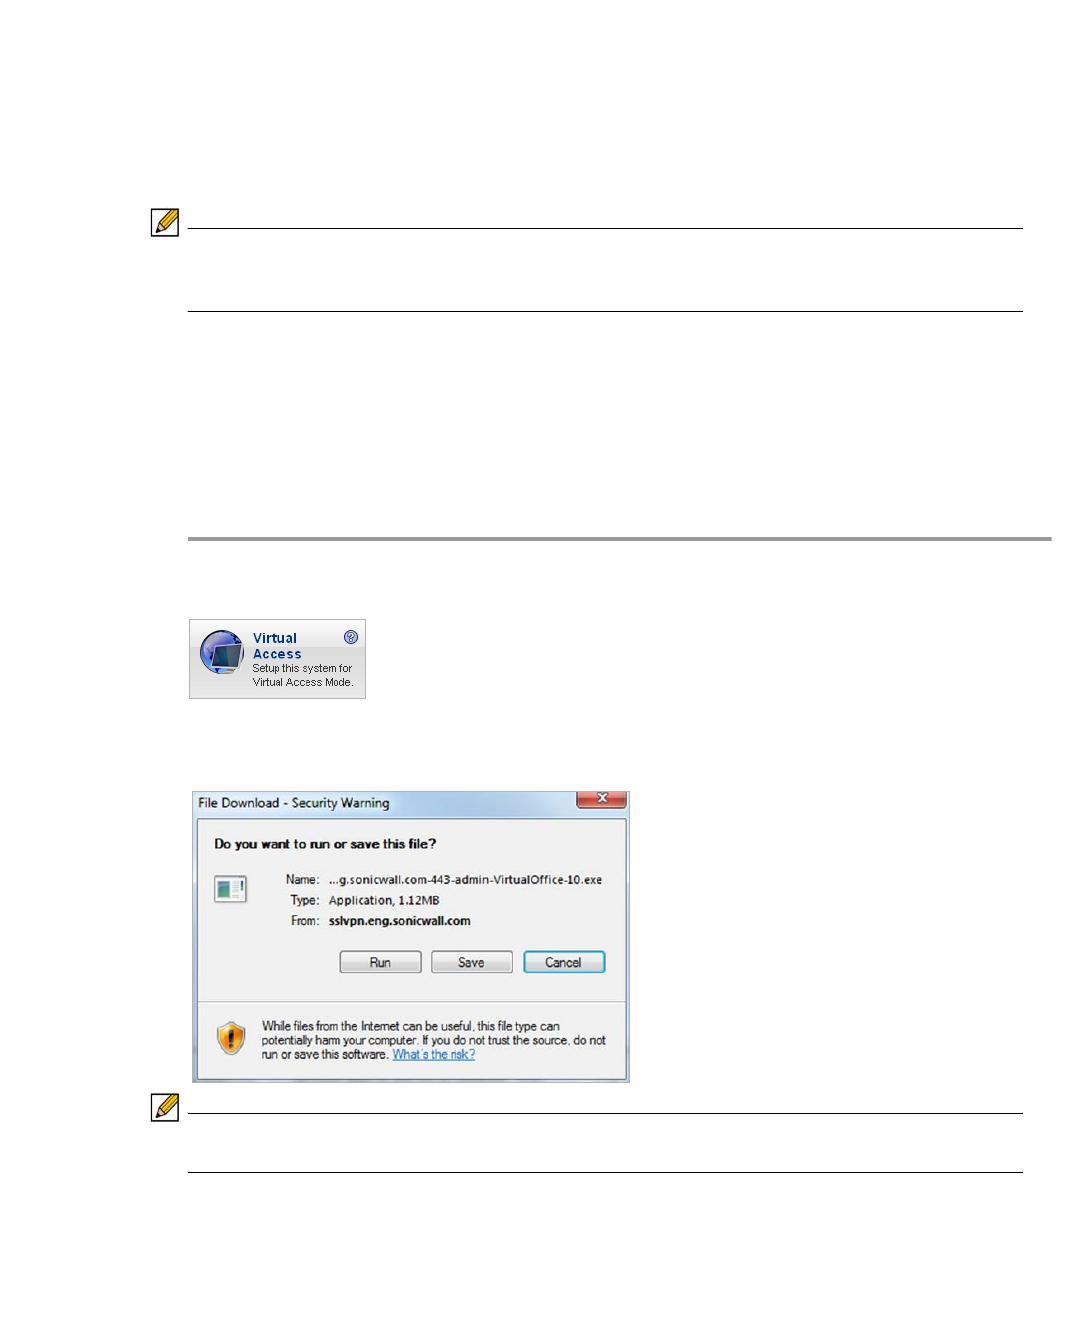
Step 1 Login to the Virtual Office portal through the system you wish to set up for Secure Virtual Access
and click the Virtual Access link.
Step 2 A file should download with parameters to install the VASAC.exe file that will provide the
needed client for Secure Virtual Access mode. Save and run the file.
Note Running the file directly from this dialog box may not work on some systems. Save the file
to the system and then run the application.
Step 3 Fill in the necessary information in the provided fields to set-up the system in Secure Virtual
Access mode and click OK.
• Server: This should be the name or IP address of the appliance the Technician normally
accesses the Virtual Office from outside the management interface (Do not include
“https://”).
