


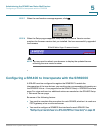

Administering the SPA400 and Voice Mail Service
Configuring the SPA400 Network Connection
SPA9000 Voice System Administration Guide 104
5
Configuring the SPA400 Network Connection
The SPA400 becomes a DHCP client of any server on the network. The
recommended setting is to use a static IP address. This configuration provides
ease of installation and prevents connectivity issues that would occur if the IP
address of the SPA400 changed.
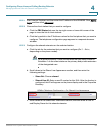
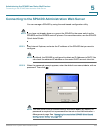
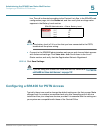
STEP 1 Start Internet Explorer, and enter the IP address of the SPA400.
NOTE By default, the SPA400 is configured to obtain an IP Address via DHCP. You
can check the obtained IP address on the router DHCP server’s client list.
STEP 2 When the password prompt appears, enter the default user name, Admin, with no
password. Then click OK.
NOTE The user name must be entered exactly as shown: Admin. For information
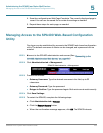
about access, refer to “Managing Access to the SPA400 Web-Based
Configuration Utility,” on page106.
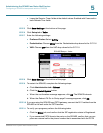
STEP 3 Click Setup tab > Basic Setup.
STEP 4 Enter the following settings:
Network Setup section:
• Fixed IP address: Click the radio button, and then enter a valid IP address.
NOTE To avoid addressing conflicts, enter an IP address that is outside the
range of addresses that are automatically assigned by your DHCP
server.
• IP Subnet Mask: Enter the subnet mask for the subnetwork that the
SPA400 is on.
• Gateway IP Address: Enter the IP address of the router for this subnetwork.