5-30
INSTALLATION-DK 16 KSU & PCB
SECTION 100-816-205
MARCH 1993
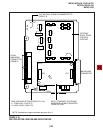
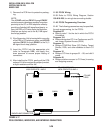
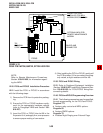
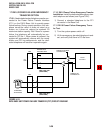
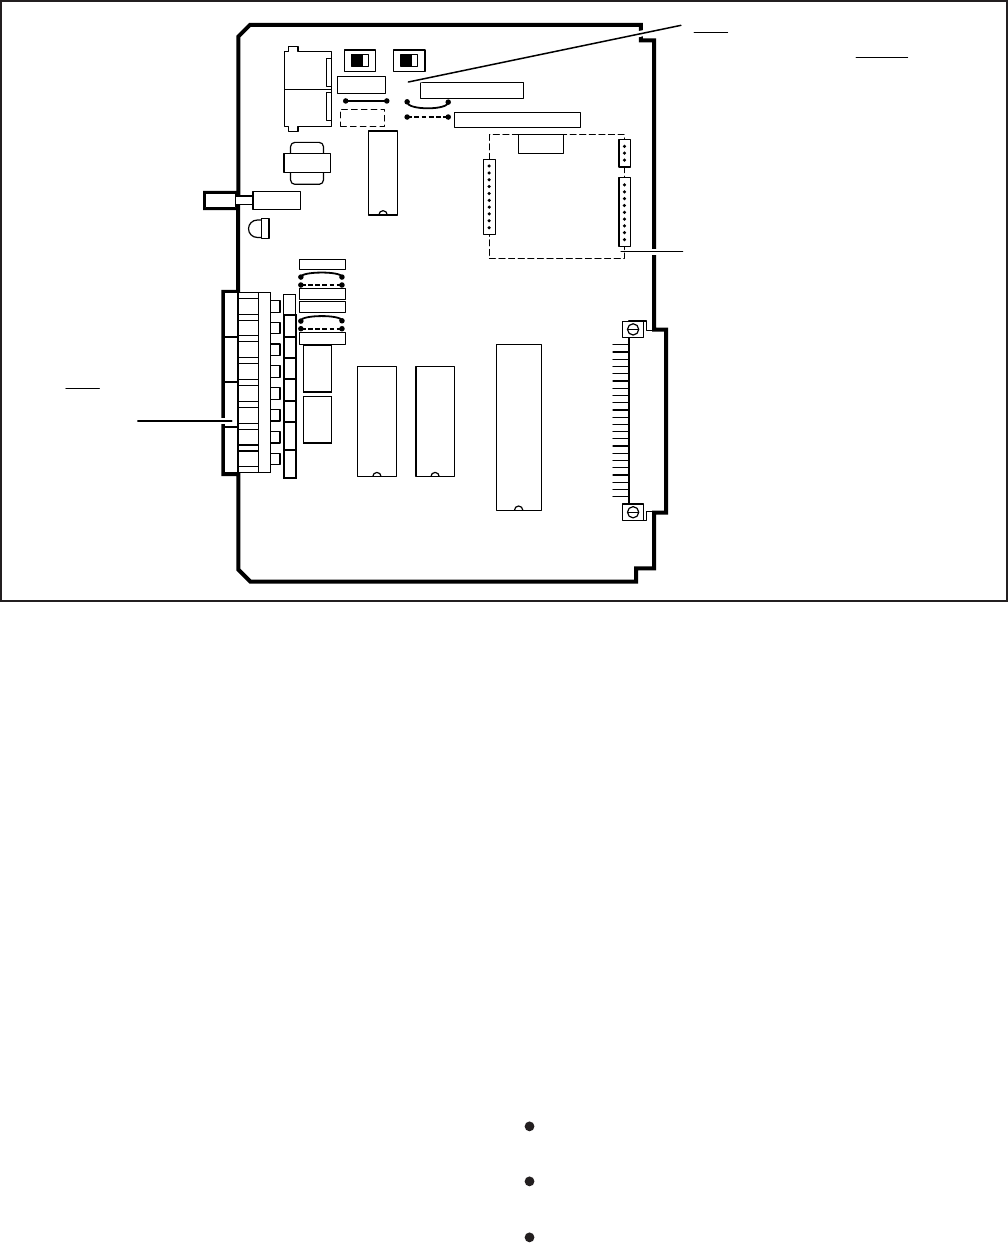
FIGURE 5-19
PIOUS PCB SWITCH/JUMPER, OPTION LOCATION
SPT SPR DET DER NHR ALMTNHT ALMR
SMDR
TTY
J3
SW1
SW3
CCITT
BELL
W4
NORMAL OPEN
NORMAL CLOSED
W3
IMDU
W1
W2
600 DE NH ALM
BREAK
MAKE
BREAK
MAKE
K2
K1
PIOUS
OPTIONAL IMDU PCB
REMOTE MAINTENANCE
MODEM
BACKPLANE
CONNECTOR
W4 NOT FACTORY
INSTALLED FOR BELL
MODEM SPECIFICATION
TBI
TERMINAL
STRIP
SW2
CD4
P1
P2
P3
NOTE:
Refer to Remote Maintenance Procedures,
Section 100-816-600, for information regard-
ing the IMDU.
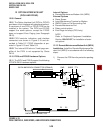
12.20 PIOU and PIOUS Installation Procedure
12.21 Install the PIOU or PIOUS in accordance
with the following steps:
1) Remove the PCB from its protective packag-
ing.
2) Ensure the PIOU or PIOUS has been config-
ured for the appropriate hardware options
(refer to Paragraph 12.10 and Section 100-
816-207).
3) Insert the PIOU or PIOUS into slot 06 in the
Expansion Unit, and apply firm, even pressure
to ensure proper mating of connectors.
4) After installing the PIOU or PIOUS, gently pull
the PCB outward. If the connectors are prop-
erly mated, a slight resistance will be felt.
12.30 PIOU and PIOUS Wiring
12.31 Refer to Peripheral Equipment Installation
(Section 100-816-207) and Wiring Diagrams (Sec-
tion 100-816-208) for PIOU/PIOUS wiring/inter-
connecting details.
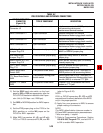
12.40 PIOU and PIOUS Programming Overview
12.41 The following parameters may be specified,
through programming, for the PIOU and PIOUS:
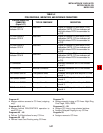
Program 77-1
Assigns relay control and IMDU options.
Program 60
Assigns SMDR options.
Program 78
Enables Night Ringing over External Page.


