


Chapter 4 Management from a Terminal Vmux-2100 Installation and Operation Manual
4-20 Configuring Main Link and Voice E1/T1 Ports
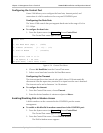
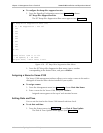
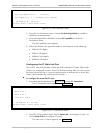
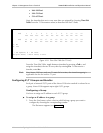
Lan Parameters
1. Set Auto Negotiation (Disable)
2. Set Capability > (100baseT Full Duplex)
@ - Db Update; # - Db Undo
ESC-prev.menu; !-main menu; &-exit
Figure 4-23. Lan Parameters Menu
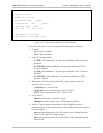
4. From the Lan Parameters menu, choose Set Auto Negotiation to enable or
disable the autonegotiation.
5. If the autonegotiation is disabled, choose Set Capability from the Lan
Parameters menu.
The Set Capability menu appears.
6. Select the desired LAN operation mode by choosing one of the following:
10BaseT half duplex
10BaseT full duplex
100BaseT half duplex
100BaseT full duplex.
Configuring the E1 Main Link Port
The M-IPE1 main link modules include two fully redundant E1 ports. When both
of them are configured as active, Vmux-2100 starts sending data over the one that
has been connected first. If a loss of synchronization is detected on an active link,
Vmux-2100 automatically switches to the backup.
To configure the main link E1 port:
1. From the Main Board menu (see Figure 4-22), choose E1 Parameters.
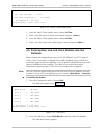
The E1 Parameters menu appears (see Figure 4-24).
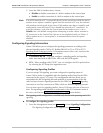
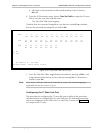
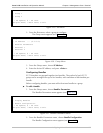
E1 Parameters
1. Main Link 1
2. Main Link 2
3. Time Slot Table
@ - Db Update; # - Db Undo
ESC-prev.menu; !-main menu; &-exit
Figure 4-24. E1 Parameters Menu
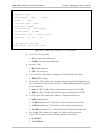
2. From the E1 Parameters menu, choose Main Link 1 to configure E1 port 1 or
choose Main Link 2 to configure E1 port 2.
The Main Link 1/2 menu appears (see Figure 4-25).