Using the Review Screen
If the Review after capture checkbox is currently checked in the Tools > Options... >
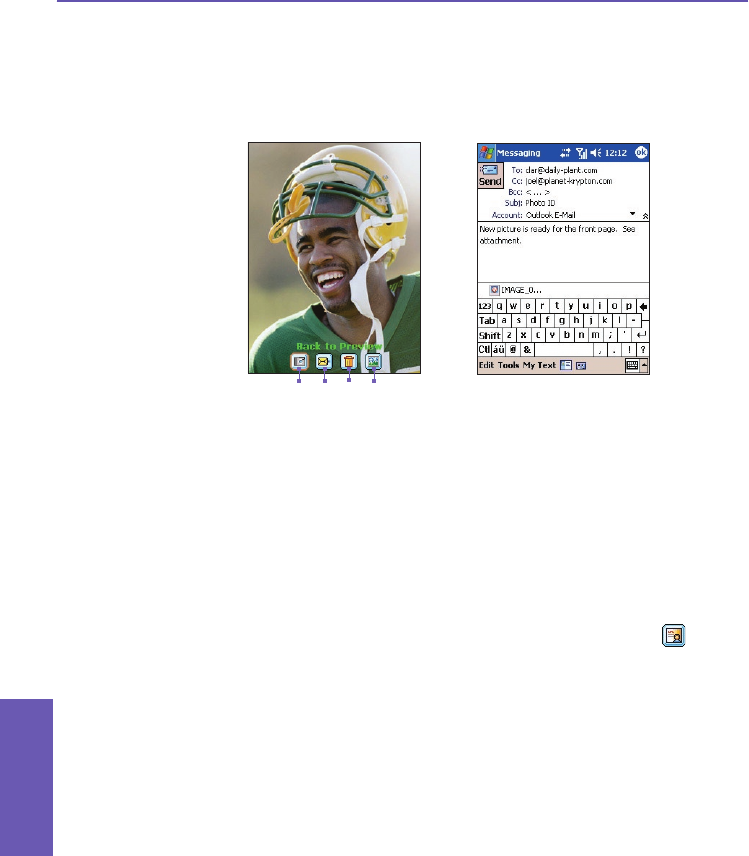
General tab (it is checked by default), then immediately after you capture a new image or
video le, it will be displayed on the screen along with four icons.
1. To return to the previous Capture screen, tap the leftmost icon (Back to Preview). This will
keep the newly-captured le, saving it using the default le-naming conventions currently
specied in Tools > Options....
2. To immediately send a captured image/video, tap the Send icon, then select an option
from the Send File dialog box: Send via MMS or Send via E-mail. A Compose screen will
appear, with the le already attached and ready to be sent. An example is illustrated above
on the right. (See last page of Chapter 8 for information about Messaging overrides.)
Exception — Contact Photo capture mode:
If you are using the Contact Photo capture mode, the Assign to Contact icon will
display in this second position (instead of the Send icon). Tap this icon to assign the new
captured image as a Photo ID to an entry in your Pocket Contacts. The Photo Contacts
(Caller ID) application will be invoked, with the Assign Photo process already in progress.
After you have assigned the image to a Contact, you will be returned to Camera mode.
Then, every time that person calls you in the future, his/her Photo ID will display in the
Incoming Call window on your Pocket PC Phone screen. See Chapter 3 for more about
the Photo Contacts application.
3. If you don’t like the newly-captured le and want to delete it, tap the Delete icon.
4. Tapping the rightmost icon, View in Album, will switch to the Detailed View mode of
Album, where you can play the le if a video, or view and edit image les.
Review Screen:
1 432
Pocket PC Phone User Manual
146
Using Camera
and Album
Pocket PC Phone User Manual
147
Using Camera
and Album


