


––––––––––––––––––––––––––––––––––––––––––––––––––––––––––––––––––– Program Administration Section
75
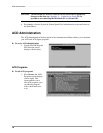
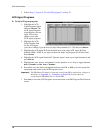
Administration Menu (DKAdmin)
➤ To edit a program
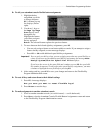
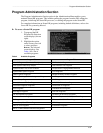
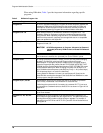
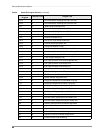
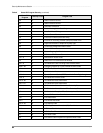
1. Press F3 and the
Directory Numbers
Assignments screen
displays (shown right).
2. Highlight the logical
port number and press
F2 to reset the DN for
the logical port
numbers on a range of
ports.
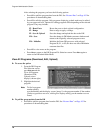
3. A change dialog box
displays and you must
enter the starting DN. A pop-up screen displays asking you to confirm the change:
This operation will modify DN numbers. Go ahead?
4. Press Enter to change the port numbers.
5. Press F9 to save the entries and upload the data to the DK, or F10 to save the changes in
the DKAdmin customer database and return to the DK Program File Selection screen.
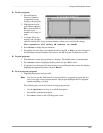
➤ To print programs
1. Press F4 and a printer pop-up dialog box displays. The default printer is checkmarked.
2. Press Enter to print or highlight another printer and press F2 to select.
3. If a printer is not designated for the selected port, press F2 again and a printer list displays.
Highlight the appropriate printer and press Enter.
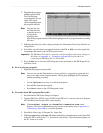
➤ To view notes on a program
➤ Highlight the program and press F5.
Note You can also use the Find function to move quickly to a program by typing the first
one or two digits of the program number. The program highlights the first program
number matching your entry.
The following keys can be used when viewing program notes:
♦ Use the Up/Down arrow keys to scroll the description.
♦ Press F10 to print the description.
♦ Press Esc to return to the ACD Programs screen.