––––––––––––––––––––––––––––––––––––––––––––––––––––––––––––––––––––––––––––––––––––– Upgrade
113
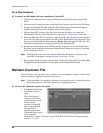
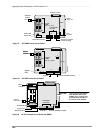
Backup Menu (DKBackup)
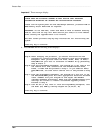
Note For Release 2, only the following message displays: Turn the system OFF (5
sec).
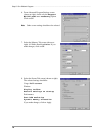
23. Turn the system off (five seconds) and then on.
...or
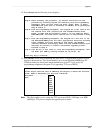
When the screen displays the message Perform Automatic Power OFF/ON
Simulation?, highlight Yes (Release 3 or Release 4 upgrades only).
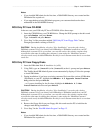
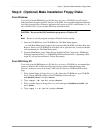
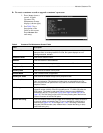
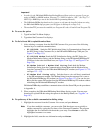
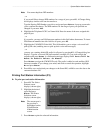
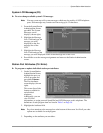
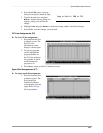
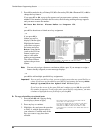
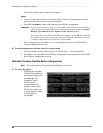
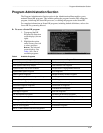
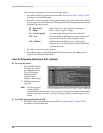
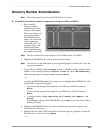
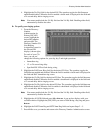
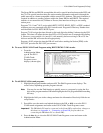
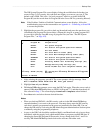
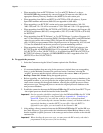
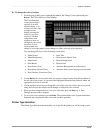
24. Press Enter and DKAdmin/DKBackup runs Program 91-2 and displays the screen below
(Release 3 or Release 4 upgrades only).
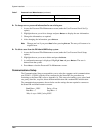
25. Press any key. The upload part of the upgrade process has been completed.
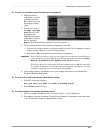
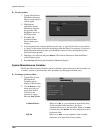
26. Press the spacebar; the following message displays: To complete the upgrade
process, you will receive data?
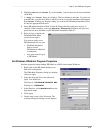
27. Highlight Yes and press Enter and you are prompted for the DK Code. It is necessary to
download the upgraded processor database to complete the upgrade process.
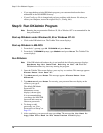
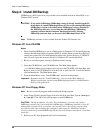
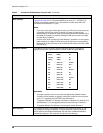
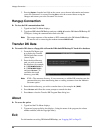
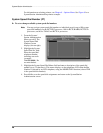
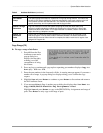
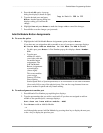
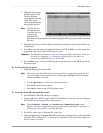
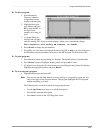
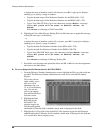
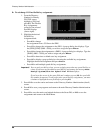
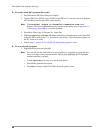
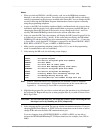
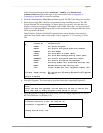
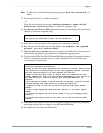
28. Type the default DK Code 0000. DKAdmin/DKBackup downloads the upgraded database
and saves it under the customer directory. When complete, the Processor Conversion
screen displays (shown below).
29. Perform the steps displayed on the screen as required, using the programming telephone,
and backup any data that you change, using DKAdmin/DKBackup.
30. Press Esc twice to return to the Main Menu.
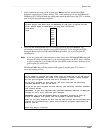
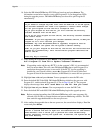
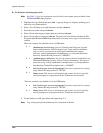
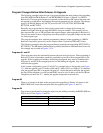
Program 91-2 has been completed.
The system has performed a power off/on simulation.
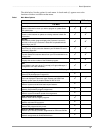
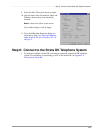
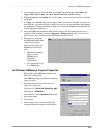
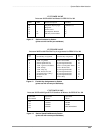
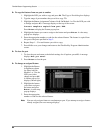
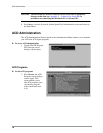
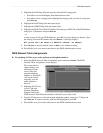
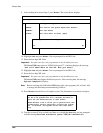
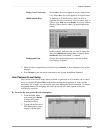
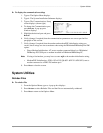
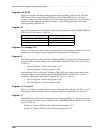
Processor Conversion
Conversion Completed Successfully.
Program 03 may have been updated by the conversion process. This process
only updates the installed PCBs but not the piggyback options. You must
edit and upload Program 03 if such changes are required.
Program 76 may have been reset to ensure that the communication link
between DKBackup PC and the Strata DK RSIU/RSIS/RMDS TTY port remains at
the same baud rate. Check and adjust each RSIU/RSIS/RMDS port as
required.
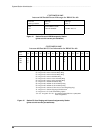
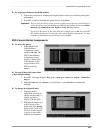
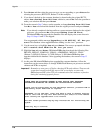
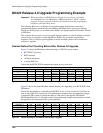
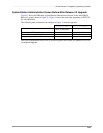
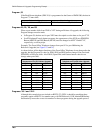
If you upgraded a Release 2 System with ACD to Release 3 system with ACD,
you must perform the steps below for proper ACD operation:
1. Remove all ACD CO line and Pooled line buttons from Agent phones
(PRG39).
2. Add a single appearing PhDN (ACD Call Button) to all Agent phones
(PRG39).
3. Program each Agent ACD Call Button PhDN to ring at the Agent phone
(PRG
*
71).
4. Program each Agent phone as the owner of its ACD call button PhDN
(PRG
*
33).