–––––––––––––––––––––––––––––––––––––––––––––––––––––––––––––– Flexible Button Programming Section
63
Administration Menu (DKAdmin)
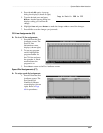
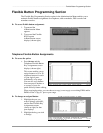
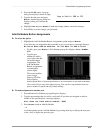
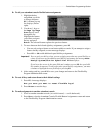
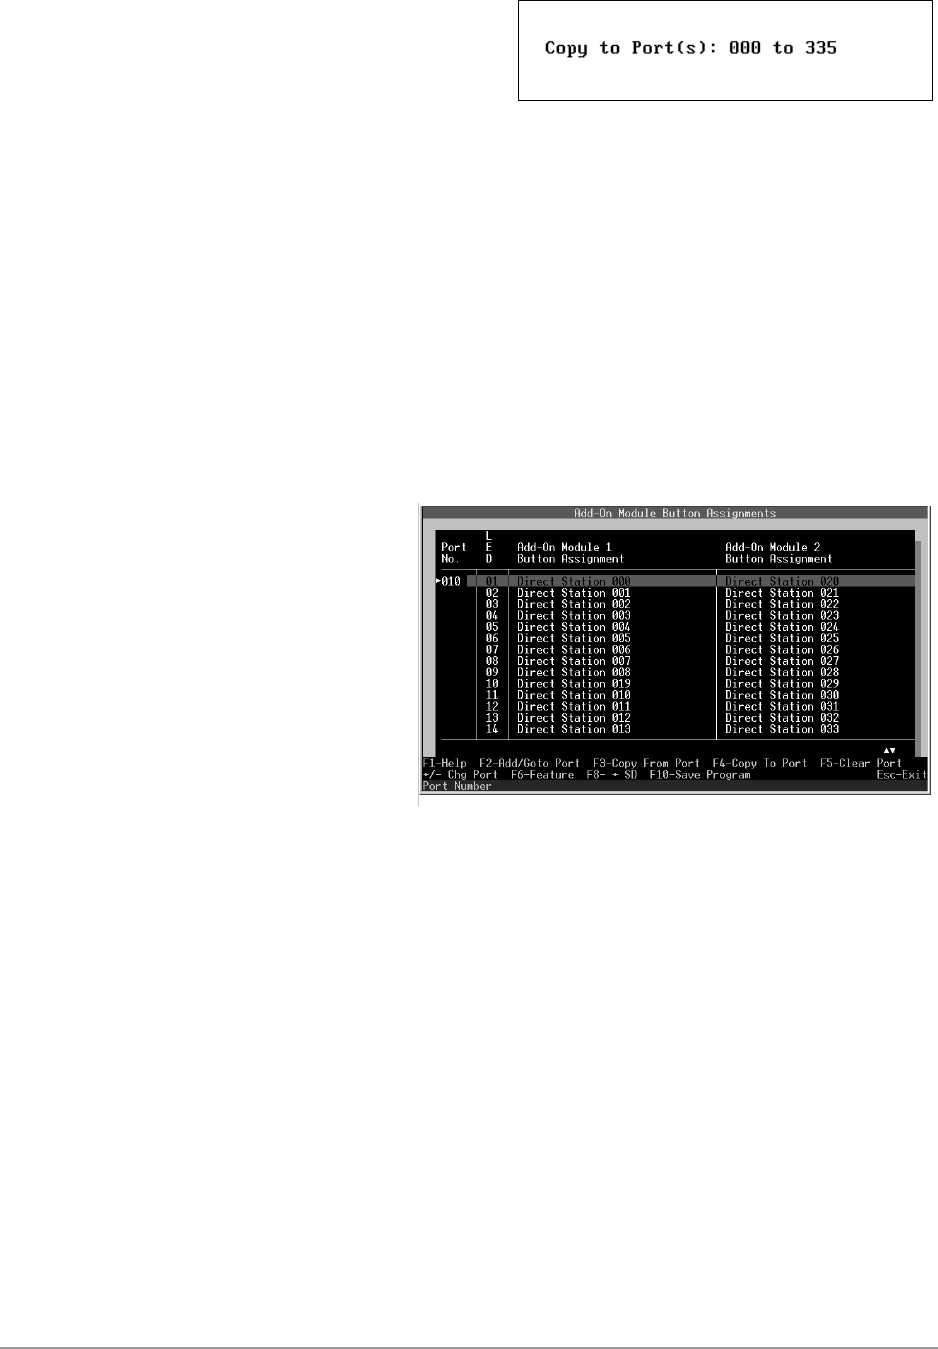
4. Press Ctrl+F2 again. A pop-up
dialog box displays (shown at right).
5. Type the desired ports and press
Enter. Another pop-up dialog box
displays asking you confirm the
change.
6. Highlight Yes and press Enter to make the change or No to cancel the changes.
7. Press F10 to save the changes you just made.
Add-On Module Button Assignments
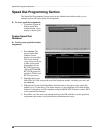
➤ To access the option
1. Highlight the Add-On Module Button Assignments option and press Enter.
If you have not yet assigned an add-on module to any of your ports, a message displays:
No Ports Have Add-on Modules. Do You Want To Add A Port?
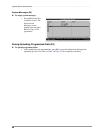
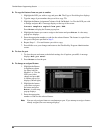
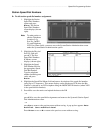
♦ To add a port, press Enter. A Port Number pop-up box displays: Port Number
000.
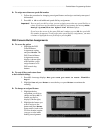
♦ Type the port
number for which
you wish to edit add-
on module button
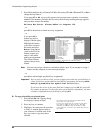
assignments. The
Add-On Module
Button Assignments
screen displays
(shown right).
This screen enables
you to assign
features (CO Line,
Direct Station,
Station Speed Dial or System Speed Dial) to 20 LED buttons on two add-on modules
(for a total of 40) to any of the physical ports. You can also copy features from one
port to another for quick and easy feature editing.
➤ To make assignments to another port
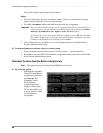
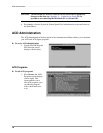
1. Press F2 and a Port Number pop-up dialog box displays.
2. Type the port number that you wish to work with. If you have not assigned an add-on
module to the specified port, a message displays:
Port does not have add-on module. Add?
3. Press Enter to add an Add-On Module
...or
scroll through the current Add-On Modules by pressing the + key to display the next port,
or the - key to display the previous port.


