


––––––––––––––––––––––––––––––––––––––––––––––––––––––––––––––––––– Step 5: Run DKAdmin Program
13
Installing DKAdmin
6. Highlight Yes and press Enter. If you choose No, your new passwords are not installed
on the disk.
7. A “Copy to Drive” dialog box displays. The box defaults to drive A:. If you do not
want drive A:, type the drive letter to which you wish to copy the installation information.
Press Enter. A dialog box displays asking you to insert the DKAdmin Installation Disk
#1 into the appropriate disk drive.
8. Insert DKAdmin Installation Disk #1 into the floppy-disk drive and press any key to
continue. When complete, a message Process Successful displays and your new
passwords are now available on your DKAdmin Installation Disk #1.
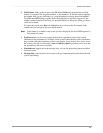
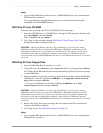
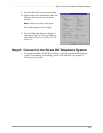
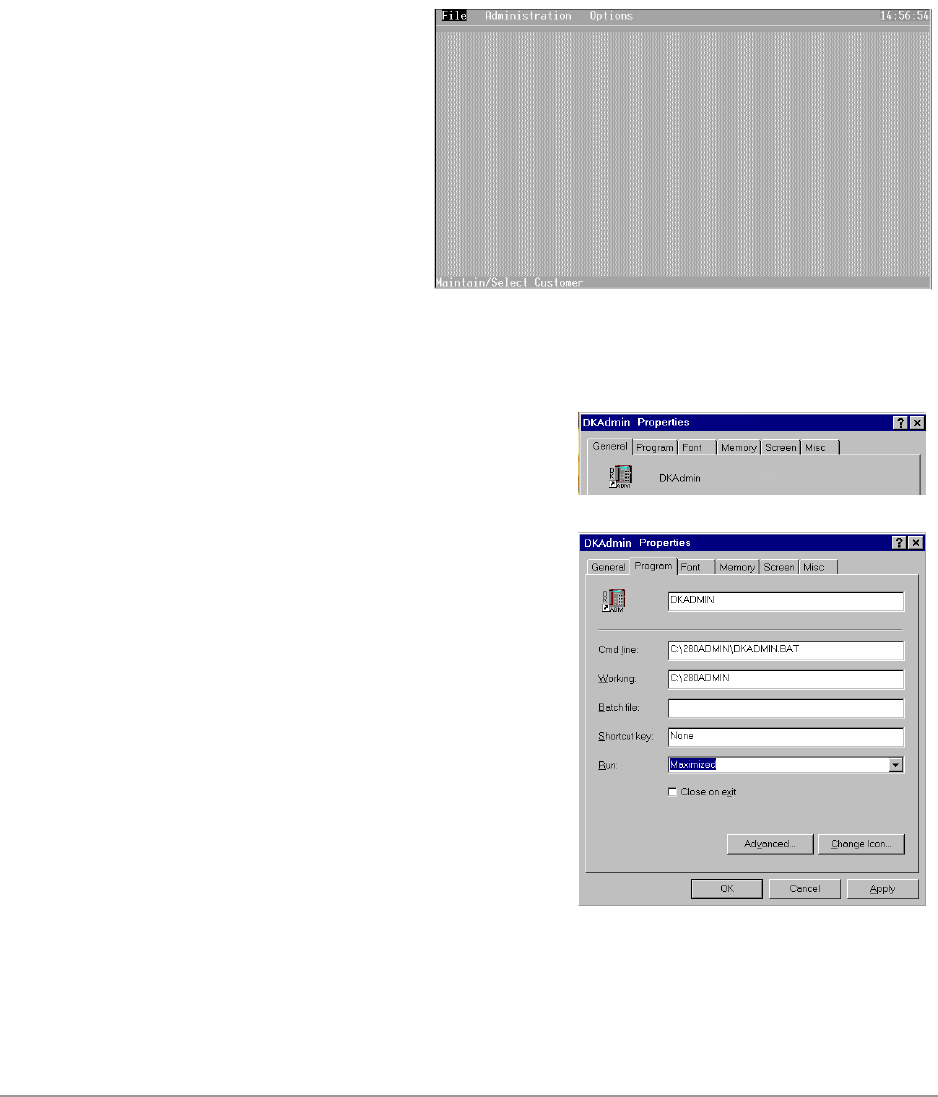
9. Press any key to display the
DKAdmin Main Menu
screen (shown right).
You are now ready to use
DKAdmin and can use your:
♦ Modified installation
disks to install
DKAdmin on additional
workstations.
♦ New passwords to log in
to DKAdmin.
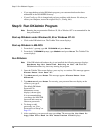
Set Windows DKAdmin Program Properties
Set these properties when running DKAdmin as a DOS session under Windows:
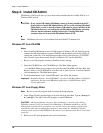
1. Right click on the DKAdmin desktop icon,
then click on Properties.
The DKAdmin Properties dialog box displays
(shown at right).
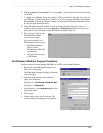
2. Select the Program Tab screen (shown at
right). You should see:
Cmd line: C:\280ADMIN\DKADMIN.BAT
Working: C:\280ADMIN
3. In the Run box, select Maximized from the
drop-down menu.
4. Click Apply.
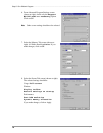
5. On the same screen, click Advanced. The
Advanced Program Settings screen displays.