


Firmware Pages and Descriptions
105
NXD-700Vi 7" Modero® Wall/Flush Mount Touch Panel with Intercom
Refer to the EAP Authentication section on page 201 for further details on these security options.
Refer to the Using the Site Survey tool section on page 44 for more information on using this
feature.
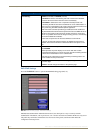
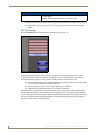
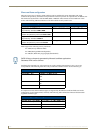
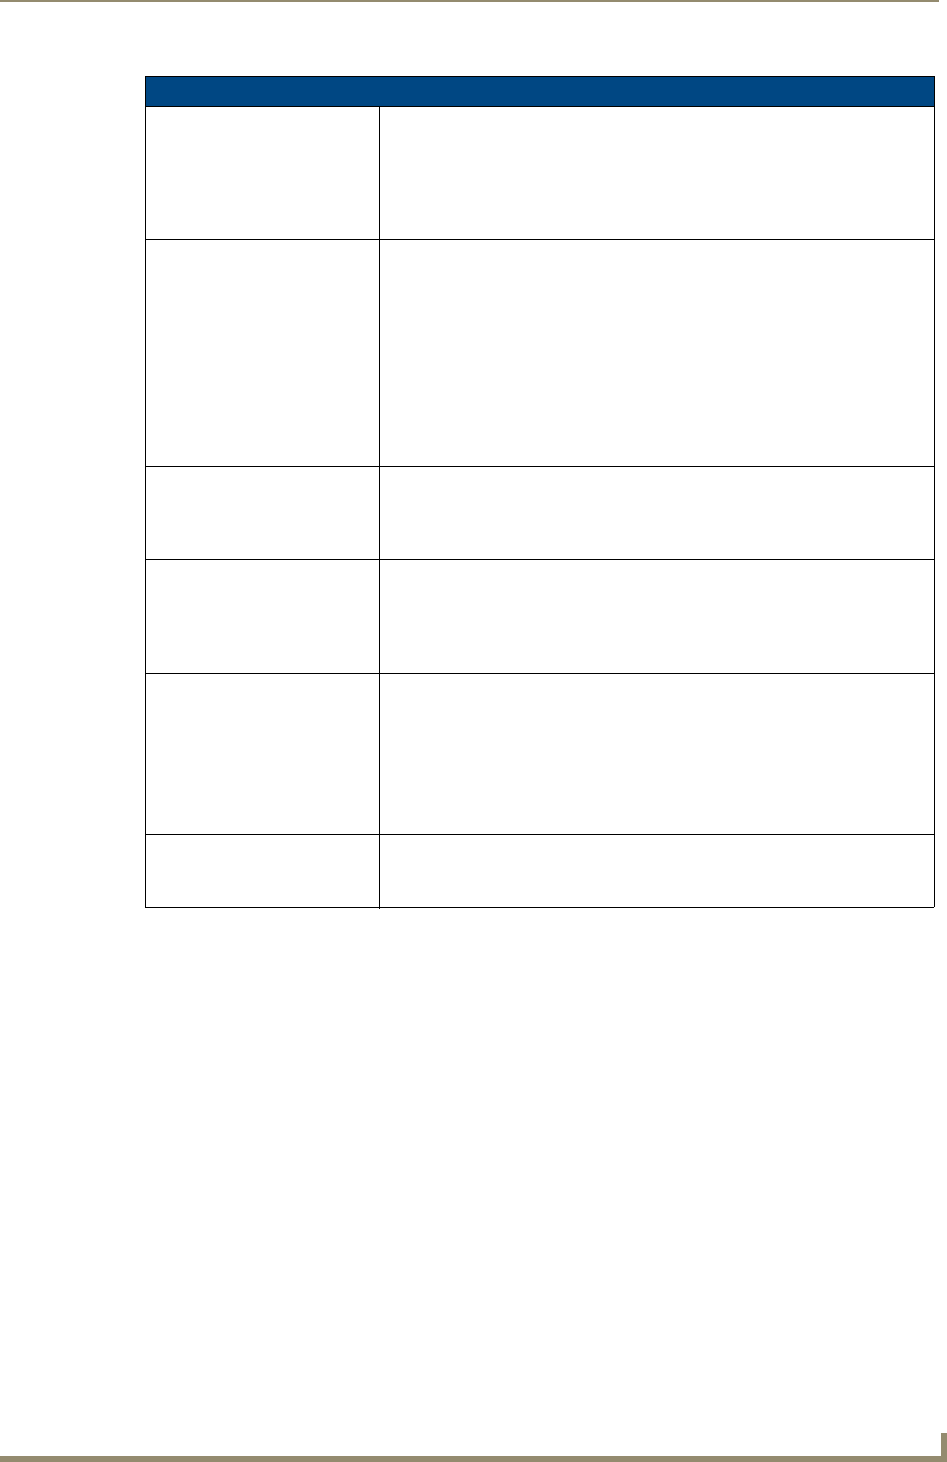
EAP-FAST Settings (Cont.)
Identity: Opens an on-screen keyboard. Enter an EAP Identity string (used by the
panel to identify itself to an Authentication (RADIUS) Server).
Note: This information is similar to a username used to login to a secured
server or workstation. This works in tandem with the Password string which is
similar to the password entered to gain access to a secured workstation. Typ-
ically, this is in the form of a username such as: jdoe@amx.com.
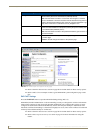
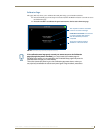
Certificate Authority: When pressed, the panel displays an on-screen Certificate Authority (CA)
File Location keyboard which allows you to enter the name of the certificate
authority file which is used to validate the server certificate.
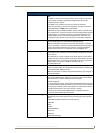
This field is optional.
If a server certificate is used, it should first be downloaded into the panel and
the Certificate Authority field should then be set to the name of that certificate
file. No file path should be used for this setting as all certificates are stored in
a specific directory that the user cannot control or change.
• Use the on-screen keyboard’s Clear button to completely erase any
previously stored network path information.
Client Certificate: Opens an on-screen keyboard. Enter the name of the file containing the client
(panel) certificate for use in certifying the identity of the client (panel).
• Refer to the Client certificate configuration section for information regarding
Client Certificates and their parameters.
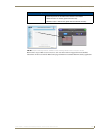
Private Key: When pressed, the panel displays an on-screen Client Private Key File Loca-
tion keyboard which allows you to enter the name of the file containing the
private key.
• Use the on-screen keyboard’s Clear button to completely erase any
previously stored network path information.
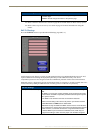
Private Key password: This field should only be used if the Private Key is protected with a password.
If there is no password protection associated with the Private Key, then this
field should be left blank.
• When pressed, the panel displays an on-screen Private Key Password
keyboard which allows you to enter an alpha-numeric password string.
• Use the on-screen keyboard’s Clear button to completely erase any
previously stored network path information.
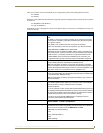
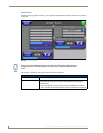
Save/Cancel: • Save - store the new security information, apply changes, and return to the
previous page.
• Cancel - discard changes and return to the previous page.