


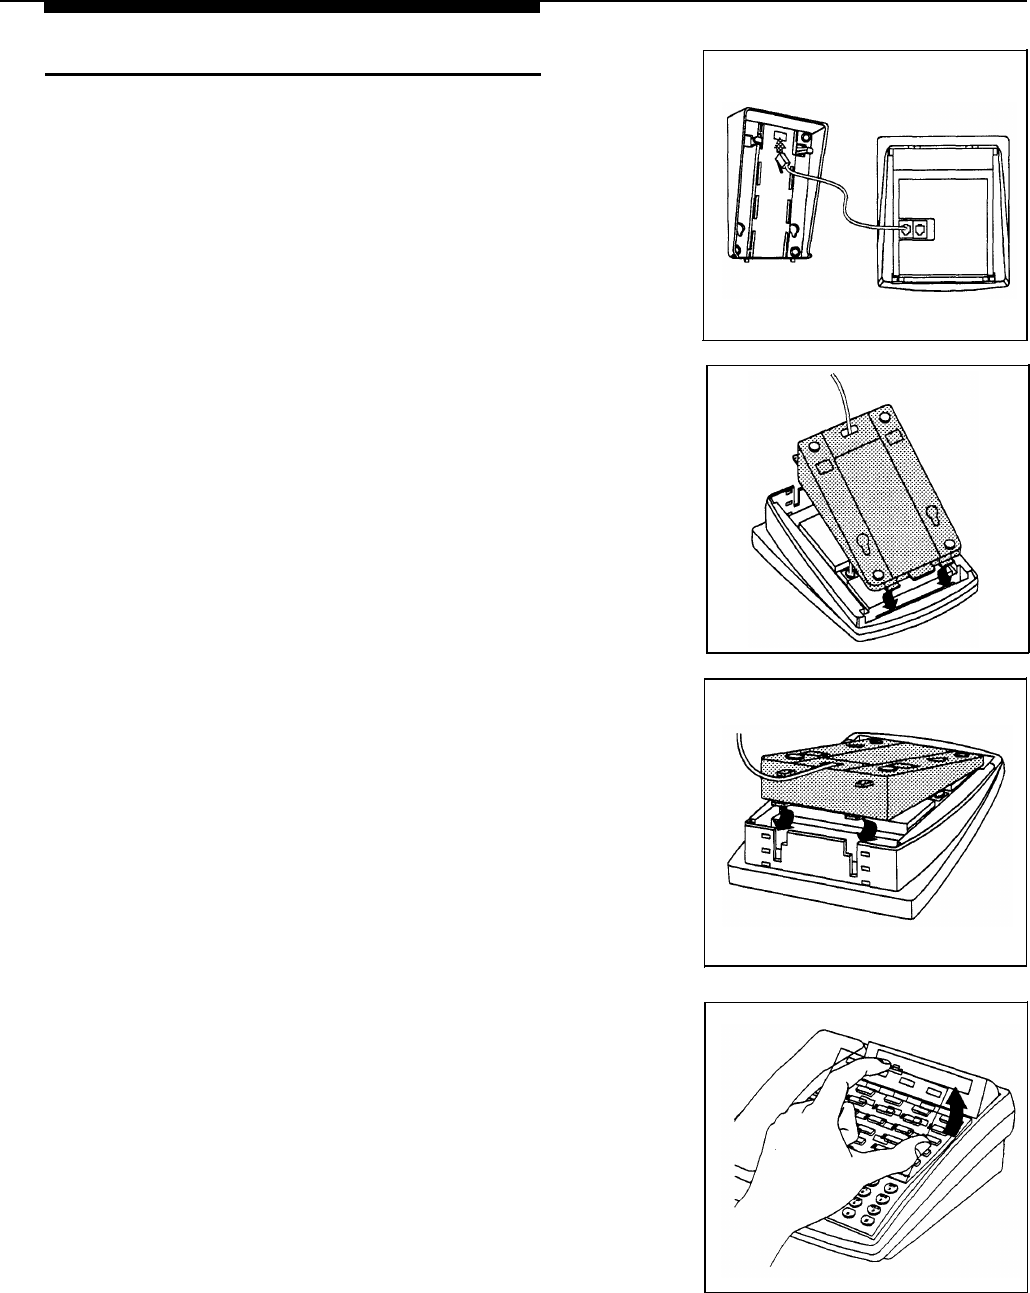
Assembling System Phones
All PARTNER-model phones are shipped with a stand for
either desk mounting or wall mounting the phone.
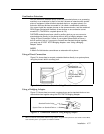
Desk Mounting
1
2
3
4
A)
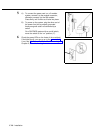
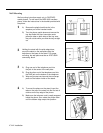
Gently place the phone upside down.
B)
Route the telephone cord through the hole in the
top center of the stand.
Insert the tabs on the narrow end of the stand into
the slots on the inside bottom edge of the phone.
A)
B)
C)
A)
B)
C)
D)
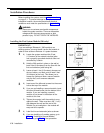
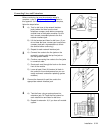
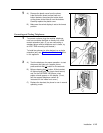
While pressing in the tabs that protrude from the
wide end of the stand, lower the stand to the
phone.
Release the tabs to lock the stand into one of the
three positions provided by the openings in
the back of the phone.
The height of the stand is adjustable to three
positions: low, medium, and high. The phone
height can be adjusted by moving the locking
tabs to a different position.
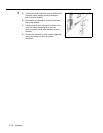
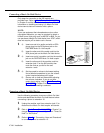
Turn the phone over.
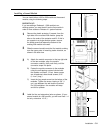
Remove the plastic cover from the phone.
Label the button sheet to show lines and
button features, then place the button sheet
on the phone so the holes fit over the buttons.
Carefully replace the plastic cover.
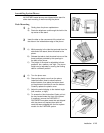
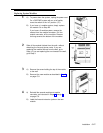
Adjust the swivel display to the desired angle
(low, medium, or high).
To access the User Instruction Cards, pull out
the tray located under the front of the phone.
If necessary, remove the PARTNER
II/
PARTNER Plus system cards that are shipped
with the phone and replace them with the
cards that were shipped with the first system
module for this PARTNER system.
Installation C-13