© 2006 Verizon
Verizon One User Guide
120
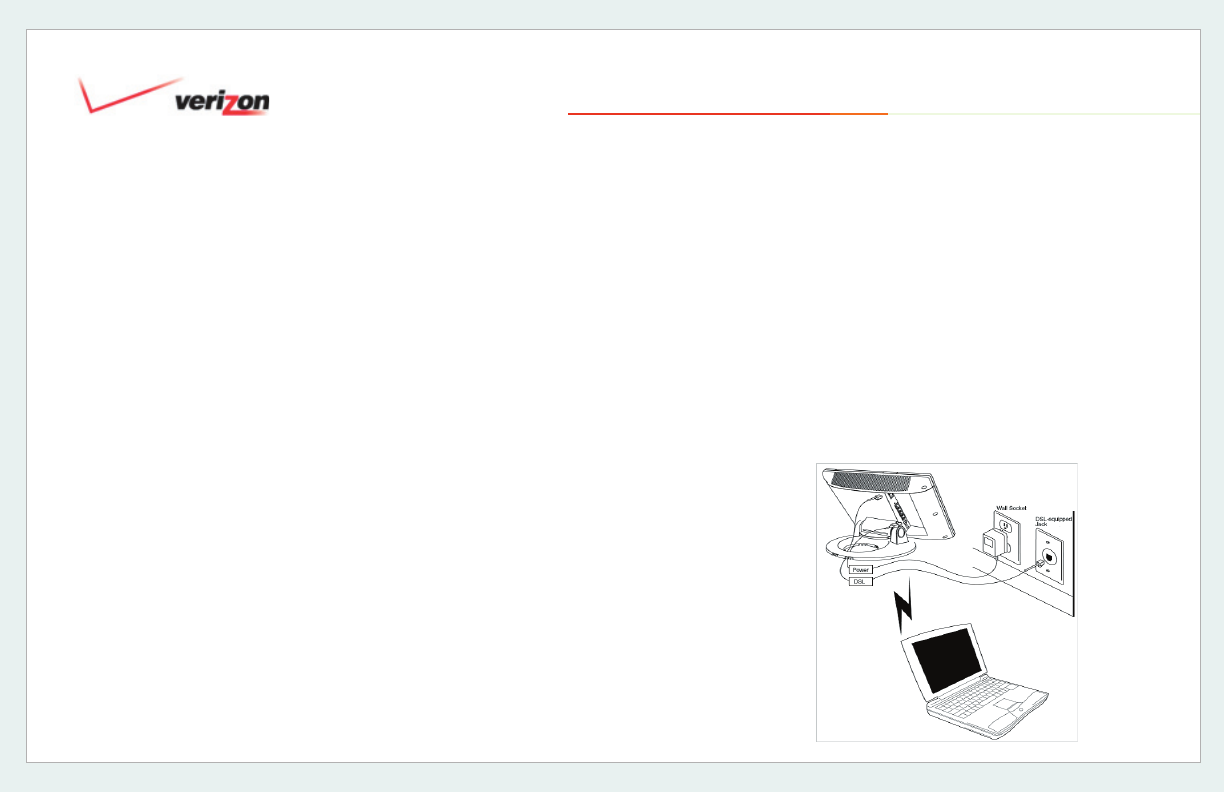
20.3.5 Installing a Wireless Network
Preparation
1. Ensure that an 802.11b/g/g+ wireless
network adapter has been installed in
each PC on your wireless network.
2. Install the appropriate drivers for your
Wireless IEEE802.11b or
IEEE802.11g adapter.
3. Turn on Wireless Networking. Do this
directly on the Verizon One
display
touch-screen by selecting
Menu,
Settings, and then Wireless.
Adding Computers to your Wireless
Network
4. Configure the Wireless Network
Name
(called the Service Set ID or
SSID) on each PC that will connect
wirelessly to Verizon One
.
IMPORTANT: The Wireless Network
Name (SSID) must be the same for both
Verizon
One and your PC’s wireless
network adapter. The default SSID for
Verizon One
is: Verizon One followed
by the last 4 digits of the unit’s serial
number (located below the bar code on the
bottom of the unit). For example: Verizon
One1234. You can change the default
SSID directly on the Verizon One display
touch-screen by selecting Menu, Settings,
and then Wireless. You must locate and
run the utility software provided with your
PC’s wireless network adapter and enter
the SSID. The PC’s wireless network
adapter must be configured with the SSID
(in order to communicate with Verizon
One) before you begin the account set-up
and configuration procedures.
NOTE: Client PCs can use any Wireless
Fidelity (Wi-Fi) 802.11b/g/g+ certified card
to communicate with Verizon One. The
Wireless card and Verizon One must use
the same Wired Equivalent Privacy (WEP)
security code type. The factory default
for WEP is DISABLED. If you enable
WEP, you must ensure that the network
setting for your wireless adapter is set to
“Must Use Shared Key for WEP” or “Open
Wi-Fi.” You must ensure that your PC’s
Wi-Fi adapter is configured properly for
whichever network setting you use. You
can access the settings in the advanced
properties of the wireless network adapter.
20. Home Networking


