


TRANSCEIVER PROGRAMMING
3-20
November 1999
Part No. 001-7780-500
4. Repeat the preceding steps for the other scan lists if
applicable.
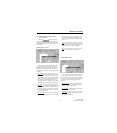
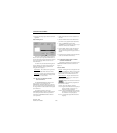
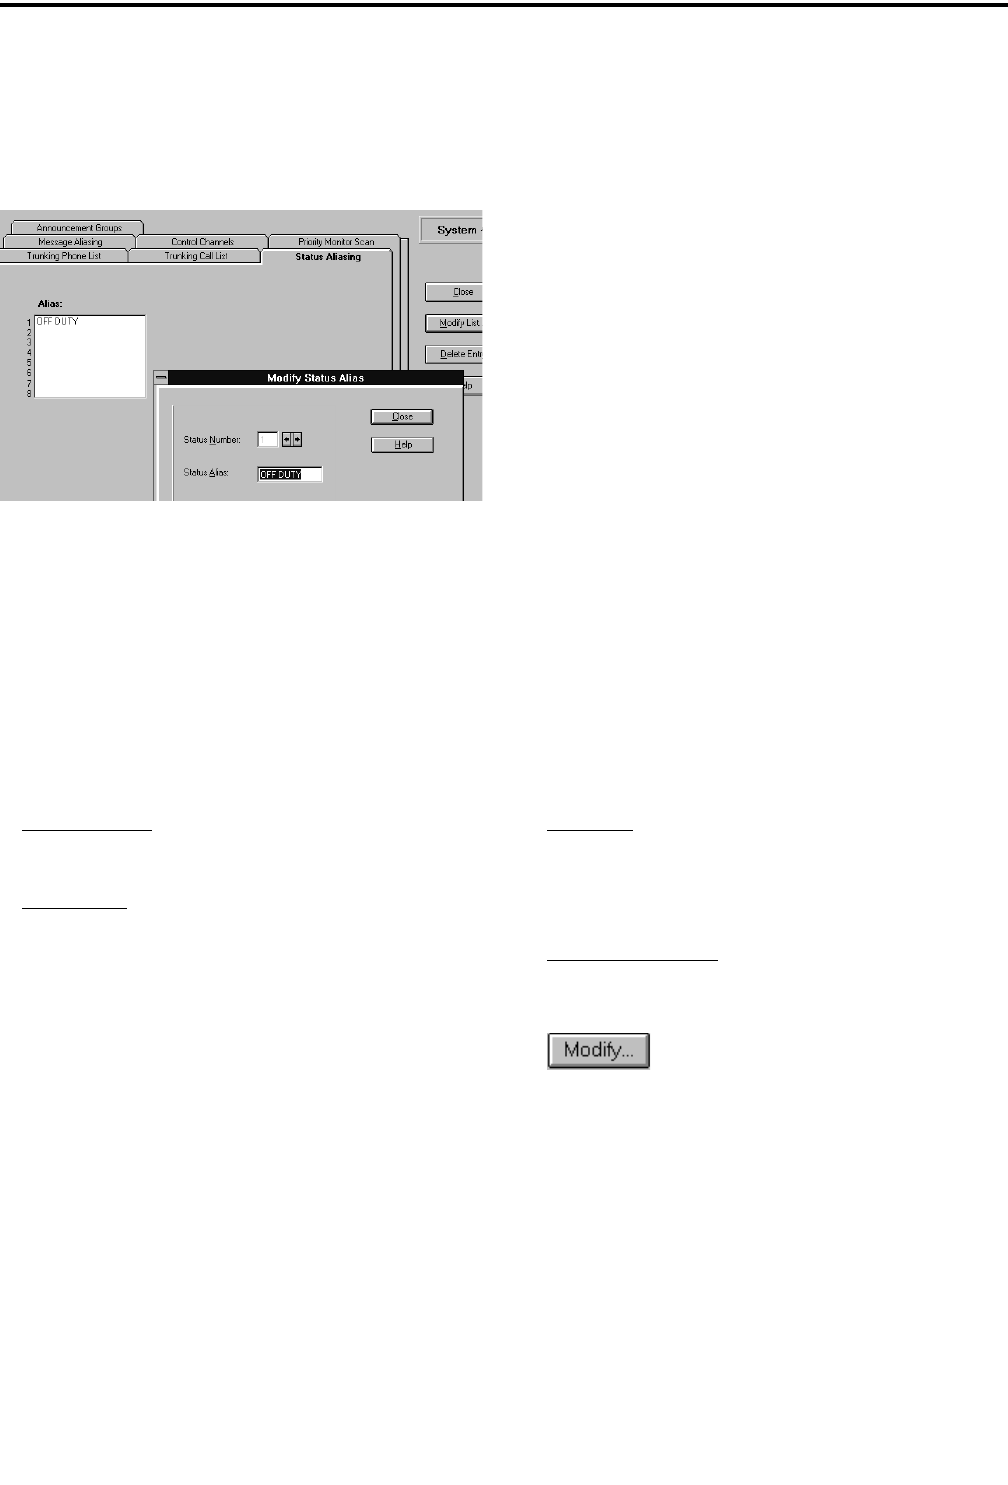
Status Aliasing Screen
This screen is shown above, and it programs the
alias for each of up to eight status conditions that can
be sent. The meaning of each status number is defined
by the system manager. Refer to Section 2.5.9 for
more information.
To edit this list, click the Status Aliasing tab and
then the “Modify List” button on the right side. The
following information is then programmed in the
dialog box that is displayed:
Status Number
-Thescrollbarstotherightofthis
box select the status number that is to be edited.
Status Alias
- Programs up to 8 characters that iden-
tify the status. This identification is displayed when
the user selects a status condition.
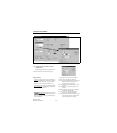
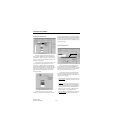
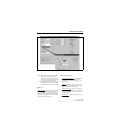
3.6.8 SETTING UP SMARTNET/SMART-
ZONE CHANNELS
The SMARTNET/SmartZone Channel screen
shown in Figure 3-4 is displayed when the
SMARTNET or SmartZone channel type is selected.
This screen programs unique channel parameters and
also assigns channels to the selectable zones displayed
by the transceiver.
The general procedure for setting up a
SMARTNET/SmartZone channel is as follows. Refer
to the descriptions which follow this procedure for
information on SMARTNET/SmartZone Channel
screen parameters.
1. Make sure that the desired zone is selected in the
Zone box.
2. Select the channel number in the Channels Index
box which is to be programmed with the channel.
3. To set up a SMARTNET channel, select
“SMARTNET” as the channel type, and to set up a
SmartZone channel, select “SmartZone”.
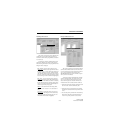
4. Click the Modify button to display the dialog box
shown in the lower part of Figure 3-4. This box
programs the alias (tag) that is displayed when it is
selected.
5. Program the other parameters in the main part of the
screen (see information which follows).
3.6.9 SMARTNET/SMARTZONE CHANNEL
SCREEN PARAMETERS
The following parameters are programmed in the
SMARTNET/SmartZone channel screen shown in
Figure 3-4.
Selected Channel
Zone Box
- Clicking the arrow to the right of this box
displays the available zones. Click on a zone to select
it. Zones and zone aliases are set up on the Radio-
Wide General screen described in Section 3.4.2.
Channel Index Box
- Displays the channels in the
selected zone. The channel type is selected by the
Channel Type box below it.
- Displays thescreen shown in the lower
part of Figure 3-4. The parameters programmed in
this screen are as follows:
Channel - Selects the channel to be edited.
Alias - Programs the identification that is displayed
when the channel is selected. Up to 8
characters can be programmed.
Transmit - Not programmable because the transmit
frequency is dynamically assigned over the
air (“Trunked” is always displayed).
Receive - Dynamically assigned like the transmit
frequency.