148
In the Console, make the routing and input/output configuration changes (such as gain adjustments, mute, 4.
etc.) that you want to include in the macro.
Click 5. Stop in the Macro Record dialog to end macro recording.
The macro Command Editor appears with a list of the commands captured.6.
Click 7. Save to save the macro.
You can use the Macro Editor to modify recorded macros as described in the next section.
Macro Editor
Creating Macros
Use the following procedure to create a macro using the Macro Editor:
1. Select the Macro number to create from the Macro drop-down list.
NOTE: Used macros are indicated by an asterisk in the macro drop-down list.
2. Press Change Name to assign a name to the macro (optional). Enter the name into the Change Name
dialog that appears.
NOTE: Macro names appear in Console macro lists and on the LCD Macro menu. Using brief
descriptive names makes it easier to identify a macro’s functionality.
3. Enter a description of the macro’s functionality in the Macro Description entry field (optional).
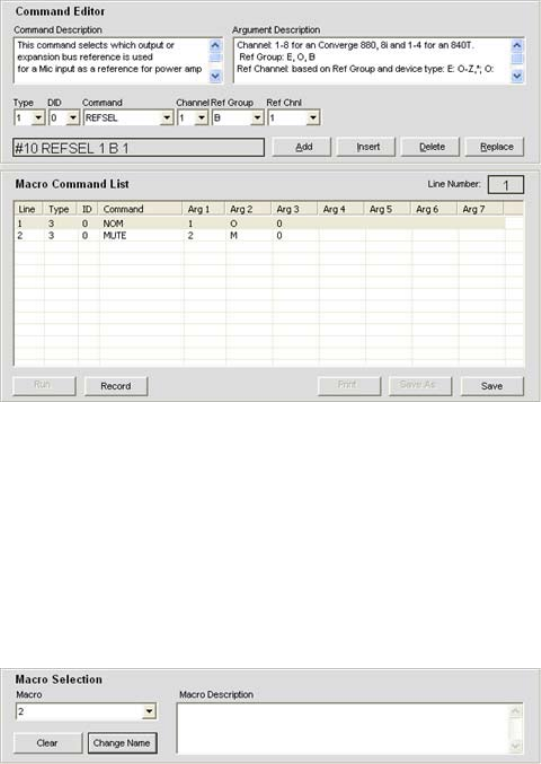
Select the device 4. Type, DID (Device ID number), and Command from the drop-down lists.
When you select a command, a description of it appears in the 5. Command Description box. The parameters
associated with the command also appear, along with the valid values or range for each parameter, in the
Argument Description box (shown below).
Set the parameter values for the command as required (optional). 6.
