Chapter 5 Bridge Mode
P-2304R-P1 Series User’s Guide
72
5.2 Bridge Mode Procedure
Follow these steps to change the ZyXEL Device into Bridge mode.
1 Log in to the web configurator. (See Chapter 2 on page 33.)
2 Click Maintenance > System > General.
3 In the Mode field, select Bridge.
4 In the Management IP Address field, enter the IP address you want to use to access the
ZyXEL Device in Bridge mode. For example, enter 192.168.5.1.
5 Click Apply.
The ZyXEL Device automatically restarts. When the POWER LED stops blinking and stays
on, follow the directions in Chapter 2 on page 33 to log in to the web configurator again. Use
the Management IP Address you set up in step 4. If your computer’s IP address is in a
different subnet, follow the directions in Appendix C on page 235 to change your computer’s
IP address.
When you log in to the web configurator, you can still see every screen in Table 3 on page 37,
even if the feature is not available in Bridge mode (in Table 28 on page 71). However, if you
configure a feature that is not available in Bridge mode, your changes have no effect until you
change back to Router mode.
If you want to change back to Router mode, follow these steps.
1 Log in to the web configurator. (See Chapter 2 on page 33.)
2 Click Maintenance > System > General.
3 In the Mode field, select Router.
4 Click Apply.
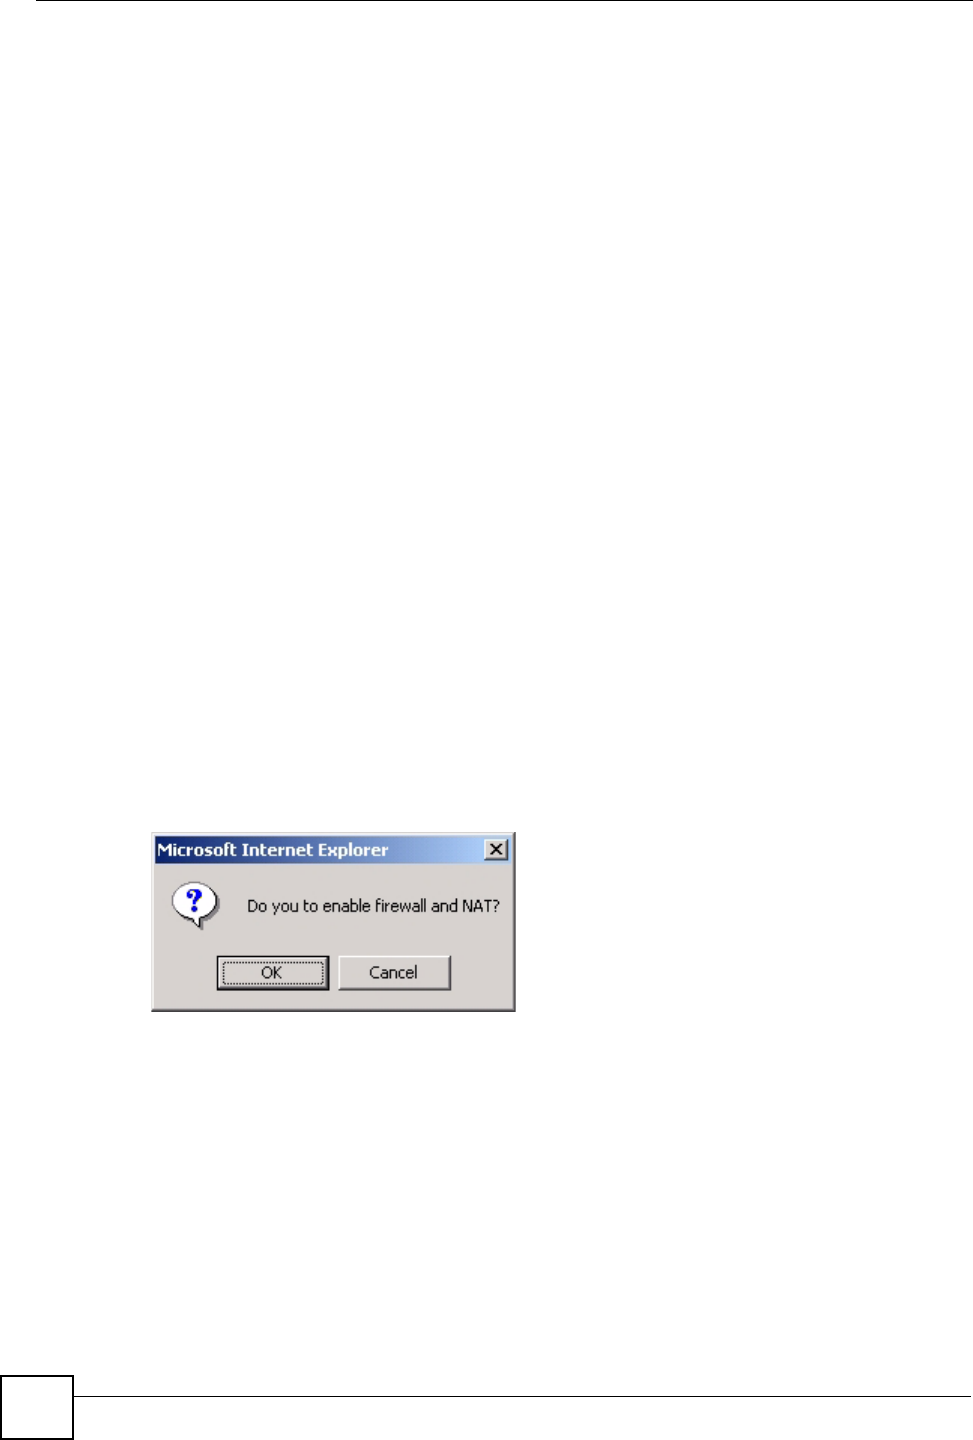
5 The ZyXEL Device asks you if you want to enable the firewall and NAT. Select OK or
Cancel.
Figure 34 Prompt Before Change to Router Mode
The ZyXEL Device automatically restarts. Use the IP address in Network > LAN > IP to log
in to the web configurator again. You might have to change your computer’s IP address again.
