


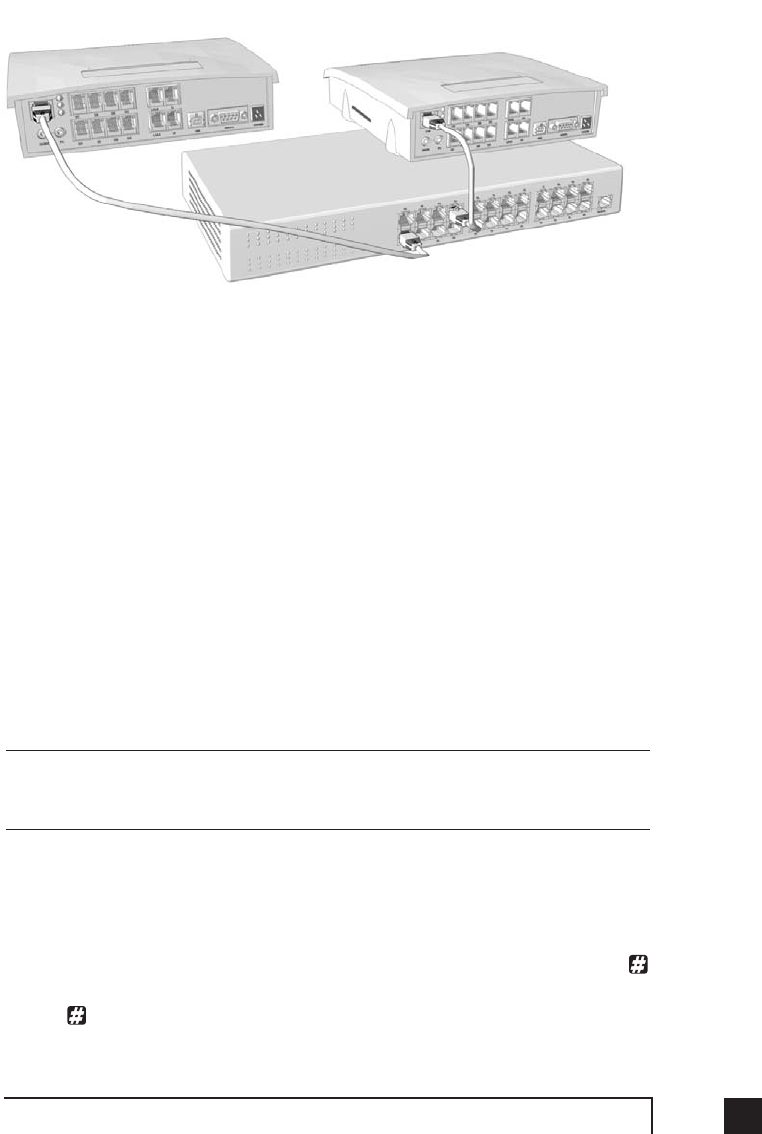
2.5.2 Setting the Unit ID for the first time
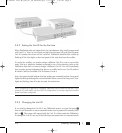
When TalkSwitch units are shipped from the manufacturer, they are all programmed
with Unit ID 1. If two or more units are placed on the same LAN and have the same
Unit ID number, then there will be a conflict. TalkSwitch identifies this conflict by
flashing all the Line lights on the front panel of the units that have the conflict.
To resolve the conflict, you need to assign a different Unit ID to one or more of the
units. Pick up a telephone handset connected to one of the extension jacks on the
TalkSwitch unit that you want to assign a different Unit ID. You will immediately
hear a system prompt indicating that there is a conflict and a new Unit ID needs to
be chosen. Select an available Unit ID between 2 and 4.
Next, the system should indicate that the update was successful and the front panel
lights should stop flashing after several seconds. When none of the front panel ‘Line’
lights are flashing, then all units are ready for network use.
No IP configuring is required to configure TalkSwitch since it does not use the TCP/IP
protocol for voice traffic over the LAN. IP configuration is however required once the
system has been configured.
2.5.3 Changing the Unit ID
If you need to change the Unit ID of any TalkSwitch system, you can first press
from a Local Extension to enter command mode, enter a password if necessary, then
dial 0 0
.
The system will respond with the Unit ID of that particular TalkSwitch.
To change the Unit ID, use any of the following commands once in command mode:
92.0 Installing TalkSwitch
Switch
TS manual 11th ED_CVA_v11_CD_Release.qxd 7/13/2004 3:33 PM Page 9