2.4.4.3 Connecting TalkSwitch to a LAN for local configuration
If you want to connect multiple TalkSwitch units to a LAN, please see section 2.5
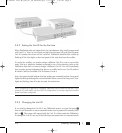
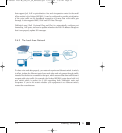
To connect TalkSwitch to a LAN for configuration purposes, simply use the supplied
Category 5 cable with RJ45 connectors on either end. Connect TalkSwitch to the
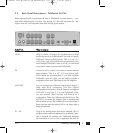
switch. The top LED should light up to indicate a connection has been established
with a switch or hub.
If you are running Windows XP, please make sure you are not using Windows 98
compatibility mode.
Any time TalkSwitch is being configured, it is ‘locked’ so that no other computer or
person using a phone can make configuration changes at the same time. If you leave
the software open for longer than 1 hour, TalkSwitch will automatically unlock itself
to allow configuration changes.
2.5 Using 2 or more TalkSwitch units on a LAN
If you have only one TalkSwitch unit, ignore this section and proceed to Section 3.
2.5.1 Connecting 2 or more TalkSwitch units to a LAN
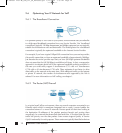
We recommend integrating your phone system into your existing LAN with an
Ethernet switch. A switch provides direct communication between TalkSwitch units,
thus keeping the TalkSwitch voice-over-LAN data isolated from other data on the
network.
For example, the Linksys BEFSR81 EtherFast
®
Cable/DSL Router with 8-Port Switch
is a solution that supports prioritization of traffic at an affordable price.
Connect up to four TalkSwitch units (2 are shown on the following page) to the LAN
switch or switched hub.
8 TalkSwitch User Manual
Networked
TS manual 11th ED_CVA_v11_CD_Release.qxd 7/13/2004 3:33 PM Page 8


