


Data modules and asynchronous data units
555-233-116
78 Issue 4 October 2002
Configuring the 7400B Data Module
The factory default settings for the7400B data module are generally satisfactory.
But if you need to change them, you use a terminal device and the AT command
language commonly used by Hayes-compatible modems (7400B data modules
have no control buttons). While a full explanation of the Hayes command set is
beyond the scope of this book, the following sections sketch the basic processes
involved in changing the factory settings.
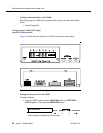
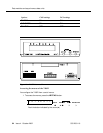
Installing required configuration equipment for the 7400B
Before you can enter AT configuration commands, you must first connect a
terminal or a PC with a keyboard, monitor, and terminal-emulation software to the
data module. Proceed as follows.
1. Connect one end of an RS-232 cable to an RS-232, serial-communications
port (often called a COM port) on the terminal or PC.
2. Connect the other end of the RS-232 cable to Port 1 of the data module
3. If you are using a PC, start your terminal emulation software.
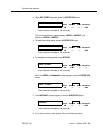
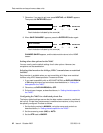
Selecting command mode on the 7400B
When it is transmitting and receiving data, the 7400B data module is online, in
data mode. To configure the 7400B, you have to switch it to command mode.
Proceed as follows.
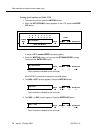
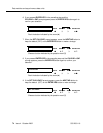
1. From the terminal keyboard, enter the escape sequence: +++
The data module enters command mode and displays the OK result code.
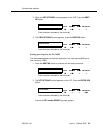
Displaying the current configuration on the 7400B
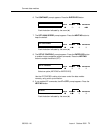
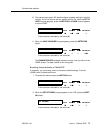
1. Enter at&v
Enabling automatic answering on the 7400B
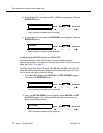
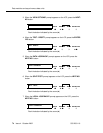
1. Enter ats0=nnn
where nnn is a decimal number in the range 1-255.
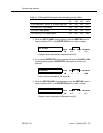
Enabling remote operation on the 7400B
The exact configuration of any particular 7400B data module depends on what it
is being used for. Consult a list of Hayes-compatible AT commands to see what is
possible. The following is an example of a typical, custom configuration.