Chapter 5 Broadband
FMG3024-D10A / FMG3025-D10A Series User’s Guide
81
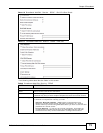
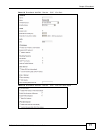
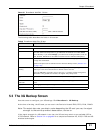
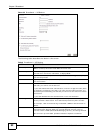
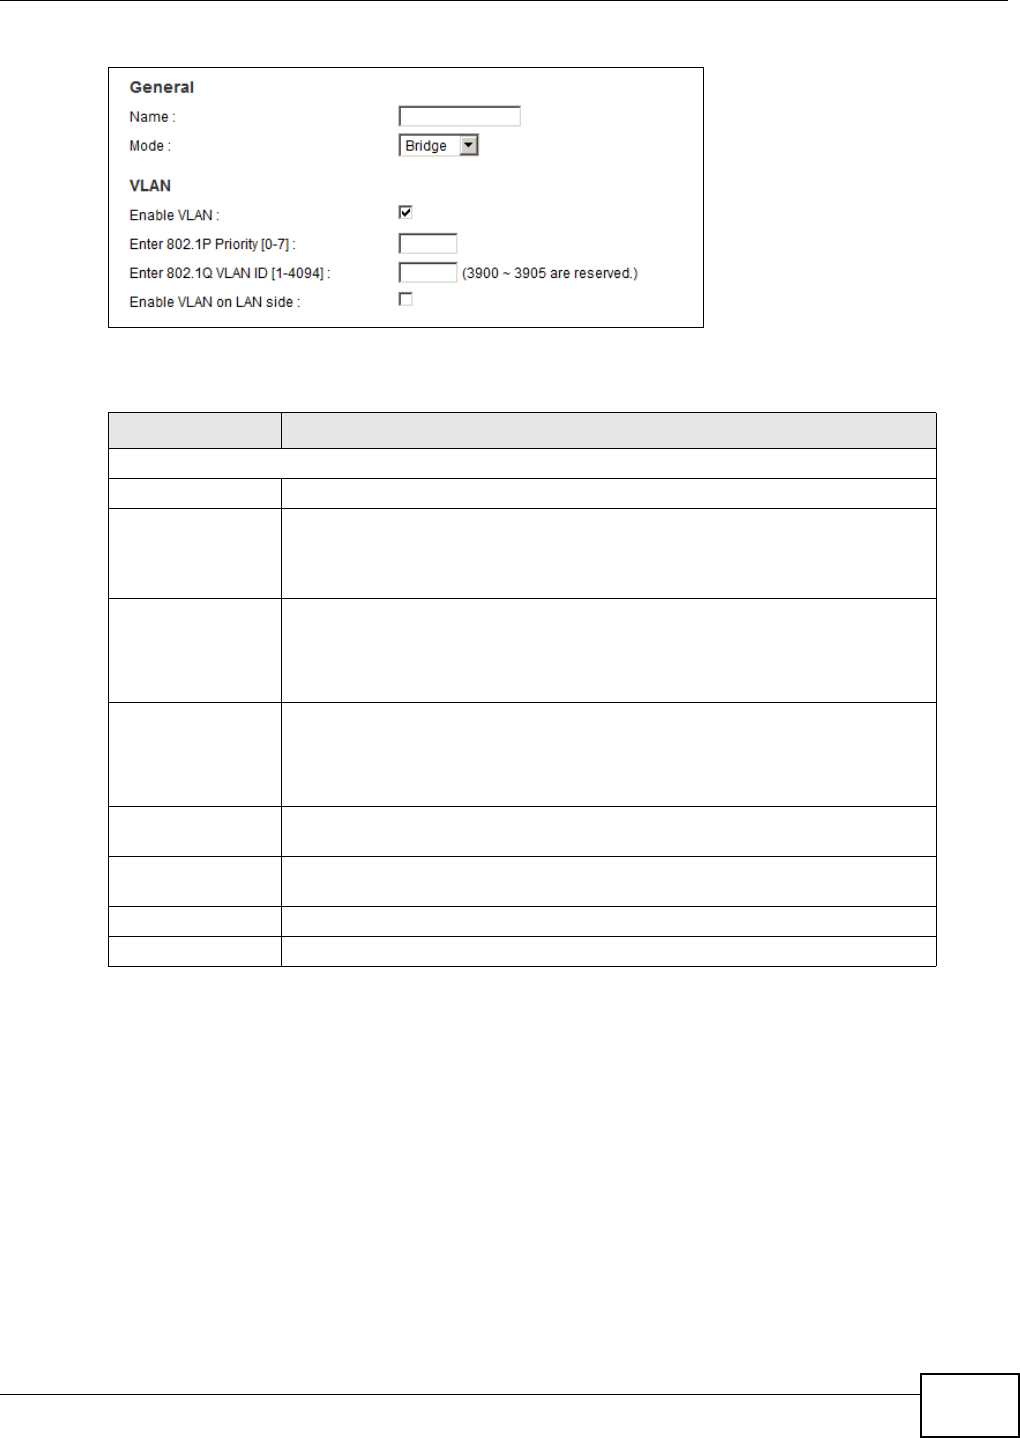
Figure 21 Broadband Add/Edit: Bridge
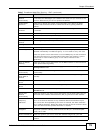
The following table describes the fields in this screen.
5.3 The 3G Backup Screen
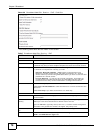
Use this screen to configure your 3G settings. Click Broadband > 3G Backup.
At the time of writing, the 3G card you can use in the Device is Huawei E220, E270, E160, E169G.
Note: The actual data rate you obtain varies depending the 3G card you use, the signal
strength to the service provider’s base station, and so on.
If the signal strength of a 3G network is too low, the 3G card may switch to an available 2.5G or
2.75G network. Refer to Section 5.4 on page 83 for a comparison between 2G, 2.5G, 2.75G and 3G
wireless technologies.
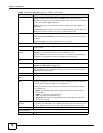
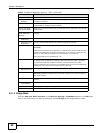
Table 8 Broadband Add/Edit: Bridge
LABEL DESCRIPTION
General
Name Enter a service name of the connection.
Mode Select Bridge when your ISP provides you more than one IP address and you
want the connected computers to get individual IP address from ISP’s DHCP
server directly. If you select Bridge, you cannot use routing functions, such as
QoS, Firewall, DHCP server and NAT on traffic from the selected LAN port(s).
Enable VLAN Select this to add the VLAN Tag (specified below) to the outgoing traffic
through this connection.
Specific LAN ports can be selected on the Interface Group screen (Section 12.2
on page 143).
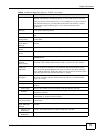
Enter 802.1P
Priority
IEEE 802.1p defines up to 8 separate traffic types by inserting a tag into a
MAC-layer frame that contains bits to define class of service.
Type the IEEE 802.1p priority level (from 0 to 7) to add to traffic through this
connection. The greater the number, the higher the priority level.
Enter 802.1Q VLAN
ID
Type the VLAN ID number (from 1 to 4094) for traffic through this connection.
Enable VLAN on
LAN side
Select this to have the Device add a VLAN tag to outgoing packets on the LAN
ports.
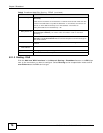
Apply Click Apply to save your changes.
Back Click Back to return to the previous screen.


