


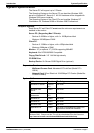

PC Configuration Server PC Setup – NT4
Compact Contact Center Installation & Maintenance
40DHB0002USBG Issue 1 (11/14/2001) PC Configuration
•
Page 12
3. Installation of Wallboard Card.
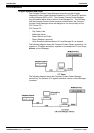
Advantech ISA Wallboard Card Installation
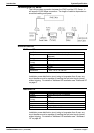
Card Settings: -
JP1 (ch#1) 485
JP2 (ch#2) 485
JP3 (ch#1) IRQ9
JP4 (ch#2) IRQ5
JP5 (ch#1) On
JP6 (ch#2) On
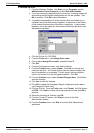
To change the settings:
1. Click Start, highlight Settings and then click Control Panel.
2. Double click the Ports icon.
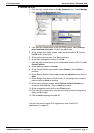
3. Highlight Port 3 and then click Settings.
4. At the next screen click Advanced.
5. Change Base I/O port address to 3e8.
6. Change IRQ to 5, then click OK.
7. Click Don't restart Now and then click on OK.
8. Highlight Port 4 and click on settings.
9. At the next screen click on Advanced.
10. Change Base I/O Port Address to 2e8.
11. Change IRQ to 9 and then click OK.
12. Click Restart Now.
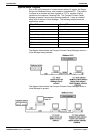
Advantech PCI Wallboard Card
Card settings: SW1 (CH1) = ON
SW1 (CH2) = ON
JP1 = 485
JP2 = 485
To change the settings:
1. Ensure that the card is not plugged into the PC. If the card is still in the
PC shut down the PC and remove the power leads before removing the
card, otherwise the hard drive may become corrupted.
2. Insert the Advantech PCI drivers utility installation diskette 1 into drive
A.
3. Select Start, and then click on Run.
4. At the next screen type A:\setup.exe and click on OK.
5. At the welcome screen click Next.
6. At the software license screen agreement screen click Yes.
7. At the destination screen accept the defaults and click Next.
8. At program folder accept the defaults and click Next.
9. When prompted insert disk 2 and click on the OK button.
10. At set-up complete screen and click Finish.
11. At Advantech PCI serial Service Manager screen make sure that the
Start/Stop service control is Install and Start Service and then click
OK.
12. Click OK at the next screen.
13. Shut down the computer and install the card into PCI SLOT 4.