Synchronizing Data
Customizing HotSync application settings
Using Your Zodiac Console 148
148148
148
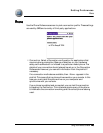
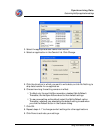
3. Select the appropriate user name from the list.
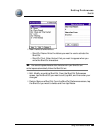
4. Select an application in the Conduit list. Click Change.
5. Click the direction in which you want to write data, or click Do Nothing to
skip data transfer for an application.
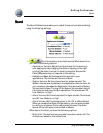
6. Choose how long the setting remains in effect:
• To affect only the next HotSync operation, deselect Set As Default.
Thereafter, the HotSync Actions revert to their default settings.
• To use a new setting as the default, select the Set As Default option.
Thereafter, whatever you selected as the default setting is used when
you click the Default button in the Custom dialog.
7. Click OK.
8. Repeat steps 4 - 7 to change conduit settings for other applications.
9. Click Done to activate your settings.


