1.4.4.3 Connecting TalkSwitch to a LAN
If you want to connect multiple TalkSwitch units to a LAN, please see section 1.5
To connect TalkSwitch to a LAN for configuration purposes, simply use a standard
Category 5 cable with RJ45 connectors on either end. Once TalkSwitch is connected
to the hub, the top LED will light only when a computer running the TalkSwitch
software establishes a connection with TalkSwitch. This LED lets you know
TalkSwitch and your PC are able to communicate.
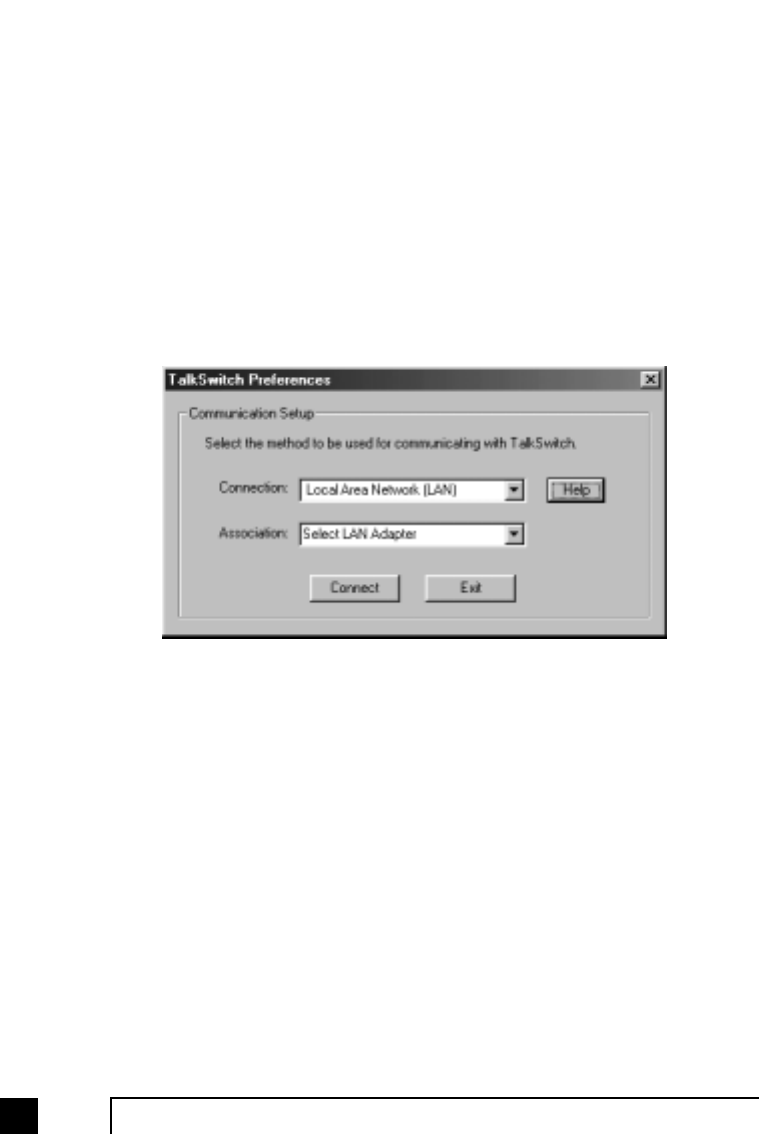
When you run the TalkSwitch software, you will need to select ‘PC Connection’ to
select LAN as the connection then select the LAN adapter on your PC. You do not have
to enter any commands from a local extension on TalkSwitch to enable LAN
connectivity. Make sure you are using TalkSwitch Firmware 1.37 or higher to
configure across the LAN.
If you are running Windows XP, please make sure you are not using Windows 98
compatibility mode. Anytime TalkSwitch is being configured, it is ‘locked’ so that no
other computer or person using a phone can make configuration changes at the
same time. If you leave the software open for longer than 1 hour, TalkSwitch will
automatically unlock itself to allow configuration changes.
1.4.4.4 Connecting to TalkSwitch from a remote location using a modem
TalkSwitch can be configured remotely using any PC with a modem and TalkSwitch
software installed. Version 1.37 or higher of the software and version 2.37 or higher
of the firmware support modem connectivity.
To configure remotely using a modem, you should first ensure that you have at least
version 2.37 of the firmware loaded on TalkSwitch. Next, using the software that
matches the firmware (ie. if the firmware version on TalkSwitch is 2.37, then the
software version should be 1.37) click on ‘PC connection’ after running the software.
Select ‘Remotely using a modem’ for the connection then the associated COM port
for that modem.
10 TalkSwitch User Manual
TS-user manual 7th ED v3 Release.qxd 8/27/02 4:56 PM Page 10


