AastraLink RP System Administrator Guide 31
Using Administrator
5. Click Reset on the left menu, then click the Restart button. A window opens
confirming the phone restart.
Note: Restarting a phone disrupts service to the phone. Check that the phone is not
in use before restarting.
6. Click OK to restart the phone. The phone line is now configured.
Note: Make sure the line has been assigned in the Administrator software,
configured on the Web UI, and the phone has been restarted. Phone lines will only
work once all three steps have been completed.
For Model 6753i RP
If you are using a Model 6753i RP phone, continue as follows.
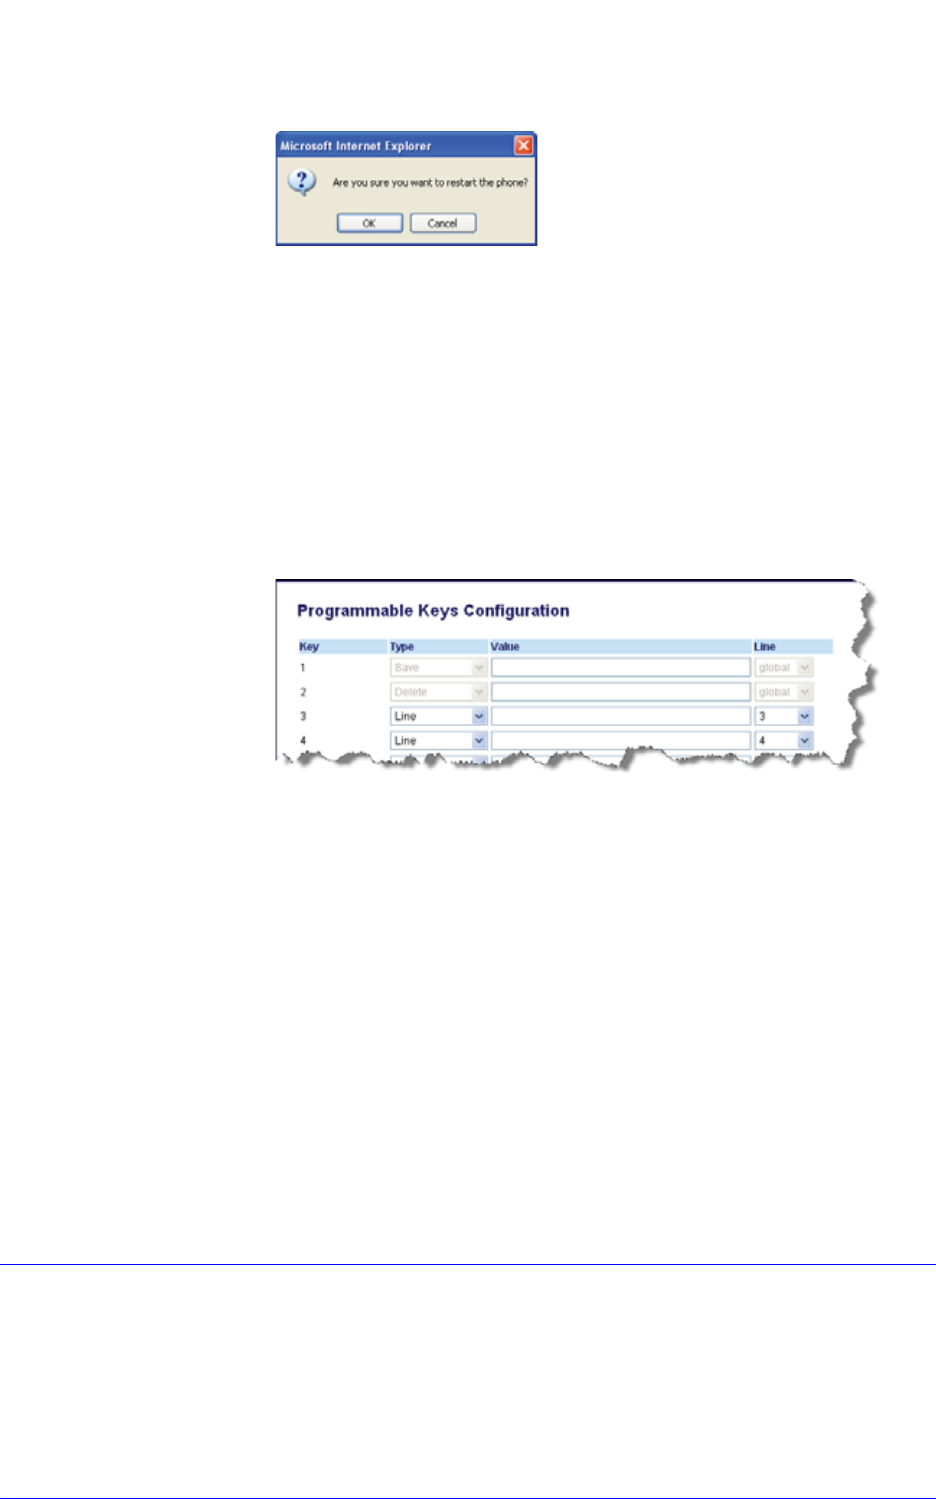
1. Select Programmable Keys on the left menu.
2. Choose where the line will appear and set the Type to Line. Make sure the number
in the Line column matches the line you assigned in the Administrator software.
Note: Model 6753i CT RP allows up to 6 lines in total, 2 on the keypad and 4 on
the programmable keys set through the Aastra Web UI.
3. Click Save Settings to save the line assignment.
4. Click Reset on the left menu, then click the Restart button. A window opens
confirming the phone restart.
Note: Restarting a phone disrupts service to the phone. Check that the phone is not
in use before restarting.
5. Click OK to restart the phone.The phone line is now configured.
Note: Make sure the line has been assigned in the Administrator software,
configured on the Web UI, and the phone has been restarted. Phone lines will only
work once all three steps have been completed.
Editing a Phone
You can change who is assigned to a phone, the phone owner, and the phone name by
editing a phone in Administrator.


