


IPedge
Using Companion Applications
IPedge UG 06/11 TOSHIBA 169
• To Delete a Filter Entry – Use the pull down list and select an entry to be
removed and press Del.
The filter strings are case sensitive and will hide all entries starting with exactly the
same string of characters. Entering “A” hides all entries that begin with an
uppercase A.
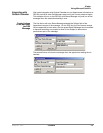
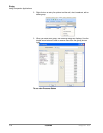
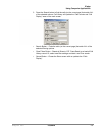
Personal / Speed
Dial Directory
List of telephone numbers. The user may add entries to provide fast access to
frequently dialed numbers.
• To Call – Press Enter to dial the highlighted number, or double-click the
desired number from the list.
• Add by Drag and Drop from Outlook – Drag a contact from Microsoft Outlook
to the Directory and automatically add to the list.
• Add by Drag and Drop from Call History – Drag a number from the “Call
History” window to the Directory to add the number to the list.
• Drag and Drop to Create Speed Dial Button – Drag an entry from the Directory
to a Programmable User button to automatically create a speed dial button
with that phone number.
• Additional Options – Right-click on the entry to access a menu of other
functions:
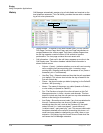
• Call Now – Place a phone call to this person or extension. (Same as double-
clicking.)
• Edit – Allows you to Add, Change, Delete, and Copy entries (typically
available only in the Personal directory).
• Lookup in Outlook – Lookup this number in Microsoft Outlook and open the
matching contact.
• Print Listing – Print a listing of all entries shown in the directory. Change the
position and width of the columns to format the printout as desired. Use Filters
and Find to print only the entries you want.
• Export Listing – Export the listing using either a CSV or Text format.
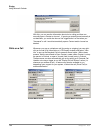
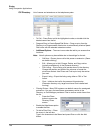
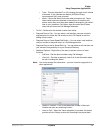
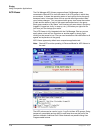
Presence Viewer This capability is integrated in the Contacts companion application tab. Click on a
Group tab within Contacts. Note that you can create as many groups as needed.
You can look at the Presence status of members in each group.
To add a Group
1. Select by clicking on the My Groups or System Groups tab.
2. Right click and select Create New Group.
Note: The different between “My Groups” and “System Groups” is that “My
Groups” is personal and you can create their own. “System Groups”
applies to all and only a user with “Admin” right can create and change
the group entry.
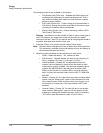
To manage the Presence Viewer
1. Click the Group tab assigned for the Presence Viewer.