Modify Submenu
Submenus help the caller to access the desired point in a clearly guided
way, especially if more than 6 choices are offered to external callers.
When the caller has selected in the main menu one proposed function
the submenu can offer another ten choices, (digit 0 to 9). The handling
to set up a submenu is similar to that of the main menu. Allocate one
function out of the 'list of submenu functions'.
Example
Description:
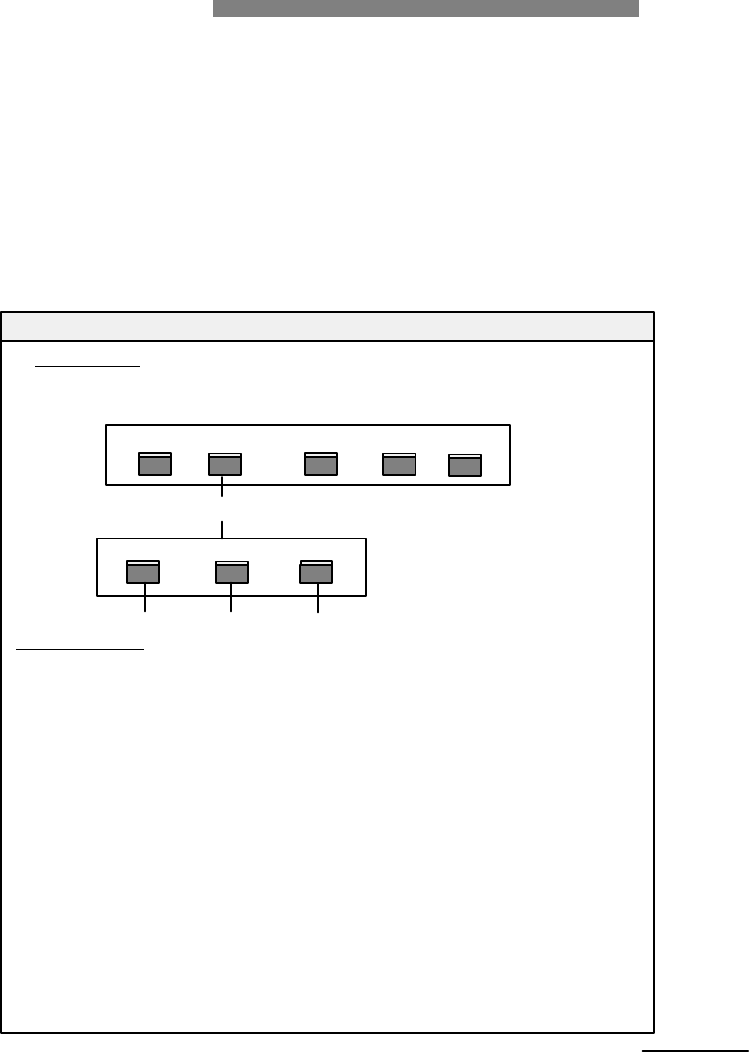
Create for the submenu three choices, a transfer to a subscriber,
a mailbox and an infobox (selected by the digit key 1 to 3).
Main menu
1
2
0
3
4
Mrs. Braun Delivery Dpt. Free diallling Orders Operator
Transfer to submenu
1
2
3
Mr. Miller Mailbox Informations
Submenu 2
Configuration:
- Enter the administration menu.
- Press <7> for 'Automated Attendant'.
- Press <1> for 'Opening hours menu'.
- Press <4> for 'Submenu handling'.
- Press <2> for submenu 2.
- Press <1> for 'Modify submenu'.
- Press <1> for digit key 1,
-
Press <3> for 'Transfer to extension', <201> for extension number,
press <#> to confirm.
-
Press <2> for digit key 2,
-
Press <6> for 'Mailbox', <333> for 'Mailbox number', press
<#> to confirm.
-
Press <3> for digit key 3
to confirm.
Note:
43
Extension 201 Mailbox 333
Infobox 1
-- Press <5> for 'Infobox', <1> for 'Infobox number', press <#>
The numbers for infoboxes are 1 to 50 (see also 'Modify infobox').
