Customizing Your Phone
41-001524-00 REV00 – 04.2014 37
Time Zone
Configuring the Time Zone Using the IP Phone UI
Set Date and Time
Configuring the Date and Time Using the IP Phone UI
With a valid time server enabled your IP phone will synchronize the time displayed with the specified configuration server.
The phone will use the time from Time Server 1 unless it is not configured or unavailable, in which case it will move on to
Time Server 2, and if necessary Time Server 3. Alternatively, you can set the date and time manually.
IP Phone UI
1. Press on the phone to enter the Options List.
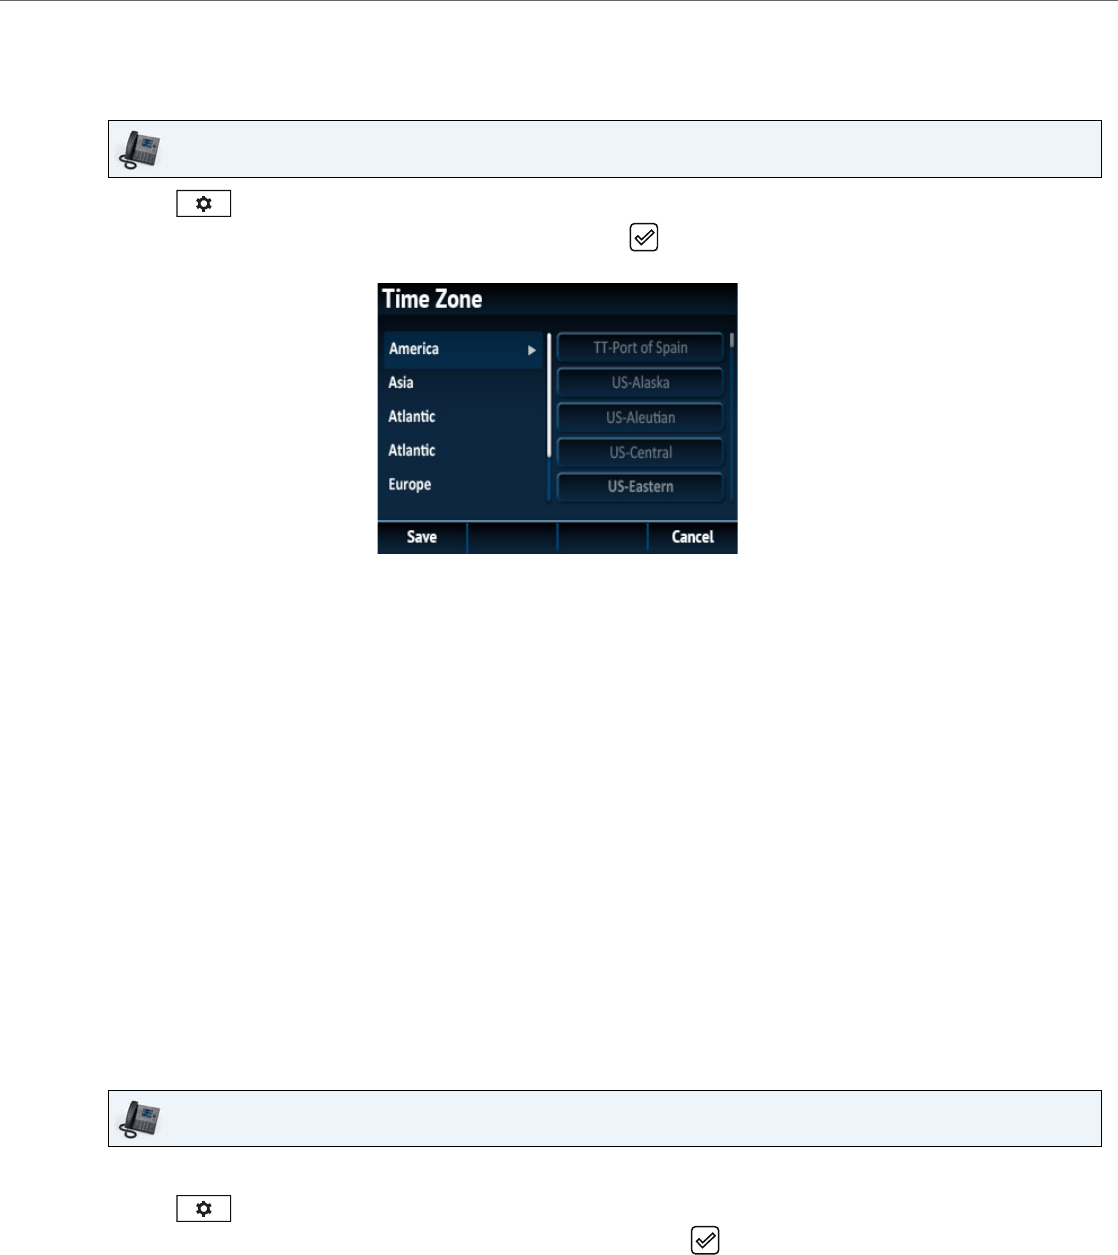
2. Navigate to the Time and Date > Time Zone option and press the button or Select softkey.
A list of time zones displays for different areas of the world.
3. Use the 5 and 2 keys to scroll through and highlight the desired region. Valid values are:
• America
• Asia
• Atlantic
• Australia
• Europe
• Pacific
• Others
4. With the desired region highlighted press the 4 key to move to selection column.
5. Use the 5 and 2 keys to scroll through and choose the time zone that applies to your area. The default time zone is
US-Eastern.
Note:
For a list of the time zone values available on the IP phone, see “Appendix A - Time Zone Codes.”
6. Press the Save softkey to save your changes.
IP Phone UI
1. Press on the phone to enter the Options List.
2. Navigate to the Time and Date > Set Date and Time option and press the button or Select softkey.


